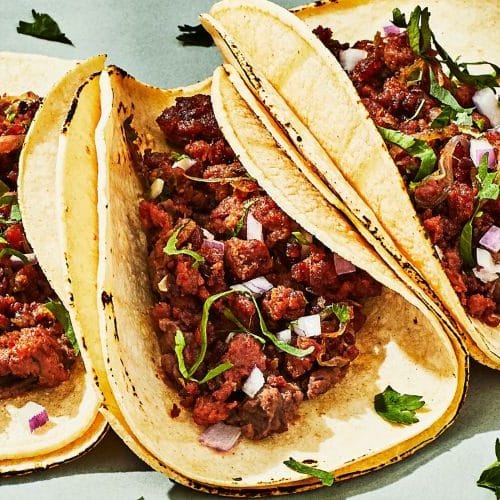
Vegan Tacos
These Vegan Tacos are a tasty and versatile plant-based meal that can be customized with various fillings and toppings. Packed with savory, smoky flavors and fresh, vibrant ingredients, these tacos are perfect for any occasion.Whether you’re a seasoned vegan or just looking to enjoy more plant-based meals, these tacos are a crowd-pleaser!
Equipment
- 1 Large skillet
- 1 Cutting Board
- 1 Knife
- 1 Spoon or spatula
- 1 Small bowl (for sauces)
- 1 Medium bowl (for mixing ingredients)
- 1 Grill pan or oven (optional for tortillas)
Ingredients
- 8 small corn or flour tortillas
- 1 cup cooked black beans or other plant-based protein
- 1 tablespoon olive oil
- 1 small red onion diced
- 1 medium bell pepper diced
- 1 medium zucchini diced
- 1 teaspoon cumin
- 1 teaspoon chili powder
- 1 teaspoon smoked paprika
- Salt and pepper to taste
- ½ cup fresh cilantro chopped
- 1 ripe avocado sliced
- ½ cup salsa store-bought or homemade
- ½ cup vegan sour cream or cashew cream optional
- 1 lime cut into wedges
Instructions
Prepare the filling:
- Heat the olive oil in a large skillet over medium heat. Add the diced onion, bell pepper, and zucchini. Sauté for 5-7 minutes until the vegetables are soft.
Season the filling:
- Add the cooked black beans (or your preferred protein) to the skillet.Stir in the cumin, chili powder, smoked paprika, salt, and pepper. Cook for another 5-7 minutes, stirring occasionally.Taste and adjust seasoning if needed.
Prepare the tortillas:
- While the filling is cooking, heat the tortillas.You can either heat them on a dry skillet over medium heat for about 30 seconds per side or microwave them for 20 seconds wrapped in a damp towel.
Assemble the tacos:
- Once the filling is ready, spoon a generous amount onto each warmed tortilla. Add slices of avocado, a spoonful of salsa, and a drizzle of vegan sour cream or cashew cream if desired. Top with freshly chopped cilantro and a squeeze of lime.
Serve:
- Serve the tacos with additional lime wedges and enjoy!
Notes
- Customizing Protein: Feel free to substitute black beans with other plant-based proteins such as lentils, tempeh, or tofu.
- Toppings: Add your favorite taco toppings like pickled onions, jalapeños, or roasted corn for more flavor.
- Gluten-Free Option: Use corn tortillas for a gluten-free option.
- Make Ahead: You can prep the taco fillings and toppings ahead of time. Just store them in separate containers in the fridge and assemble when ready to eat.
