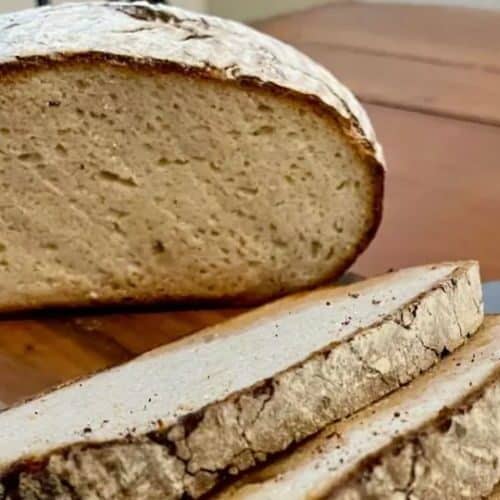
Rustic Gluten-Free Artisan Bread
This Rustic Gluten-Free Artisan Bread is the perfect solution for those seeking a delicious, gluten-free alternative to traditional artisan bread. With a crunchy, golden crust and a soft, airy interior, this bread is ideal for anyone looking for a flavorful, homemade loaf that’s easy to prepare. This simple recipe only requires a handful of ingredients and basic tools, making it perfect for beginner bakers and experienced bread enthusiasts alike.
Equipment
- 1 Dutch oven or baking stone
- 1 Mixing bowl
- 1 Wooden Spoon
- 1 razor blade or sharp knife
- 1 Parchment paper
- 1 kitchen towel
Ingredients
- 3 cups 360g gluten-free flour blend (preferably one with xanthan gum)
- 1 ½ teaspoons salt
- 1 teaspoon active dry yeast or instant yeast
- 1 ½ cups 360ml warm water
- 2 tablespoons 30ml olive oil
- 1 tablespoon 15g honey (or sugar)
Optional add-ins:
- 1 tablespoon dried rosemary or thyme for flavor
- ¼ cup 30g sunflower seeds or sesame seeds (for topping)
Instructions
Prepare the Dough:
- In a large mixing bowl, combine the gluten-free flour, salt, and yeast.
- Add the warm water, olive oil, and honey. Stir with a wooden spoon until a thick, sticky dough forms. The dough should be wet and shaggy.
- If the dough feels too dry, add a little more water (a tablespoon at a time). If too wet, sprinkle in a bit more flour.
First Rise:
- Cover the bowl with a clean kitchen towel and place it in a warm, draft-free area.
- Allow the dough to rise for about 1 to 1.5 hours, or until it has doubled in size.
Shape the Dough:
- Once the dough has risen, gently deflate it and turn it out onto a piece of parchment paper.
- Shape it into a round loaf or oval, depending on your preference. If adding seeds or herbs, sprinkle them over the dough and gently press them in.
Second Rise:
- Cover the dough again and let it rest for 30-45 minutes while the oven preheats.
Preheat the Oven:
- Preheat the oven to 450°F (230°C). If using a Dutch oven, place it inside the oven while it preheats to get it hot.
Score the Dough:
- Once the dough is ready, use a razor blade or sharp knife to score the top of the dough in a few shallow cuts. This will help the bread expand as it bakes and create that classic rustic look.
Bake the Bread:
- If using a Dutch oven, carefully place the dough (with parchment paper) into the preheated pot.If using a baking stone, place the dough directly on the stone.
- Bake for 40-45 minutes, or until the crust is golden and the bread sounds hollow when tapped on the bottom.
Cool and Serve:
- Let the bread cool completely on a wire rack before slicing. Enjoy with your favorite spread or as a side to any meal.
Notes
- Gluten-Free Flour Blends: Be sure to use a blend that contains xanthan gum or guar gum. This helps with the structure and rise of the bread. If your blend doesn't contain it, you can add about 1 teaspoon of xanthan gum to the dry ingredients.
- Storage: Store leftover bread in an airtight container at room temperature for up to 2 days. For longer storage, you can freeze the loaf for up to 3 months. Just slice before freezing and toast individual slices as needed.
- Customizing Flavors: You can add other ingredients such as nuts, seeds, or dried herbs to the dough for extra flavor and texture. Just be sure to keep the dough consistency similar to the one described.
- Steam for a Crispier Crust: To achieve an even crispier crust, place a small pan of water in the oven while the bread bakes to create steam.
