All products are selected by our editorial team for quality. If you buy through our links, we may earn a small commission at no extra cost to you.
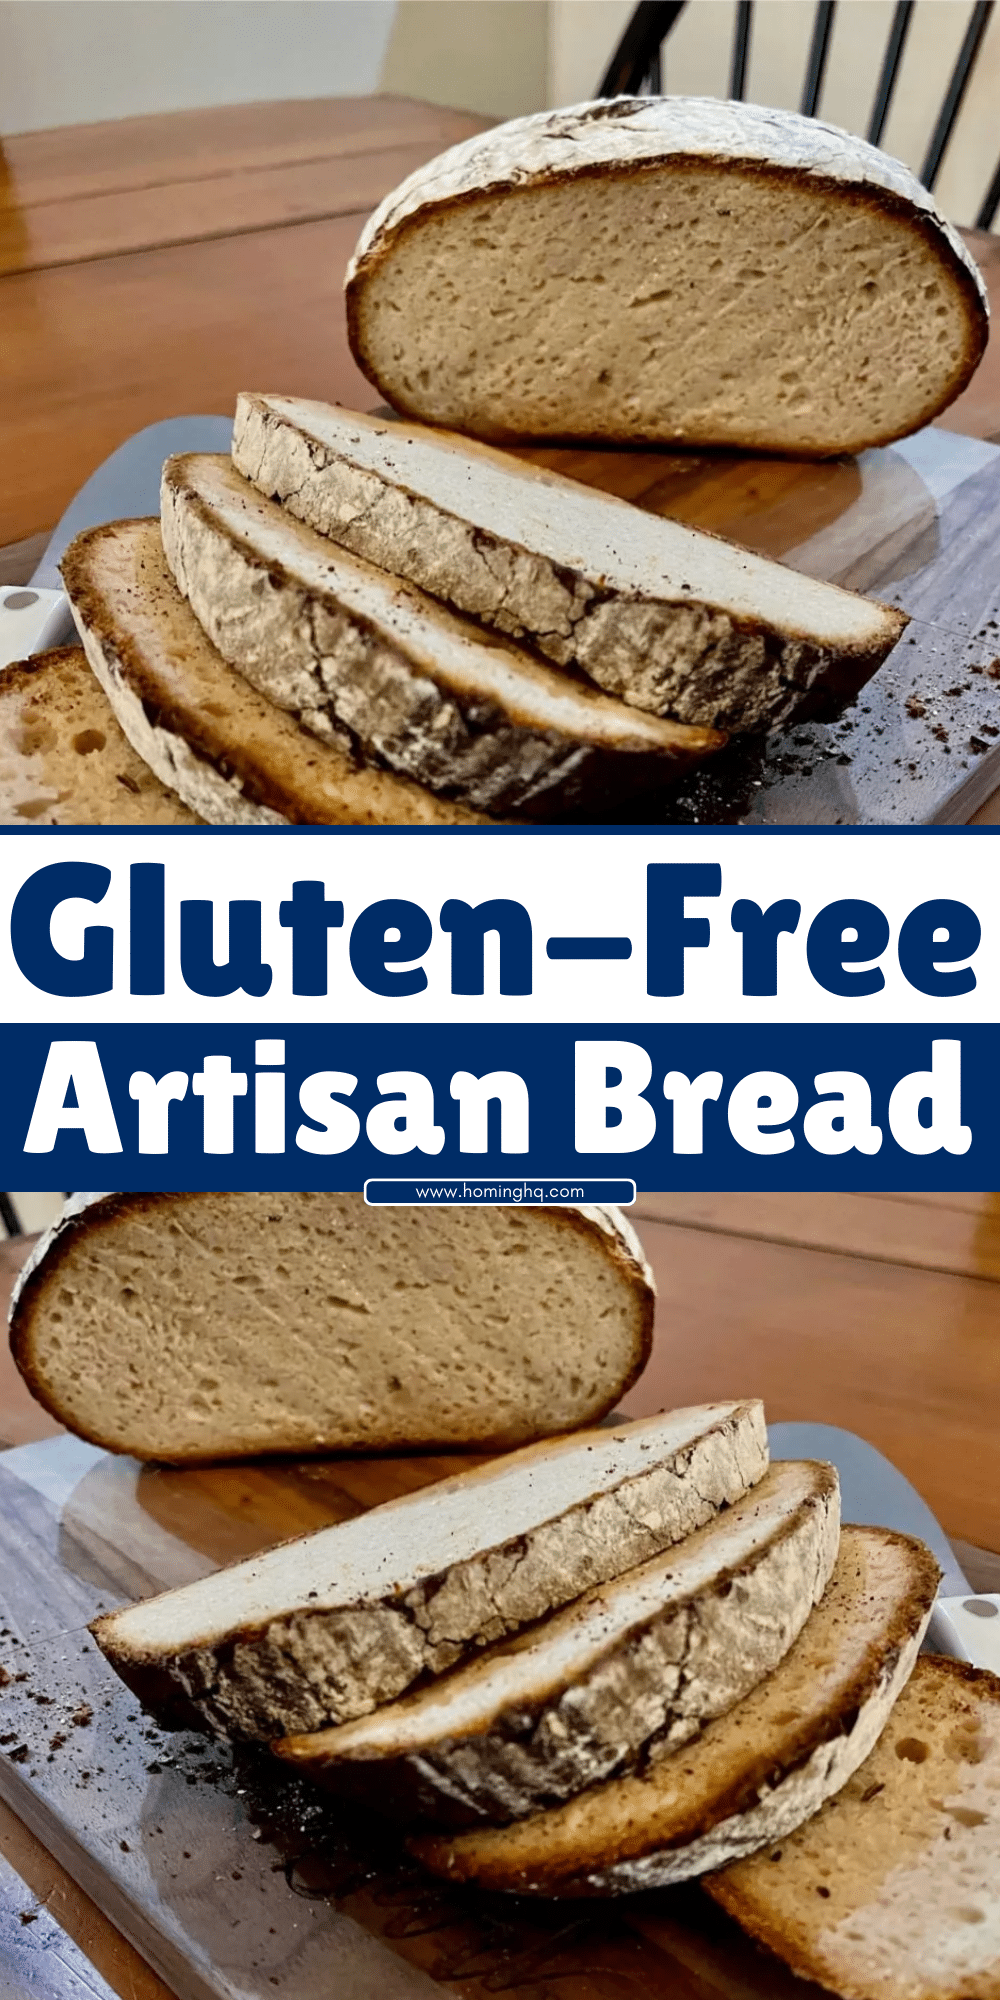
Baking rustic gluten-free artisan bread can be a rewarding experience, and this recipe is perfect for anyone who loves the taste of freshly baked bread but needs to avoid gluten.
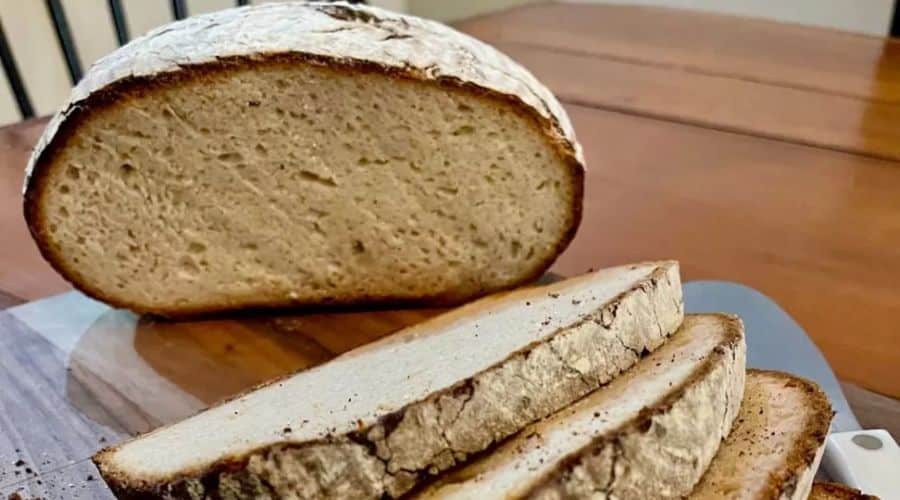
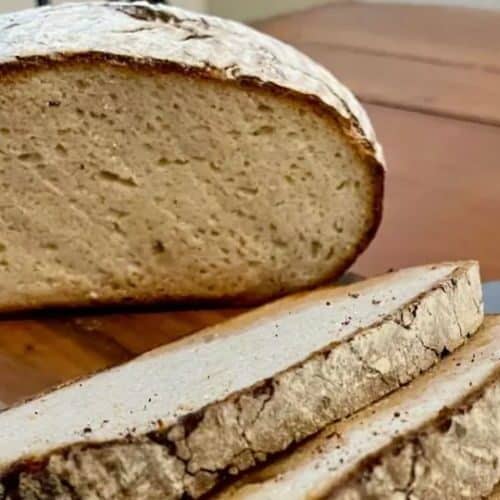
While many gluten-free breads can be dense or lack the chewy, airy texture of traditional artisan bread, this recipe promises a light, flavorful loaf with a beautiful golden crust.
If you’re new to gluten-free baking, don’t worry—this rustic artisan bread recipe is simple and forgiving.
With just a handful of ingredients, you’ll be able to make bread that not only looks impressive but tastes incredible, too.
Plus, you don’t need fancy equipment or skills to create a professional-looking loaf at home.
Whether you’re following a gluten-free lifestyle for health reasons or just enjoy the flavor, this bread will quickly become a favorite in your kitchen.
Let’s dive into the ingredients and tools needed to make this mouthwatering, rustic gluten-free artisan bread!
What You Need: Ingredients for Rustic Gluten-Free Artisan Bread
Creating the perfect rustic gluten-free artisan bread starts with the right ingredients. Each component plays a vital role in giving the bread its unique texture, flavor, and appearance. Here’s what you’ll need:
Gluten-Free Flour Blend
The base of any gluten-free bread is the flour. A high-quality gluten-free flour blend, which usually combines rice flour, sorghum flour, and tapioca starch, works best for this recipe.
These ingredients mimic the texture of wheat flour and provide structure while still keeping the bread light and airy.
Pro Tip: Make sure your gluten-free flour blend includes xanthan gum or guar gum, as these ingredients help to bind the dough and provide the elasticity that gluten typically offers.
Yeast and How It Works in Gluten-Free Baking
Active dry yeast or instant yeast is essential for helping the dough rise and develop flavor.
Yeast thrives in a warm, moist environment, which means it will work its magic as the dough rises.
Pro Tip: If you use instant yeast, you can add it directly to the dry ingredients without proofing it in water.
If you use active dry yeast, make sure to activate it with a little warm water and sugar before adding it to the flour mixture.
Other Key Ingredients
- Water: Lukewarm water is used to activate the yeast and help the dough come together.
- Olive Oil: A touch of olive oil adds moisture and flavor, giving the bread a slight richness.
- Salt: Salt is essential for flavor and controlling the yeast’s activity, so don’t skip it!
- Honey (or Sugar): A small amount of honey or sugar helps the yeast to activate and provides a hint of sweetness.
Optional Add-ins for Extra Flavor
While this rustic gluten-free artisan bread is delicious on its own, you can elevate the flavor by adding:
- Fresh or dried herbs: Rosemary, thyme, or oregano for an herby twist.
- Seeds: Sunflower, pumpkin, or sesame seeds can be sprinkled on top for extra texture.
- Garlic: Fresh minced garlic or roasted garlic can add a savory depth to the bread.
Tools and Equipment: Essentials for Perfect Artisan Bread
To achieve the perfect rustic artisan bread, you don’t need many fancy tools—but a few essentials will help you get the best results.
Dutch Oven or Baking Stone
A Dutch oven or baking stone is crucial for creating a crispy, golden-brown crust.
The enclosed, hot environment of a Dutch oven traps steam, which helps the bread rise quickly and forms a beautiful, rustic crust.
If you don’t have a Dutch oven, a baking stone with a pan of water to create steam works as a great alternative.
Pro Tip: Preheat the Dutch oven or baking stone before placing the dough inside. This ensures an immediate burst of heat that will help the bread rise properly and form a beautiful crust.
Mixing Bowls, Wooden Spoon, and Measuring Cups
For mixing your dough, you’ll need a large mixing bowl.
Since gluten-free dough tends to be a bit wetter and stickier, a sturdy wooden spoon works well to combine the ingredients without making a mess.
You’ll also need accurate measuring cups to ensure the right proportions of flour, yeast, and other ingredients.
Razor Blade or Sharp Knife for Scoring
Scoring the top of the dough with a razor blade or sharp knife is what gives rustic artisan bread its signature look.
This step helps the bread expand properly as it bakes and creates those beautiful, craggy patterns on the surface.
Pro Tip: Hold the blade at a slight angle and make a few shallow cuts across the top of the loaf. This will give the bread its iconic rustic appearance and help it bake evenly.
Parchment Paper
Parchment paper is incredibly helpful when transferring the dough to the hot Dutch oven or baking stone.
It prevents the dough from sticking and makes cleanup much easier.
Pro Tip: If you don’t have parchment paper, lightly dusting your work surface with flour or cornmeal can also help the dough slide off with ease.
Preparing the Gluten-Free Dough
Making the dough for your rustic gluten-free artisan bread is an easy and straightforward process. However, because gluten-free dough behaves differently from traditional dough, there are a few important steps to follow to ensure it rises and bakes to perfection.
Mixing the Dry Ingredients
Start by combining your gluten-free flour blend, salt, and yeast in a large mixing bowl.
Make sure to mix these dry ingredients thoroughly so that the yeast is evenly distributed throughout.
This will ensure that the dough rises evenly as it ferments.
Pro Tip: If you’re using active dry yeast, be sure to proof it in warm water with a pinch of sugar before adding it to the dry ingredients.
If you’re using instant yeast, you can skip this step and add it directly to the flour.
Incorporating the Wet Ingredients
Next, pour in the lukewarm water, olive oil, and honey (or sugar). Gently stir with a wooden spoon until the dough comes together.
Gluten-free dough tends to be wetter and stickier than regular bread dough, so don’t worry if it feels a bit loose. This is completely normal.
Pro Tip: If the dough feels too dry, you can add a little more water, one tablespoon at a time.
If it feels too wet, you can add a small amount of extra gluten-free flour, but keep in mind that the dough should remain somewhat sticky.
Achieving the Right Consistency
The ideal consistency for gluten-free artisan dough is similar to a thick batter—wet, but firm enough to hold its shape.
You’ll want the dough to be a bit sticky and shaggy, but it should not be runny.
If it sticks too much to your spoon or hands, don’t hesitate to dust your hands with a little extra gluten-free flour to make handling easier.
Pro Tip: Avoid overmixing the dough. Simply stir it until it all comes together—overworking the dough can lead to a denser loaf.
Tips and Variations: Making the Recipe Your Own
One of the best parts about baking bread is the ability to get creative and experiment with different flavors and ingredients.
Once you’ve mastered the basic rustic gluten-free artisan bread recipe, you can customize it to suit your tastes.
Adding Extra Flavor
While this bread is delicious on its own, you can easily incorporate extra flavors to make it even more unique. Here are some simple yet tasty ideas:
- Herbs: Add 1 to 2 tablespoons of dried or fresh herbs like rosemary, thyme, or oregano to the dough for a fragrant, savory twist.
- Garlic: Fresh minced garlic or roasted garlic adds a wonderful depth of flavor. Add a couple of cloves to the dough for a more pronounced taste.
- Cheese: For a cheesy touch, fold in 1/4 cup of grated parmesan or sharp cheddar into the dough before the rise. This creates pockets of melted cheese that will delight your taste buds with every bite.
Turning It into a Sweet Loaf
If you’re in the mood for something a little sweeter, transform your rustic bread into a breakfast or dessert loaf by adding:
- Cinnamon: Mix 1 to 2 teaspoons of ground cinnamon into the dry ingredients for a warm, comforting flavor.
- Dried Fruits: Add 1/4 to 1/2 cup of dried cranberries, raisins, or chopped dried apricots to the dough. These provide bursts of sweetness in every bite.
- Honey or Maple Syrup: Swap out the sugar for honey or maple syrup for a more natural sweetness. You could even drizzle a little on top of the loaf before baking for a glossy, sweet finish.
Add Crunch with Seeds
For added texture and a bit of crunch, sprinkle your dough with seeds before baking.
Sunflower seeds, pumpkin seeds, sesame seeds, or even flaxseeds work beautifully in gluten-free artisan bread. These seeds also add nutritional value and give your loaf a rustic appearance.
Shaping the Loaf
If you prefer a specific shape, feel free to shape the dough into a round boule, oval, or even divide it into smaller rolls. You can also use a bread pan for a more uniform loaf.
The shaping process is entirely up to you—this is the beauty of artisan baking!
Pro Tip: You can also create a braided version of the bread by dividing the dough into three parts, rolling them out, and then braiding them together.
This adds an elegant touch that’s perfect for special occasions.
Frequently Asked Questions (FAQs)
1. Can I use a different gluten-free flour blend for this recipe?
Yes, you can! This recipe works best with a gluten-free flour blend that includes a combination of rice flour, sorghum flour, and tapioca starch.
However, you can experiment with different blends as long as they are designed for baking.
Just ensure that your blend includes xanthan gum or guar gum to help the dough rise and maintain its structure.
2. My dough seems too sticky. Is that normal?
Absolutely!
Gluten-free dough tends to be wetter and stickier than traditional bread dough.
It’s important not to worry—this is perfectly normal. The dough should have a thick batter-like consistency.
If it’s too wet to handle, you can lightly dust your hands with gluten-free flour, but don’t aim for a dry, firm dough.
The stickiness helps give the bread a light and airy texture once it’s baked.
3. Can I make this bread without a Dutch oven?
Yes! While a Dutch oven is ideal for achieving a crisp, rustic crust, you can still make the bread on a baking stone or baking sheet.
If you’re using a baking stone, preheat it in the oven to ensure the dough bakes evenly.
You can also create steam by placing a shallow pan of water at the bottom of the oven to mimic the steam effect of a Dutch oven.
4. How long should I let the dough rise?
The dough should rise for about 1 to 1.5 hours, or until it has doubled in size. The exact time will depend on the temperature of your kitchen.
Make sure to place the dough in a warm, draft-free area to encourage proper rising.
If the dough doesn’t rise as expected, it could be due to expired yeast, so always check the freshness of your yeast before starting.
5. Can I freeze the dough or the baked bread?
Yes! You can freeze both the dough and the finished loaf. To freeze the dough, let it rise and then shape it into a loaf.
Wrap it tightly in plastic wrap and store it in a freezer-safe bag for up to three months.
To bake, allow the dough to thaw and rise again before baking.
You can also freeze the baked loaf—just wrap it tightly and store it in the freezer for up to a month.
Thaw at room temperature before enjoying!
Conclusion
Baking rustic gluten-free artisan bread at home doesn’t need to be complicated.
With just a few simple ingredients and the right techniques, you can create a loaf that’s as light and flavorful as any traditional bread, without the gluten.
Whether you enjoy it as-is or experiment with creative variations, the possibilities are endless.
Remember, gluten-free baking is as much about trial and error as it is about following a recipe.
So don’t hesitate to experiment with flavors, shapes, and textures to make this rustic bread uniquely yours. Each loaf you bake will get better and better with practice!
Now, it’s time to pull that golden-brown loaf out of the oven, let it cool, and enjoy the fruits of your labor. Happy baking!
Rustic Gluten-Free Artisan Bread
Equipment
- 1 Dutch oven or baking stone
- 1 Mixing bowl
- 1 Wooden Spoon
- 1 razor blade or sharp knife
- 1 Parchment paper
- 1 kitchen towel
Ingredients
- 3 cups 360g gluten-free flour blend (preferably one with xanthan gum)
- 1 ½ teaspoons salt
- 1 teaspoon active dry yeast or instant yeast
- 1 ½ cups 360ml warm water
- 2 tablespoons 30ml olive oil
- 1 tablespoon 15g honey (or sugar)
Optional add-ins:
- 1 tablespoon dried rosemary or thyme for flavor
- ¼ cup 30g sunflower seeds or sesame seeds (for topping)
Instructions
Prepare the Dough:
- In a large mixing bowl, combine the gluten-free flour, salt, and yeast.
- Add the warm water, olive oil, and honey. Stir with a wooden spoon until a thick, sticky dough forms. The dough should be wet and shaggy.
- If the dough feels too dry, add a little more water (a tablespoon at a time). If too wet, sprinkle in a bit more flour.
First Rise:
- Cover the bowl with a clean kitchen towel and place it in a warm, draft-free area.
- Allow the dough to rise for about 1 to 1.5 hours, or until it has doubled in size.
Shape the Dough:
- Once the dough has risen, gently deflate it and turn it out onto a piece of parchment paper.
- Shape it into a round loaf or oval, depending on your preference. If adding seeds or herbs, sprinkle them over the dough and gently press them in.
Second Rise:
- Cover the dough again and let it rest for 30-45 minutes while the oven preheats.
Preheat the Oven:
- Preheat the oven to 450°F (230°C). If using a Dutch oven, place it inside the oven while it preheats to get it hot.
Score the Dough:
- Once the dough is ready, use a razor blade or sharp knife to score the top of the dough in a few shallow cuts. This will help the bread expand as it bakes and create that classic rustic look.
Bake the Bread:
- If using a Dutch oven, carefully place the dough (with parchment paper) into the preheated pot.If using a baking stone, place the dough directly on the stone.
- Bake for 40-45 minutes, or until the crust is golden and the bread sounds hollow when tapped on the bottom.
Cool and Serve:
- Let the bread cool completely on a wire rack before slicing. Enjoy with your favorite spread or as a side to any meal.
Notes
- Gluten-Free Flour Blends: Be sure to use a blend that contains xanthan gum or guar gum. This helps with the structure and rise of the bread. If your blend doesn’t contain it, you can add about 1 teaspoon of xanthan gum to the dry ingredients.
- Storage: Store leftover bread in an airtight container at room temperature for up to 2 days. For longer storage, you can freeze the loaf for up to 3 months. Just slice before freezing and toast individual slices as needed.
- Customizing Flavors: You can add other ingredients such as nuts, seeds, or dried herbs to the dough for extra flavor and texture. Just be sure to keep the dough consistency similar to the one described.
- Steam for a Crispier Crust: To achieve an even crispier crust, place a small pan of water in the oven while the bread bakes to create steam.
