All products are selected by our editorial team for quality. If you buy through our links, we may earn a small commission at no extra cost to you.
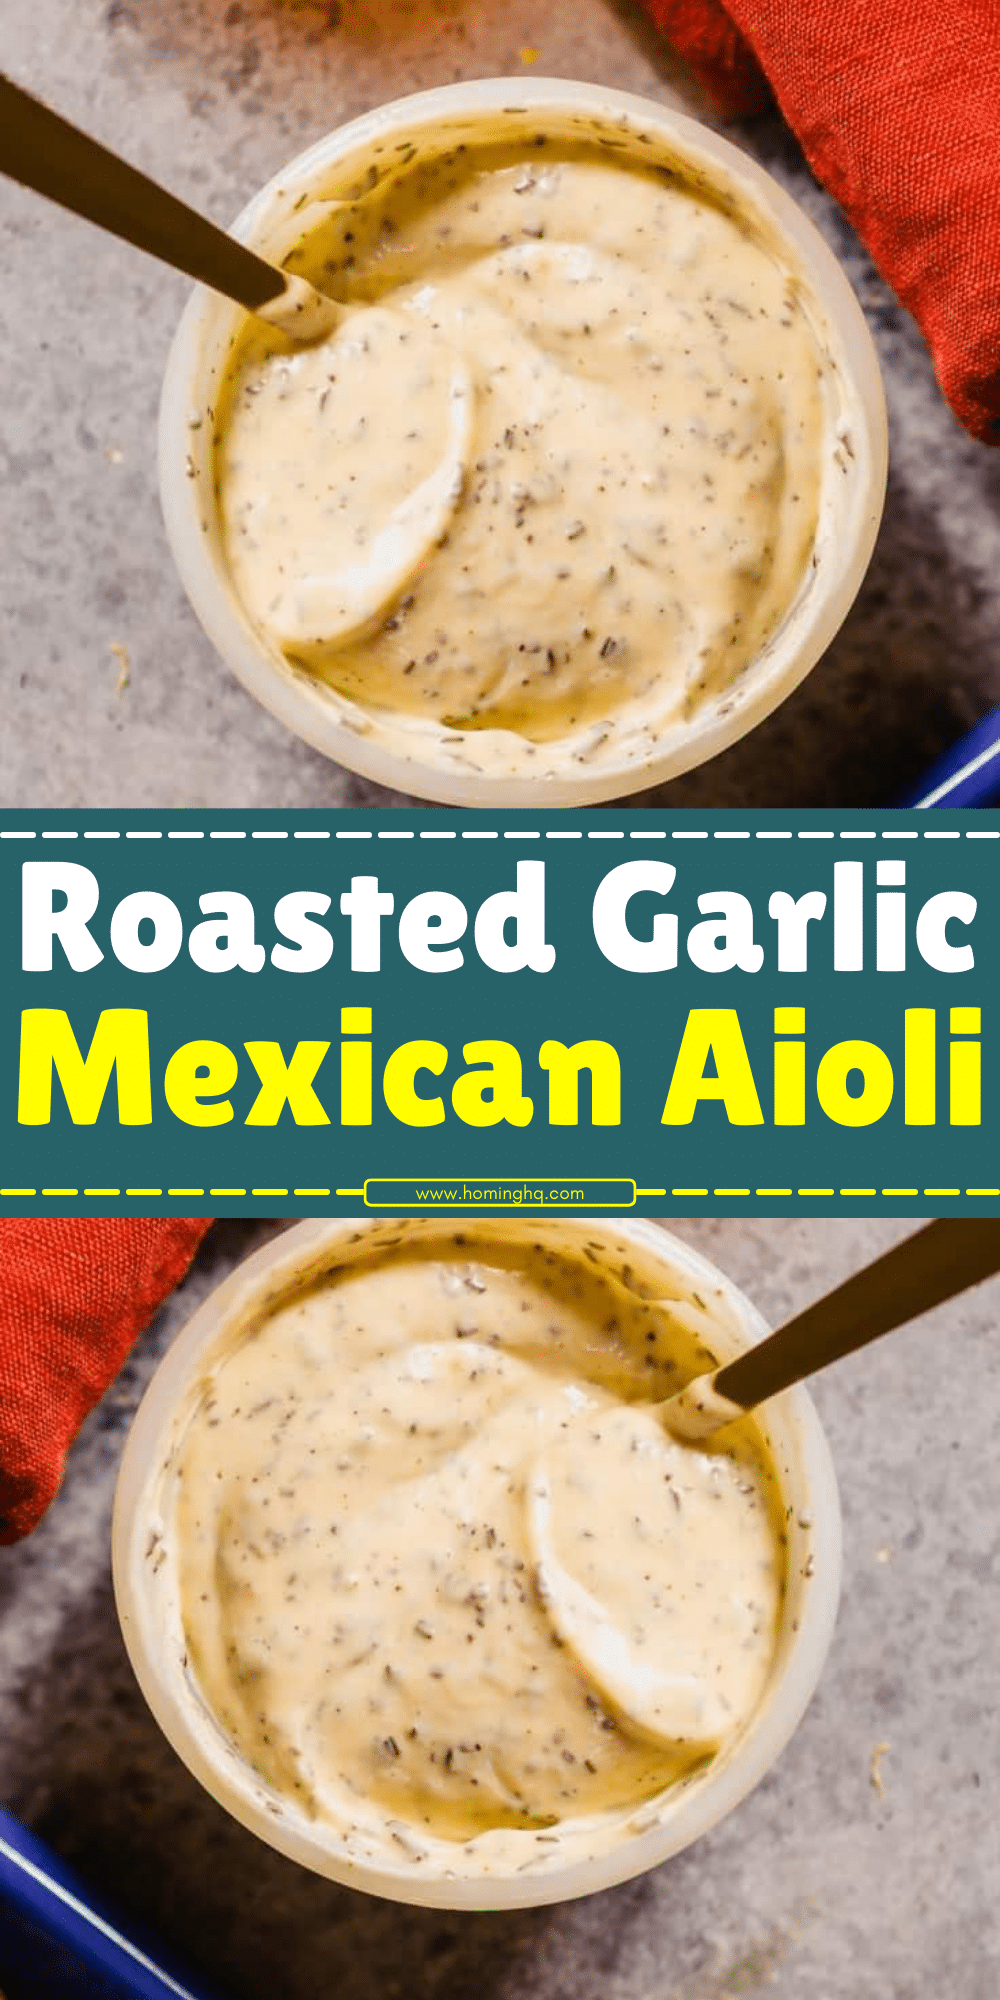
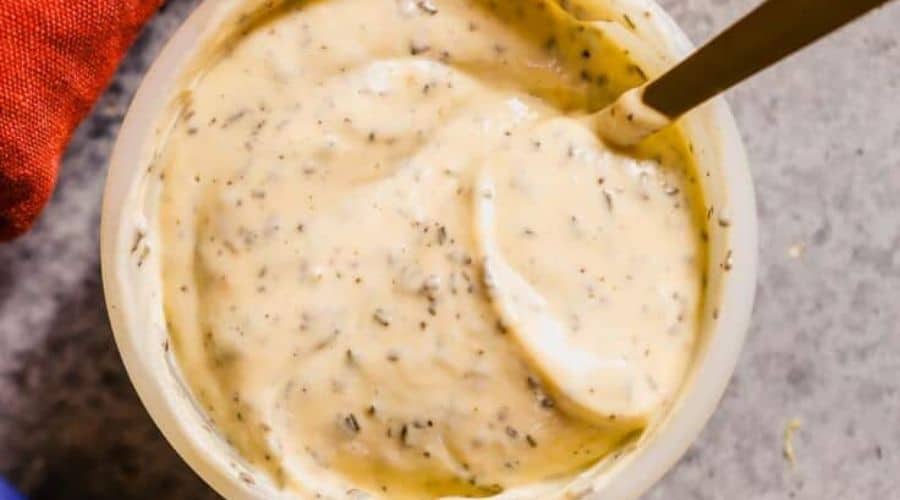
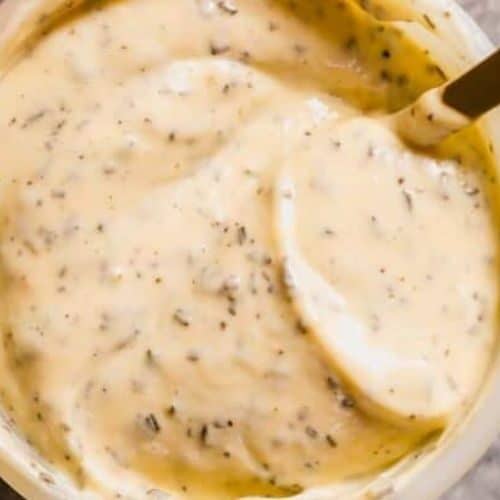
Roasted Garlic Mexican Aioli is a creamy, zesty twist on the traditional aioli sauce, combining the rich, mellow flavor of roasted garlic with the vibrant, bold spices of Mexican cuisine.
This unique version of aioli is not only packed with flavor but also incredibly versatile—whether you’re drizzling it over tacos, spreading it on sandwiches, or using it as a dip for crispy fries, this sauce will elevate any dish with its savory, tangy goodness.
The key difference between classic aioli and this Mexican-inspired version lies in the addition of ingredients like fresh cilantro, lime juice, and a hint of chili powder, giving it a lively, flavorful kick.
Roasting the garlic before blending it with other ingredients softens its sharpness, creating a smooth, subtle base for the aioli.
Together, these elements come together to create a sauce that’s rich, creamy, and bursting with flavor.
Ingredients You’ll Need for Roasted Garlic Mexican Aioli
To create this delightful aioli at home, you’ll need a handful of simple ingredients.
Each one plays an important role in achieving that perfect balance of creamy texture and vibrant flavor.
Essential Ingredients for Roasted Garlic Mexican Aioli:
- Garlic: Fresh garlic bulbs are the star of the show, but they’ll be roasted to bring out a mellow, sweet flavor that’s key to the aioli’s richness.
- Mayonnaise: The creamy base of the aioli, mayonnaise gives the sauce its smooth and silky consistency.
- Lime Juice: A splash of lime adds a tangy kick that brightens up the richness of the aioli and ties in the Mexican flavor profile.
- Cilantro: Fresh cilantro is a must for that herbal, fresh element. It’s a classic ingredient in Mexican cuisine, and it helps balance out the garlic’s depth.
- Chili Powder: A mild chili powder gives the aioli its smoky, slightly spicy undertone. Adjust to your preferred heat level!
- Salt: To taste, salt brings everything together and enhances the natural flavors of the ingredients.
Optional Ingredients (For Extra Flavor Boost):
- Smoked Paprika: If you enjoy a smoky twist, a pinch of smoked paprika is a fantastic addition to this aioli.
- Jalapeño: For an added layer of heat, finely chopped jalapeño can be blended into the aioli, giving it a fresh, spicy kick.
With just these few ingredients, you’ll be able to create a rich, flavorful sauce that’s perfect for a variety of dishes.
Make sure to use fresh cilantro and garlic for the best results—these ingredients truly make all the difference!
Step-by-Step Instructions for Making Roasted Garlic Mexican Aioli
Creating your own Roasted Garlic Mexican Aioli at home is incredibly simple, and with just a few steps, you’ll have a creamy, flavorful sauce ready to enhance your meals.
Follow these easy steps for the perfect aioli.
1. Prepare the Roasted Garlic
Start by roasting the garlic. Preheat your oven to 400°F (200°C). Cut the top off a bulb of garlic, exposing the individual cloves.
Drizzle with a small amount of olive oil, wrap it in aluminum foil, and roast it in the oven for about 30-35 minutes.
When done, the garlic should be soft, caramelized, and fragrant. Let it cool before squeezing the roasted garlic out of its skins.
2. Combine Mayonnaise and Roasted Garlic
In a blender or food processor, add about ½ cup of mayonnaise.
Squeeze the roasted garlic cloves from their skins and add them to the blender.
For a smoother aioli, you can start with fewer cloves and taste as you go, adjusting the amount based on your garlic preference.
3. Add Mexican Flavors
Next, add your flavor-enhancing ingredients. Squeeze the juice of half a lime into the mixture for a fresh, tangy kick.
Add 1-2 tablespoons of chopped fresh cilantro for that signature herbal flavor, and ½ teaspoon of chili powder to introduce a mild heat.
If you like it spicier, feel free to add more chili powder or even a pinch of cayenne pepper.
4. Blend Until Smooth
Secure the lid and blend the mixture on high speed until everything is smooth and well-combined.
If the aioli is too thick, add a teaspoon of water or extra lime juice to reach your desired consistency.
Taste the aioli and adjust seasoning—add salt and pepper as needed to enhance the flavors.
5. Chill and Serve
Transfer the aioli to a small bowl or jar, and chill it in the refrigerator for at least 30 minutes to allow the flavors to meld together.
Serve it with your favorite dishes—tacos, grilled chicken, or roasted vegetables for the ultimate flavor boost!
Tips for the Best Roasted Garlic Mexican Aioli
While this recipe is simple, a few helpful tips can ensure that your Roasted Garlic Mexican Aioli turns out absolutely perfect every time.
Use Fresh Ingredients
Fresh garlic and cilantro make a huge difference in flavor.
Roasted garlic gives the aioli its sweet, mellow profile, and fresh cilantro adds that herbal, bright note that is essential to the Mexican twist.
Adjust the Garlic to Your Taste
Roasted garlic is much milder than raw garlic, but it can still be quite strong. Start by adding 3-4 roasted garlic cloves and taste as you go.
If you prefer a more pronounced garlic flavor, add a little more until you find the perfect balance.
Experiment with Heat Levels
Chili powder is key to giving the aioli its signature Mexican flavor, but you can adjust the spice level depending on your preferences.
If you enjoy a little heat, try adding finely minced jalapeño or a pinch of cayenne pepper.
For a smoky flavor, consider adding smoked paprika.
Blend Well for a Smooth Texture
The key to a perfect aioli is smoothness.
Use a blender or food processor to ensure all the ingredients are fully incorporated.
If you prefer a chunkier aioli, you can pulse the mixture briefly, but for the best creamy texture, blend it until silky and uniform.
Let It Chill
Though you can enjoy the aioli immediately after mixing, letting it chill in the fridge for at least 30 minutes helps the flavors meld and intensify.
The cool temperature also thickens the aioli slightly, making it the perfect consistency for dipping and drizzling.
Make-Ahead Tips
Roasted Garlic Mexican Aioli can be made a day ahead.
In fact, it will taste even better after sitting in the fridge for a while, allowing the ingredients to develop a richer flavor.
Be sure to store it in an airtight container for freshness.
Final Thoughts
Roasted Garlic Mexican Aioli is more than just a sauce—it’s an experience.
The combination of rich, roasted garlic with bright lime, fresh cilantro, and smoky chili powder creates a complex, flavorful aioli that will quickly become a staple in your kitchen.
Whether you’re using it to elevate tacos, grilled meats, or as a dip for crispy fries, this aioli will add a burst of flavor to whatever it touches.
What makes this aioli so special is its versatility. You can tweak it to suit your taste by adjusting the heat level, using different herbs, or adding a bit of smoked paprika.
It’s simple to make, and once you’ve experienced the magic of homemade aioli, you’ll never go back to store-bought versions.
Plus, the creamy texture and bold flavors mean it’s always a crowd-pleaser—perfect for a family meal, a dinner party, or even a casual snack.
Take your meals to the next level with this Roasted Garlic Mexican Aioli, and enjoy the delicious burst of flavor it brings to every bite!
Frequently Asked Questions (FAQs)
1. Can I use store-bought mayonnaise instead of making it from scratch?
Yes, absolutely! While homemade mayonnaise will give the aioli a fresher, richer flavor, store-bought mayo works perfectly well for this recipe.
Just make sure to choose a high-quality mayo for the best taste.
2. How long does Roasted Garlic Mexican Aioli last in the fridge?
This aioli will last for about 3-5 days in the refrigerator.
Be sure to store it in an airtight container to preserve its freshness. Always check for any signs of spoilage before using.
3. Can I make Roasted Garlic Mexican Aioli spicier?
Yes! If you like a little more heat, you can add a chopped jalapeño, a pinch of cayenne pepper, or even a dash of hot sauce.
Adjust the spice level to suit your personal preferences.
4. Is it possible to make this aioli vegan?
Yes, you can easily make a vegan version by substituting mayonnaise with a plant-based alternative.
Many grocery stores offer vegan mayo that will work perfectly in this recipe.
5. Can I freeze Roasted Garlic Mexican Aioli?
While aioli can technically be frozen, the texture may change once thawed, as the mayonnaise can separate.
For the best texture and flavor, it’s recommended to enjoy the aioli fresh or within the 3-5 days after making it.
Roasted Garlic Mexican Aioli
Equipment
- Oven (for roasting garlic)
- Oven (for roasting garlic)
- Aluminum foil (for wrapping the garlic)
- Knife (for cutting the garlic bulb)
- Small bowl (for serving the aioli)
Ingredients
- 1 bulb of garlic
- ½ cup 120g of mayonnaise
- 1 tablespoon 15mL of fresh lime juice
- 2 tablespoons 8g of fresh cilantro, finely chopped
- ½ teaspoon 1g of chili powder
- Salt to taste
- Freshly ground black pepper to taste
Instructions
- Roast the Garlic: Preheat your oven to 400°F (200°C). Cut the top off the garlic bulb, drizzle with olive oil, and wrap in aluminum foil. Roast for 30-35 minutes, or until the garlic is soft and caramelized. Let it cool slightly.
- Prepare the Aioli: Squeeze the roasted garlic cloves out of their skins and add them to a blender or food processor. Add the mayonnaise, lime juice, chopped cilantro, chili powder, salt, and pepper.
- Blend the Ingredients: Blend until smooth and creamy. Taste and adjust the seasoning if necessary, adding more lime juice, salt, or chili powder as desired.
- Chill and Serve: Transfer the aioli to a small bowl and refrigerate for at least 30 minutes to allow the flavors to meld. Serve with tacos, grilled meats, or as a dip for fries and veggies.
Notes
- Adjusting Spice Levels: If you prefer a spicier aioli, you can add extra chili powder or finely chopped jalapeños. For a smokier flavor, try incorporating smoked paprika.
- Vegan Option: To make this aioli vegan, simply swap out the mayonnaise for a plant-based version.
- Storage: This aioli can be stored in an airtight container in the refrigerator for up to 3-5 days. It’s perfect for making ahead and can be used in various dishes throughout the week.
