Welcome to this delightful recipe that promises to satisfy your taste buds and impress your guests! Whether you’re a seasoned cook or a beginner, this recipe is designed to be approachable and enjoyable.
In this guide, we’ll walk you through each step, ensuring you create a delicious dish that’s as rewarding to make as it is to eat.
Ingredients: What You’ll Need
For this recipe, you’ll need the following ingredients to bring all the flavors together:
- Main Ingredients: These are the stars of the dish, so make sure you have them fresh and ready to go.
- Seasonings & Spices: A mix of carefully chosen seasonings that will elevate the flavor profile.
- Additional Components: Any extra ingredients that complete the dish, from garnishes to specialty elements.
Each ingredient plays an important role, and using the right measurements will help ensure perfect results.
Equipment: What You’ll Need for This Recipe
To prepare this dish, make sure you have the following equipment on hand:
- Cooking Utensils & Tools: From knives to mixing spoons, these are essential for chopping, stirring, and more.
- Cookware: Depending on the recipe, you might need a frying pan, pot, or baking dish. Make sure everything is in good condition.
- Additional Tools: Items like measuring cups, timers, or blenders may be needed for precision.
Having everything ready before you start will make the cooking process smoother and more enjoyable.
Step-by-Step Instructions
Now that you’ve gathered your ingredients and equipment, it’s time to dive into the cooking process! Follow these detailed steps to create your Peanut Butter Cup Ice Cream:
- Prepare the Ice Cream Base
Begin by making the base of your ice cream. In a large mixing bowl, combine the heavy cream, whole milk, and sugar. Whisk until the sugar dissolves completely, ensuring the base is smooth and well-blended. - Add Peanut Butter
Gently fold the peanut butter into the cream mixture, making sure it’s evenly incorporated. You want a creamy texture with just the right amount of peanut butter flavor. - Chill the Mixture
Pour the mixture into an airtight container and refrigerate for at least 2 hours. This step helps the flavors meld and ensures the base is cold before churning. - Churn the Ice Cream
Once the base is chilled, pour it into your ice cream maker and churn according to the manufacturer’s instructions. This usually takes about 20-25 minutes, depending on the machine. - Fold in Peanut Butter Cups
As the ice cream nears the end of the churning process, add the chopped peanut butter cups. Stir them in gently to distribute the pieces evenly throughout the ice cream. - Freeze the Ice Cream
Transfer the ice cream to a storage container and freeze for at least 4 hours, or until it reaches your desired consistency. The longer it freezes, the firmer the ice cream will become. - Serve & Enjoy
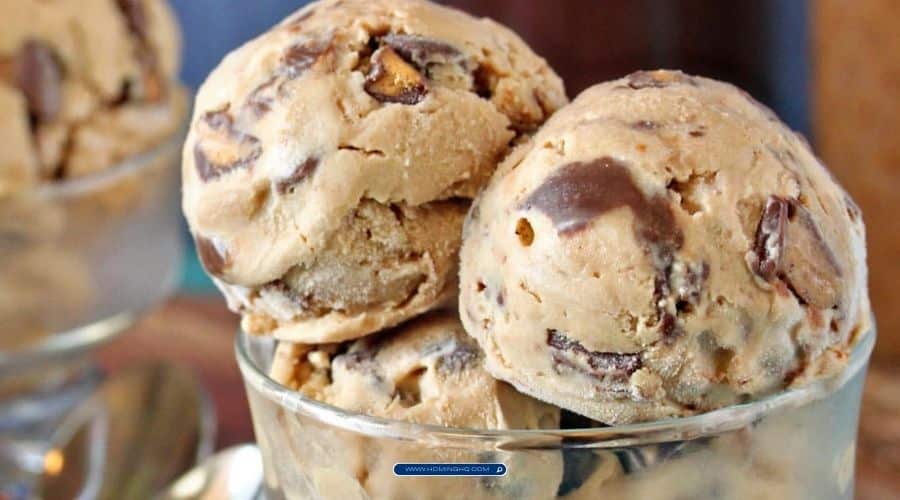
Once the ice cream is fully frozen, scoop into bowls or cones, and enjoy the deliciously creamy, peanut butter-packed treat!
Tips for the Best Peanut Butter Cup Ice Cream
To ensure your ice cream turns out as perfect as possible, keep these helpful tips in mind:
- Use Smooth Peanut Butter: For a creamy, uniform texture, opt for smooth peanut butter. Chunky peanut butter can disrupt the creaminess of the base.
- Chill the Base Thoroughly: The colder the base is when you churn it, the smoother and creamier your ice cream will turn out. Don’t skip the chilling step!
- Chop the Peanut Butter Cups into Even Pieces: To ensure an even distribution, chop the peanut butter cups into small, bite-sized pieces. This helps avoid clumps and ensures you get a bit of peanut butter cup in every bite.
- Don’t Over-Churn: Be mindful not to over-churn the ice cream, as this can cause it to become too hard and icy. Keep an eye on it while it’s churning and stop when it reaches a soft-serve consistency.
- Allow It to Sit Before Serving: Let the ice cream sit out for a few minutes before scooping. This will make it easier to scoop and give you that perfect, smooth texture.
Frequently Asked Questions
- Can I use crunchy peanut butter instead of smooth?
While smooth peanut butter creates a creamier texture, you can certainly use crunchy peanut butter if you prefer a bit more texture. Just be aware that it may affect the consistency of the ice cream slightly. - Can I make this ice cream without an ice cream maker?
Yes, you can! If you don’t have an ice cream maker, simply pour the chilled mixture into a shallow container and freeze. Every 30 minutes, take it out and stir with a fork to break up any ice crystals. Continue this process until the ice cream reaches the desired consistency. - How long can I store the Peanut Butter Cup Ice Cream?
Store the ice cream in an airtight container in the freezer for up to 2 weeks. However, it’s best enjoyed within the first week for the freshest flavor and texture. - Can I add other mix-ins to the ice cream?
Absolutely! You can customize the recipe by adding other mix-ins like chocolate chips, caramel swirls, or crushed cookies. Just be sure to fold them in gently after churning. - Is there a way to make this ice cream dairy-free?
Yes! You can substitute the heavy cream and milk with non-dairy alternatives like coconut milk or almond milk. Just make sure to use a non-dairy peanut butter if needed, and check the consistency while churning to ensure it thickens properly.
Conclusion
Now that you’ve mastered the art of making Peanut Butter Cup Ice Cream, you’re ready to indulge in this rich, creamy dessert that’s sure to be a crowd-pleaser! Whether you’re serving it at a party or enjoying it as a treat for yourself, this ice cream offers the perfect balance of peanut butter and chocolate. By following these easy steps and tips, you’ll create a homemade dessert that’s far superior to anything store-bought.
Enjoy the process, get creative with your add-ins, and most importantly, savor every bite of this delicious frozen treat!
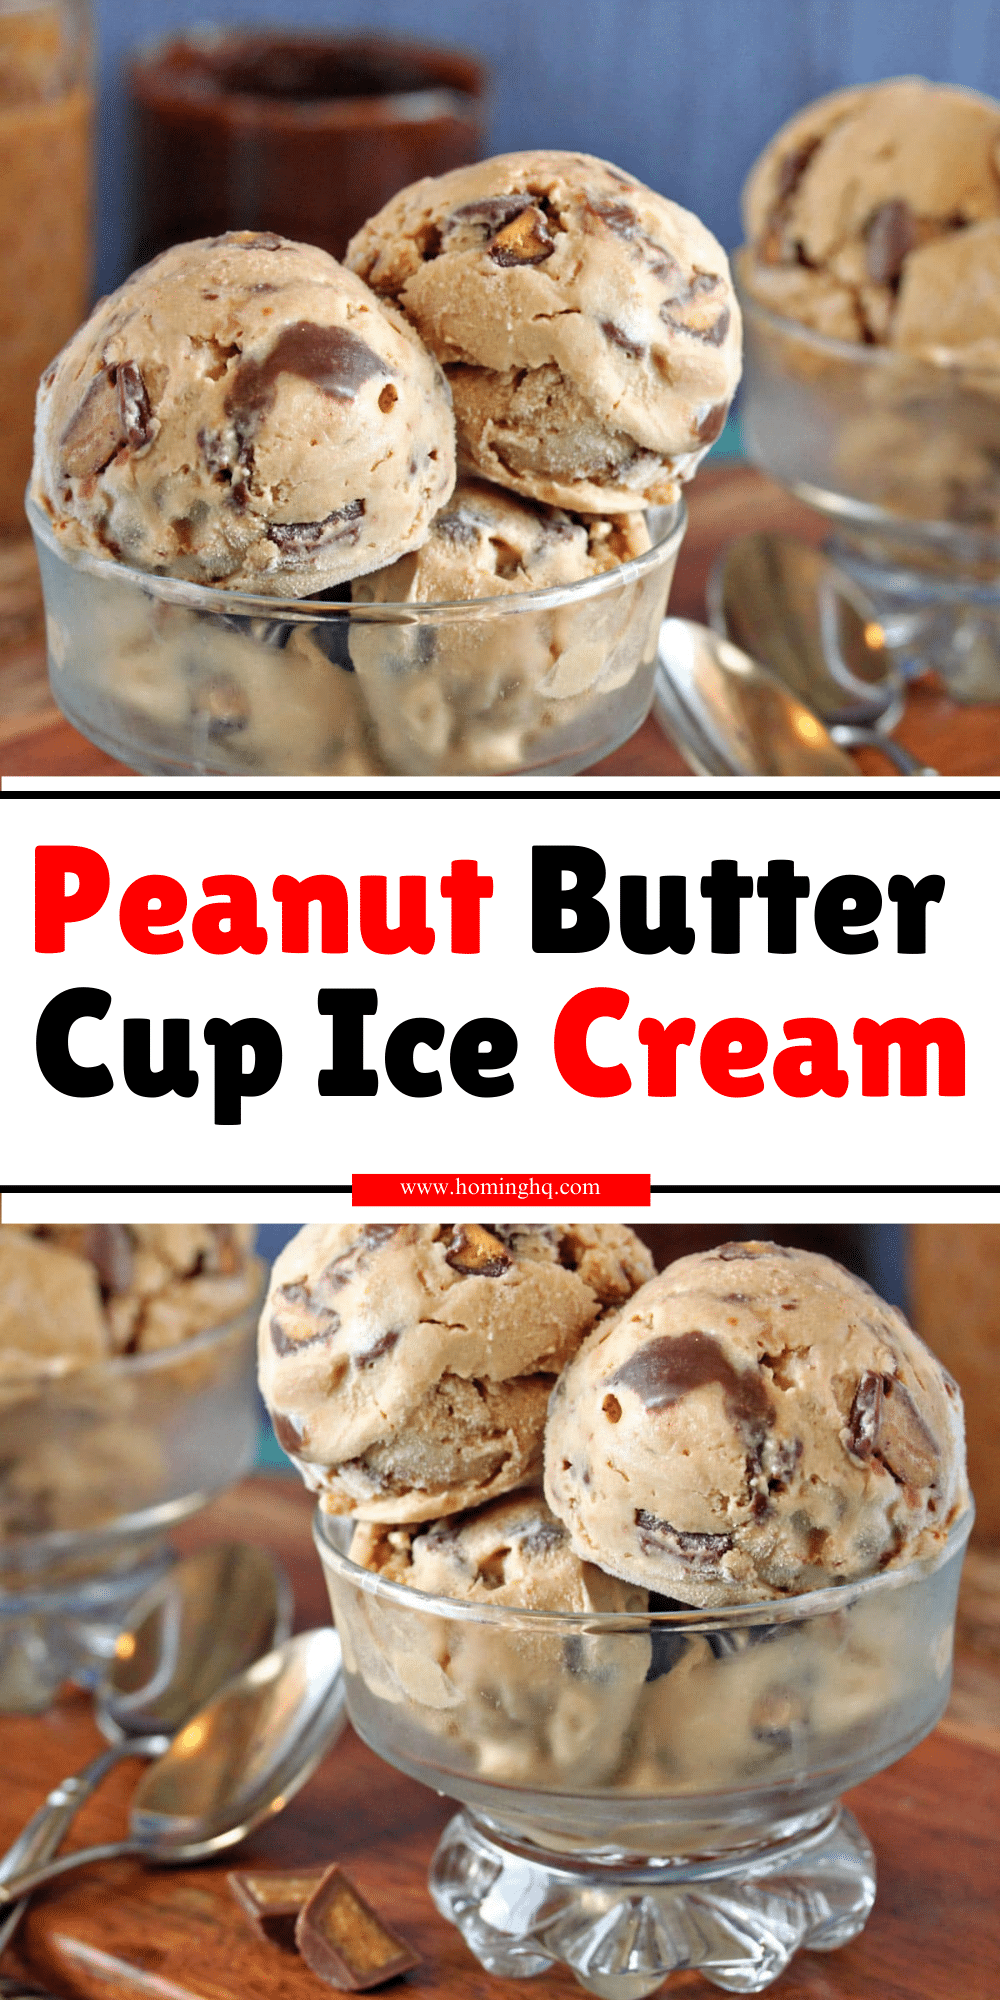
Peanut Butter Cup Ice Cream
Equipment
- Ice Cream Maker – 1 unit (optional, can use a hand mixer or manual method)
- Mixing Bowl – 1 large (for combining ingredients)
- Measuring Cups & Spoons: 1 set
- Whisk – 1 (for blending the cream and sugar)
- Chopping Knife – 1 (for cutting peanut butter cups)
- Spatula – 1 (for folding ingredients)
- Airtight Storage Container – 1 (for freezing the ice cream)
Ingredients
- 2 cups – Heavy cream
- 1 cup – Whole milk
- 3/4 cup – Granulated sugar
- 1 cup – Peanut butter smooth
- 1 cup – Peanut butter cups chopped (approximately 6-8 cups)
Instructions
Prepare the Ice Cream Base
- In a large mixing bowl, whisk together the heavy cream, whole milk, and granulated sugar until the sugar is fully dissolved. Add the peanut butter and fold it into the mixture until smooth and well-blended.
Chill the Mixture
- Cover the mixture and refrigerate for at least 2 hours to chill thoroughly.
Churn the Ice Cream
- Pour the chilled base into your ice cream maker and churn according to the manufacturer’s instructions. This usually takes about 20-25 minutes.
Add Peanut Butter Cups
- When the ice cream is nearly done churning, fold in the chopped peanut butter cups, ensuring they are evenly distributed.
Freeze the Ice Cream
- Transfer the churned ice cream to an airtight storage container and freeze for at least 4 hours or until firm.
Serve and Enjoy
- Scoop the ice cream into bowls or cones and enjoy your homemade peanut butter cup treat!
Notes
- For a smoother consistency: If you don’t have an ice cream maker, you can pour the base into a shallow pan and freeze it. Stir every 30 minutes with a fork for a smoother texture until it thickens to your liking.
- Peanut Butter Variation: You can use crunchy peanut butter for added texture, though smooth peanut butter results in a creamier base.
- Add-ins: Feel free to add additional mix-ins like chocolate chips or caramel swirls for an even richer dessert.
- Storage: Store the ice cream in an airtight container in the freezer for up to 2 weeks for the best flavor and texture.
