All products are selected by our editorial team for quality. If you buy through our links, we may earn a small commission at no extra cost to you.
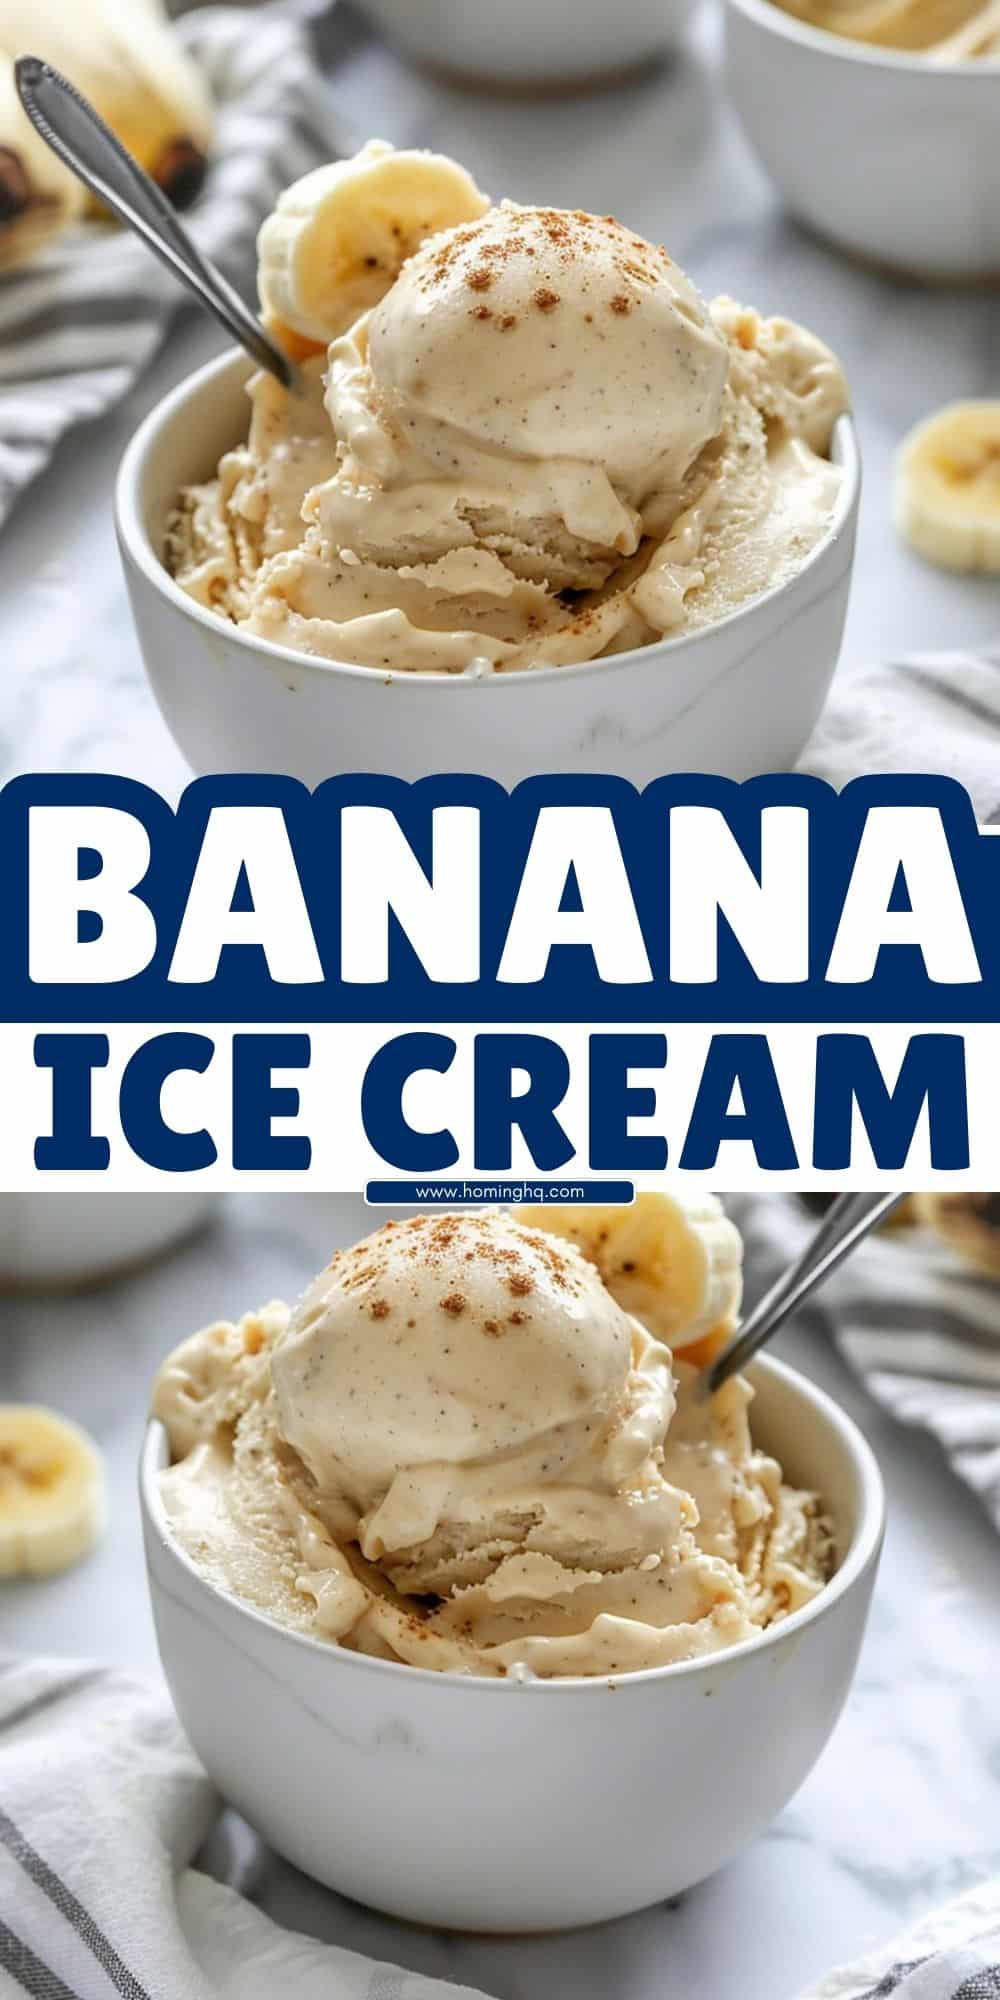
Banana ice cream is an incredibly simple yet delicious treat that’s both healthy and indulgent.
Perfect for those hot summer days or when you’re craving something sweet but don’t want to stray too far from your health goals.
The best part? You only need one key ingredient – bananas!
This recipe uses frozen bananas as the base, transforming them into a creamy, ice cream-like texture without the added sugars or preservatives found in store-bought versions.
Plus, it’s versatile! You can add a range of flavors and mix-ins to make it your own, whether you like a touch of vanilla, a scoop of peanut butter, or a dash of cocoa powder.
Whether you’re vegan, lactose intolerant, or just looking for a healthier dessert, banana ice cream is an easy and fun way to enjoy ice cream at home.
What You Need to Make Banana Ice Cream
Making banana ice cream requires very few ingredients, and you likely already have most of them in your kitchen. Here’s what you’ll need to get started:
Main Ingredients
- Ripe bananas: The star of the recipe, the more ripe, the better. Bananas with brown spots are the best because they are naturally sweeter, making the ice cream taste rich and creamy without needing to add too much sugar.
Optional Ingredients
- Vanilla extract: A little splash of vanilla adds a smooth flavor to the ice cream, giving it that traditional ice cream taste.
- Sweetener: Depending on your taste preference, you can add a little honey, maple syrup, or stevia to make the ice cream sweeter.
- Milk: If you like a creamier consistency, add a bit of milk (dairy or non-dairy options like almond or coconut milk work great).
Tools
- Food processor or blender: These are essential for turning frozen bananas into a smooth, creamy texture.
- Freezer-safe container: You’ll need this to store your banana ice cream if you’re not serving it immediately.
How to Make Banana Ice Cream: Step-by-Step
Step 1: Preparing the Bananas
Start by selecting ripe bananas. The more spots they have, the better they’ll taste in your ice cream.
Peel the bananas and slice them into small chunks.
Lay the banana slices out on a baking sheet or plate, making sure they’re not overlapping, and place them in the freezer for at least 2 hours, or until they’re fully frozen.
Freezing the bananas is crucial for achieving the ice cream consistency.
Step 2: Blending the Bananas
Once the banana slices are frozen solid, add them to a food processor or blender.
Start blending, but don’t be discouraged if the mixture initially seems a bit crumbly.
After a few minutes of blending, the bananas will break down into a smooth, creamy texture, resembling soft-serve ice cream.
You may need to stop and scrape the sides of the blender or food processor a few times to ensure everything blends evenly.
Step 3: Adding Flavor and Sweeteners
At this point, you can get creative and add flavors to enhance your banana ice cream.
For a simple yet classic flavor, add a teaspoon of vanilla extract. If you prefer a sweeter taste, a drizzle of honey or maple syrup works perfectly.
You can also experiment with other flavor additions like a spoonful of peanut butter, a pinch of cinnamon, or even cocoa powder for a chocolate twist. Blend again to combine.
Step 4: Freezing and Serving the Banana Ice Cream
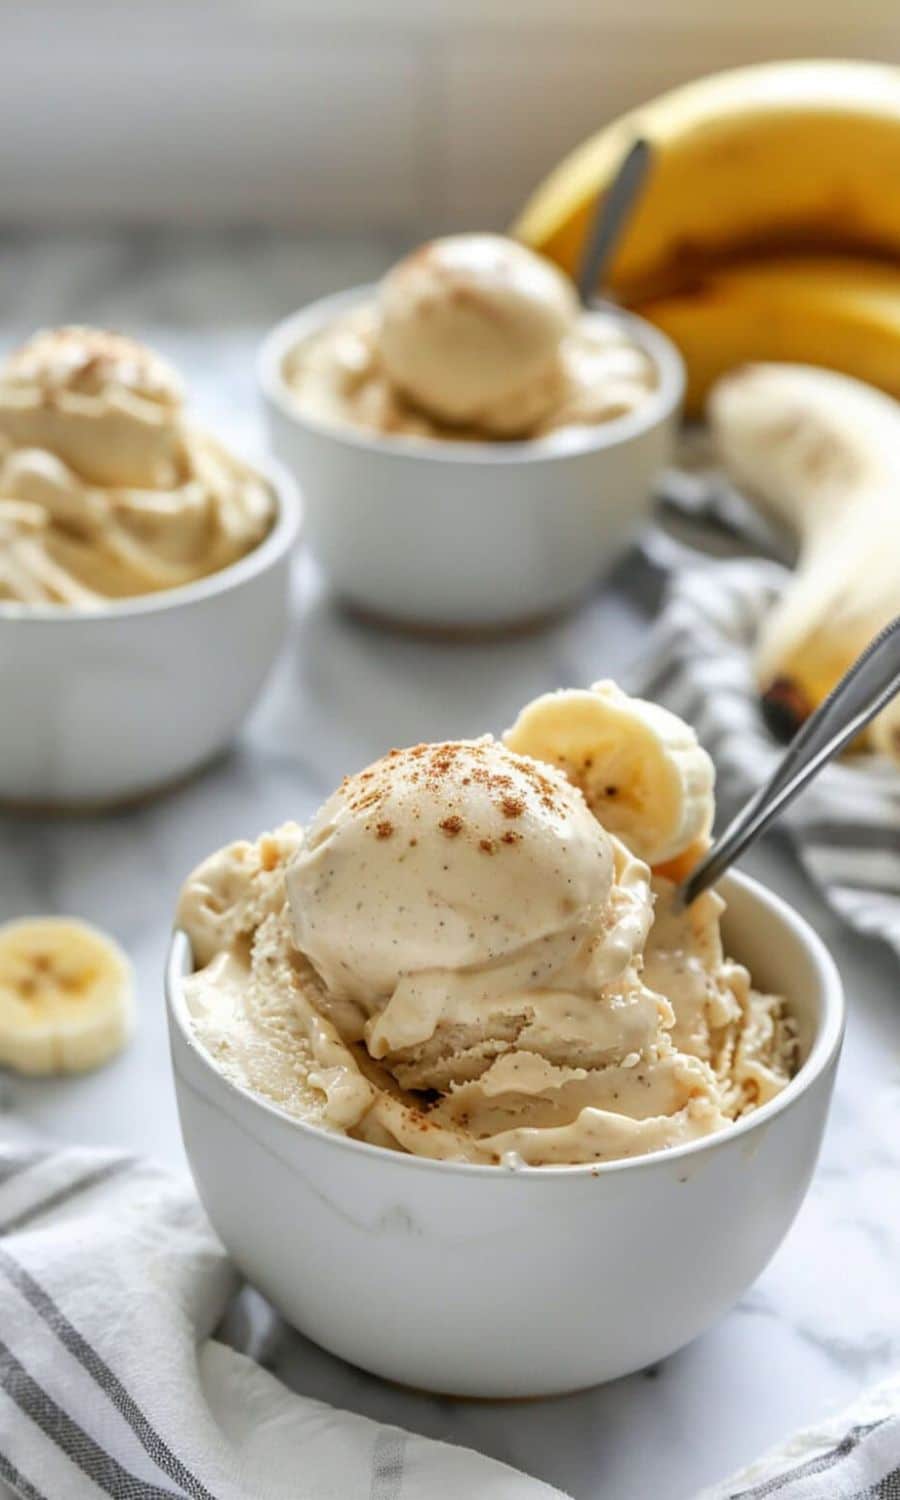
Once the ice cream reaches a creamy consistency, you can serve it right away for a soft-serve texture.
If you prefer a firmer ice cream, transfer the mixture to a freezer-safe container and place it in the freezer for about 1-2 hours.
When ready to serve, scoop it out and enjoy. For extra indulgence, top with nuts, chocolate chips, or a drizzle of caramel.
Tips for the Perfect Banana Ice Cream
Achieving the perfect banana ice cream doesn’t have to be difficult, but there are a few tips to ensure your homemade treat turns out just right.
Choose the Right Bananas
The key to a rich, naturally sweet flavor is to use ripe bananas, preferably with plenty of brown spots.
Overripe bananas create the best base for the ice cream, giving it a naturally sweet flavor without needing much additional sugar.
If you’ve ever had a banana that’s a little too ripe to eat, it’s perfect for making ice cream.
Blend Smoothly for Creaminess
To avoid a chunky or icy texture, make sure to blend the bananas well until they turn smooth and creamy.
If needed, scrape down the sides of your food processor or blender and give it another go.
A food processor typically works better than a blender for a smoother result.
Experiment with Flavors and Mix-ins
Banana ice cream is a blank canvas! Don’t be afraid to try different flavor combinations.
You can add peanut butter for richness, cocoa powder for a chocolatey treat, or even mix in berries, chocolate chips, or nuts for extra texture.
You can also adjust sweetness according to your preferences, ensuring that your homemade banana ice cream hits just the right note for you.
Serve Immediately for Soft-Serve or Freeze for Firmer Ice Cream
If you’re craving a soft, scoopable ice cream, serve it immediately after blending.
For a firmer, scoopable texture, freeze it for an hour or two. Just remember that banana ice cream can become quite firm when frozen, so let it sit out for a few minutes before serving if you like it a bit softer.
Common Mistakes to Avoid
While banana ice cream is relatively easy to make, there are a few common mistakes that can impact the texture and taste. Here’s what to watch out for:
Over-Blending or Under-Blending
It’s important to blend the frozen bananas just enough to achieve a creamy consistency.
If you blend for too long, the mixture can become too liquidy. If you don’t blend long enough, you’ll end up with a chunky or icy texture.
Keep an eye on the consistency and stop once it turns smooth and creamy.
Using Unripe Bananas
Unripe bananas will give your ice cream a more starchy taste and a less creamy texture.
Always use ripe bananas with brown spots to ensure the ice cream is naturally sweet and smooth.
If you don’t have ripe bananas, let them sit on the counter until they reach the perfect stage for making ice cream.
Skipping the Freezing Process
Freezing the bananas before blending is essential to achieving the correct texture.
If you skip this step, the bananas won’t blend into that creamy, ice cream-like consistency.
Be patient and freeze your banana slices for at least 2 hours before blending for the best results.
Overloading with Sweeteners
Bananas already have natural sweetness, so adding too much sugar or sweetener can overwhelm the flavor.
Start with a small amount of sweetener and taste the mixture before adding more, ensuring it suits your preference without overpowering the banana flavor.
Not Scraping the Sides of the Blender or Food Processor
As you blend, some banana bits might stick to the sides of the blender or food processor.
Make sure to stop and scrape down the sides a few times to ensure everything is blended evenly.
This will help achieve a smooth, uniform texture.
How to Store Leftover Banana Ice Cream
If you have leftover banana ice cream, the best way to store it is in a freezer-safe container.
Here’s how to keep it fresh and maintain its creamy texture:
Store in an Airtight Container
After making your banana ice cream, transfer it to an airtight container.
This will prevent freezer burn and help preserve the flavor and texture.
Be sure to press the ice cream down into the container to remove air pockets, which can affect the texture.
Prevent It from Getting Too Hard
Banana ice cream can freeze hard and become difficult to scoop. To avoid this, take it out of the freezer 5 to 10 minutes before serving to soften it.
You can also store the ice cream in small, individual portions, so it’s easier to defrost just the amount you need.
How Long Can You Store It?
Leftover banana ice cream will last for about 1 to 2 weeks in the freezer.
After this time, it may start to lose its creamy texture and become a bit icy. For the best taste and texture, enjoy it within this timeframe.
Conclusion
Banana ice cream is the perfect blend of health and indulgence. With just one main ingredient, you can create a creamy, satisfying dessert that’s both refreshing and guilt-free.
Whether you enjoy it on its own or mix it with fun additions like chocolate, peanut butter, or fruit, this treat is easily customizable to suit any taste.
The simplicity and flexibility of banana ice cream make it a wonderful dessert for everyone, whether you’re following a special diet or just looking to enjoy a quick and healthy treat.
So go ahead and whip up a batch, and don’t be afraid to get creative with the flavors and mix-ins.
The possibilities are endless, and the best part is—you can feel good about eating it!
Frequently Asked Questions
1. Can I make banana ice cream without a food processor or blender?
Yes! If you don’t have a food processor or blender, you can try using a potato masher to mash the frozen bananas.
It will take more time and effort, but it’s possible. The texture may be chunkier, but it will still taste delicious!
2. Can I use frozen store-bought bananas for banana ice cream?
Absolutely! Pre-frozen bananas are a great option if you want to save time.
Just make sure the bananas are sliced before freezing so they can blend easily into a smooth consistency.
3. How can I make banana ice cream creamier?
For an even creamier texture, you can add a splash of milk (dairy or non-dairy) when blending.
Coconut milk or almond milk are great choices for adding extra richness. Additionally, adding a spoonful of peanut butter or coconut cream can enhance the creaminess.
4. Can I make banana ice cream ahead of time?
Yes, banana ice cream can be made ahead of time and stored in the freezer.
Just make sure to store it in an airtight container to preserve its texture. When ready to serve, let it thaw for a few minutes to soften.
5. Can I add other fruits to banana ice cream?
Definitely! Banana ice cream pairs wonderfully with other fruits.
You can blend in strawberries, mangoes, blueberries, or even a handful of spinach for a green smoothie-inspired twist.
Just keep in mind that adding extra fruits may slightly alter the texture and flavor, but it’s a fun way to experiment with new combinations.
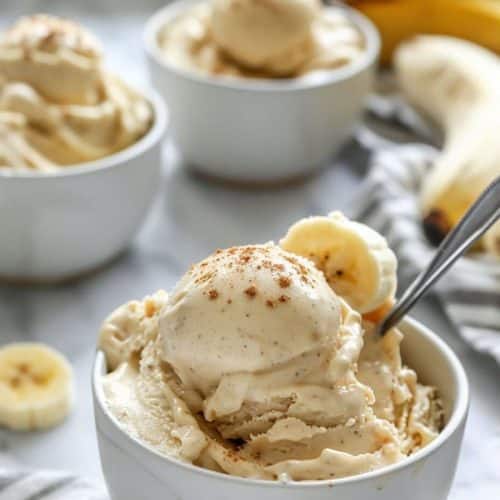
Banana Ice Cream
Equipment
- 1 Food Processor or Blender
- 1 freezer-safe container – for storing the ice cream
Ingredients
- 4 Ripe Bananas peeled and sliced (about 2-3 cups)
- 1 tsp Vanilla Extract optional for flavor
- 1-2 tbsp Sweetener honey, maple syrup, or stevia, optional
- 1/4 cup Milk dairy or non-dairy like almond or coconut milk, optional for creaminess
Instructions
- Prepare the Bananas: Peel the bananas and slice them into small rounds. Lay them in a single layer on a baking sheet or plate and freeze for at least 2 hours, or until solid.
- Blend the Bananas: Add the frozen banana slices to a food processor or blender. Blend for 2-3 minutes, scraping down the sides as needed, until the bananas form a smooth and creamy texture.
- Add Flavor and Sweeteners: Once smooth, add vanilla extract and your preferred sweetener. Blend again to combine. If you want a creamier consistency, add milk in small amounts and blend until desired consistency is achieved.
- Serve or Store: Serve immediately for a soft-serve texture, or transfer to a freezer-safe container and freeze for 1-2 hours for a firmer ice cream consistency. Scoop and enjoy!
Notes
- Bananas: Make sure the bananas are ripe (with brown spots) for the best flavor and sweetness.
- Consistency: Banana ice cream can become very firm after freezing. If you prefer a softer consistency, let it thaw for 5-10 minutes before serving.
- Add-Ins: Feel free to customize your banana ice cream by adding in mix-ins like chocolate chips, nuts, or berries. Blend them in after the bananas are smooth.
- Storage: Store leftover banana ice cream in an airtight container in the freezer for up to 1-2 weeks. Let it thaw before serving for easier scooping.
