All products are selected by our editorial team for quality. If you buy through our links, we may earn a small commission at no extra cost to you.
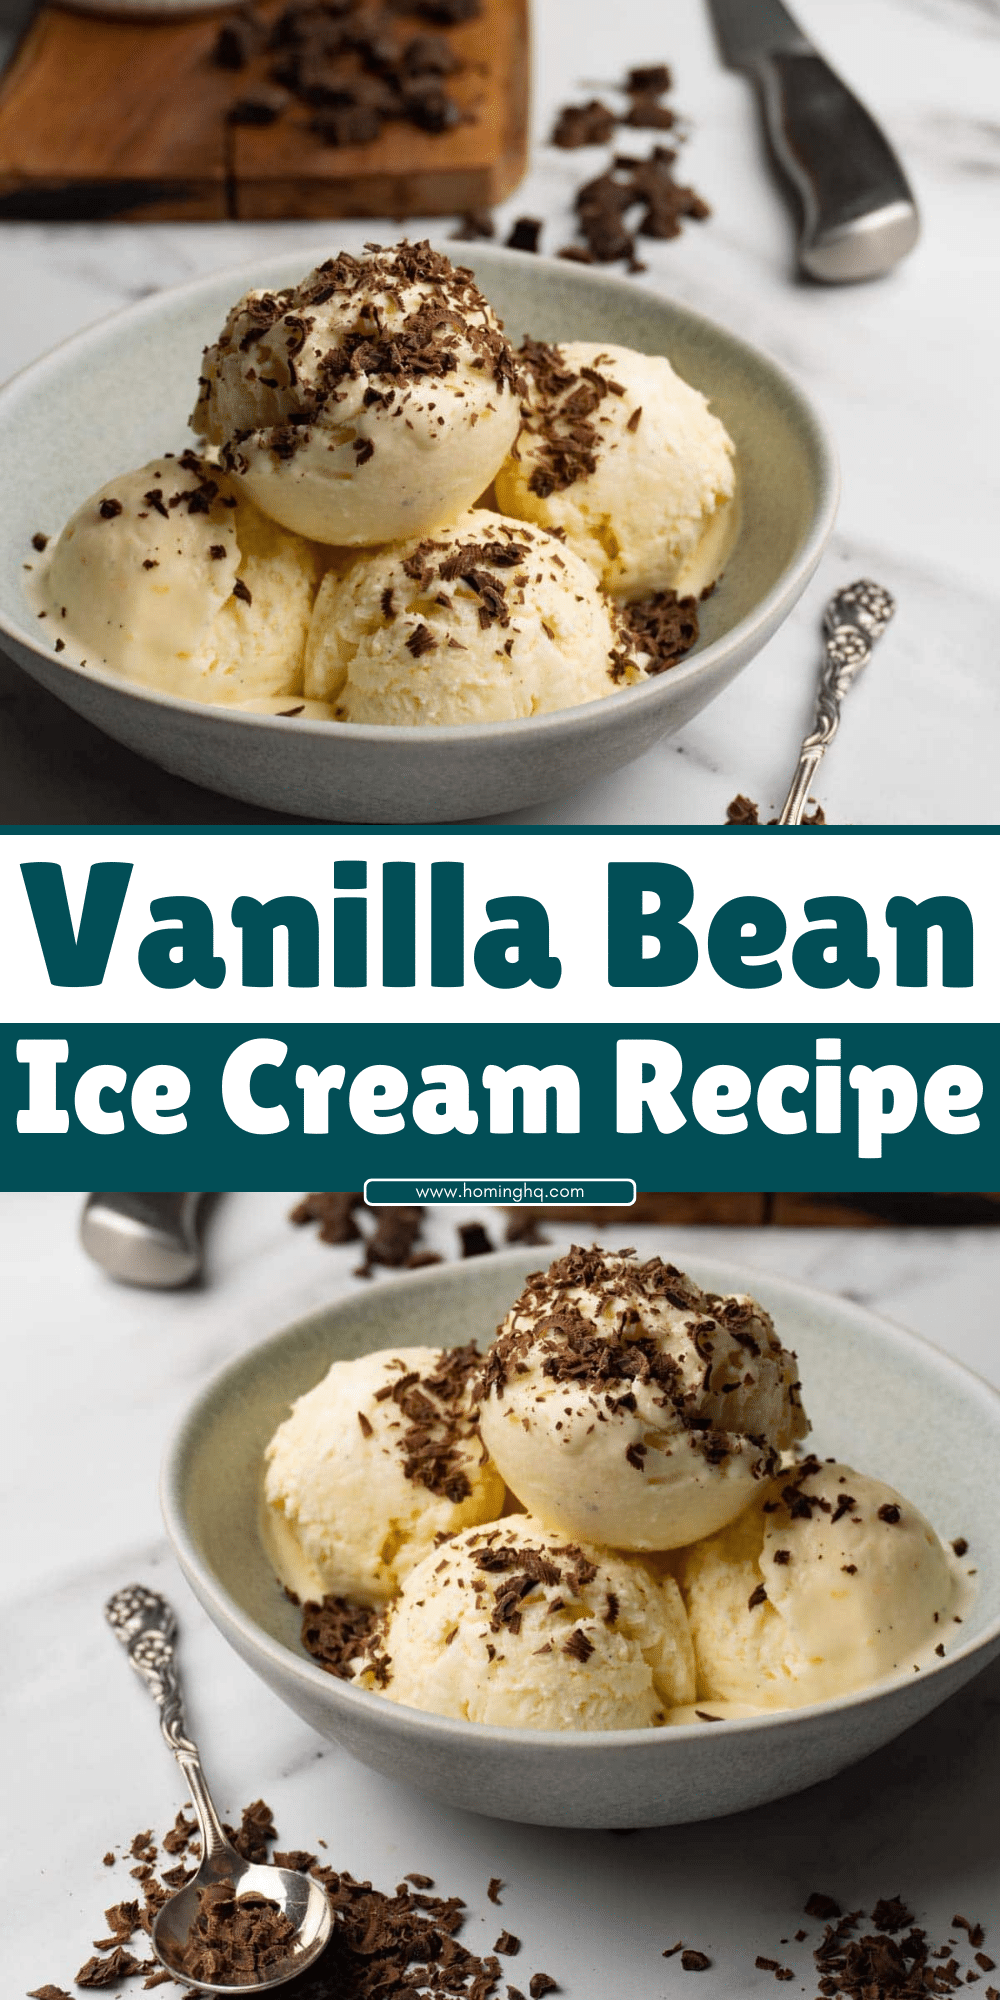
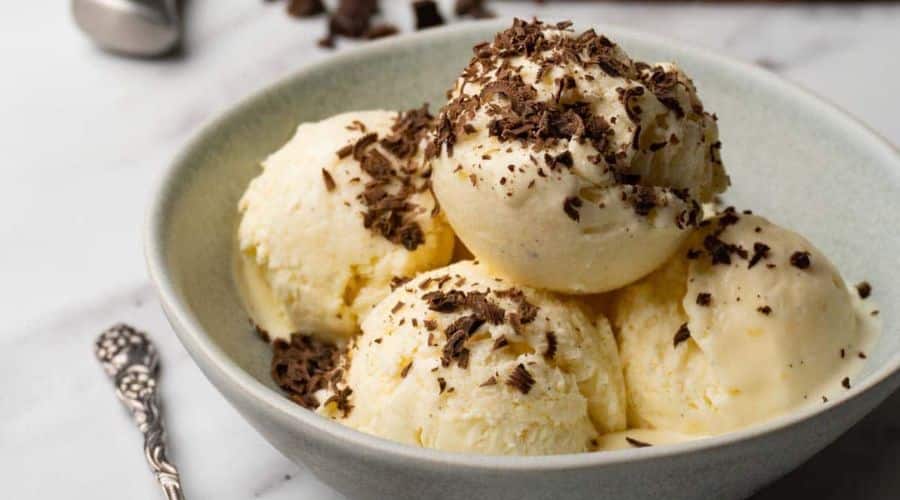
Vanilla Bean Ice Cream is a classic and beloved dessert, known for its smooth, creamy texture and delicate flavor.
Made with real vanilla beans, it offers a more complex and aromatic taste compared to regular vanilla ice cream.
This homemade version allows you to enjoy the luxurious experience of fresh, high-quality ice cream at home.
Whether you’re a novice or an experienced cook, making vanilla bean ice cream can be a fun and rewarding activity.
In the following sections, we will go over the ingredients and equipment you will need to create this delicious treat from scratch.

Ingredients You’ll Need for Vanilla Bean Ice Cream
To make the perfect Vanilla Bean Ice Cream, you’ll need the following ingredients:
- Heavy Cream: This is the base for your ice cream, providing a rich and smooth texture.
- Whole Milk: Adds creaminess and helps balance the richness of the cream.
- Vanilla Beans: For the most authentic and aromatic flavor, using real vanilla beans is essential.
- Sugar: Sweetens the ice cream and helps achieve the smooth consistency.
- Egg Yolks: These help create a custard base that gives the ice cream its rich texture.
- Salt: A small amount of salt enhances the flavor and balances the sweetness.
Essential Equipment for Making Vanilla Bean Ice Cream
Here are the key tools you’ll need to prepare your homemade Vanilla Bean Ice Cream:
- Ice Cream Maker: An ice cream maker is essential to churn and freeze the mixture, giving the ice cream its smooth and creamy texture.
- Mixing Bowls: For combining the ingredients and preparing the custard base.
- Saucepan: You’ll use a saucepan to heat the milk, cream, and vanilla to create the base for your ice cream.
- Strainer: A fine mesh strainer will be needed to strain out the vanilla beans and any egg bits from the custard mixture.
- Whisk: To whisk the custard base and ensure everything is thoroughly mixed.
- Storage Container: Once the ice cream is ready, you’ll need an airtight container to store it in the freezer.
How to Prepare Vanilla Bean Ice Cream from Scratch

Making Vanilla Bean Ice Cream from scratch is a straightforward process, but it does require patience.
Follow these steps to ensure your ice cream turns out perfect:
- Prepare the Vanilla Beans
Split the vanilla beans lengthwise using a sharp knife. Scrape out the seeds with the back of the knife and set them aside. Both the seeds and the pods will be used in the process for the most flavor. - Make the Custard Base
In a medium saucepan, combine the heavy cream, whole milk, and the vanilla bean pods. Heat the mixture over medium heat, stirring occasionally, until it is hot but not boiling. Once it’s hot, remove it from the heat and let it steep for about 15-20 minutes, allowing the vanilla flavor to infuse. - Whisk the Egg Yolks and Sugar
In a separate bowl, whisk together the egg yolks and sugar until the mixture is smooth and slightly pale. - Temper the Egg Yolks
Gradually pour a small amount of the hot cream mixture into the egg yolks, whisking constantly to temper them. This step prevents the eggs from curdling. Once combined, pour the egg yolk mixture back into the saucepan with the remaining cream mixture, whisking continuously. - Cook the Custard
Return the saucepan to the stove over medium-low heat. Stir the mixture constantly with a wooden spoon or spatula, cooking until it thickens enough to coat the back of the spoon. Do not let it boil, as this can cause the custard to curdle. - Strain and Chill
Once the custard has thickened, remove it from the heat and strain it through a fine mesh sieve into a clean bowl to remove the vanilla pods and any curdled bits. Allow the custard to cool to room temperature, then refrigerate for at least 4 hours or overnight to chill thoroughly. - Churn the Ice Cream
Pour the chilled custard into an ice cream maker and churn according to the manufacturer’s instructions. This process typically takes 20-30 minutes, depending on your ice cream maker. - Freeze the Ice Cream
Once the ice cream has thickened and reached a soft-serve consistency, transfer it into an airtight container. Place the container in the freezer and allow the ice cream to firm up for at least 4 hours before serving.
Tips for the Best Vanilla Bean Ice Cream
For the creamiest, most flavorful vanilla bean ice cream, keep these tips in mind:
- Use Fresh Vanilla Beans: For the best flavor, use fresh, high-quality vanilla beans. The fresher the vanilla, the more aromatic the ice cream will be.
- Be Careful with Heat: When cooking the custard base, make sure the mixture doesn’t boil, as high heat can cause the eggs to scramble. Always cook over medium or low heat and stir consistently.
- Cool the Custard Completely: Cooling the custard thoroughly before churning ensures a smoother texture and helps the ice cream firm up more effectively during freezing.
- Churn, Don’t Rush: Give your ice cream maker enough time to churn the custard. Rushing this process can lead to ice crystals forming, affecting the smoothness of your ice cream.
- Use a High-Quality Ice Cream Maker: While hand-churning can work, using a good-quality ice cream maker will give you the best texture and consistency. It’s worth the investment if you plan on making ice cream regularly.
- Flavor Variations: While this recipe is for classic vanilla bean ice cream, feel free to experiment by adding different mix-ins like chocolate chips, fruit, or nuts during the last few minutes of churning.
With these steps and tips, you’ll have the perfect homemade Vanilla Bean Ice Cream to enjoy anytime!
Conclusion
Homemade Vanilla Bean Ice Cream is a delicious and satisfying treat that’s well worth the effort.
By using real vanilla beans and a few simple ingredients, you can create a rich, creamy dessert that rivals any store-bought option.
Whether enjoyed on its own or as a topping for your favorite pies and cakes, this ice cream is sure to impress.
With the right technique and equipment, you can make this delightful dessert at home and share it with friends and family.
So, gather your ingredients, follow the steps, and indulge in a bowl of creamy, flavorful Vanilla Bean Ice Cream made from scratch!
Frequently Asked Questions
1. Can I make Vanilla Bean Ice Cream without an ice cream maker?
Yes, while an ice cream maker produces the best texture, you can make Vanilla Bean Ice Cream without one.
After preparing the custard base and chilling it, pour it into a shallow dish and freeze it.
Every 30 minutes, stir the mixture vigorously with a fork to break up any ice crystals until it reaches a smooth, creamy consistency.
2. How long will homemade Vanilla Bean Ice Cream last in the freezer?
Homemade ice cream will typically last for about 1 to 2 weeks in the freezer, though it’s best enjoyed within the first week for optimal freshness. Store it in an airtight container to prevent freezer burn.
3. Can I use vanilla extract instead of vanilla beans?
Yes, you can use vanilla extract if you prefer.
However, using real vanilla beans provides a richer and more authentic flavor.
If you choose extract, use about 1 tablespoon in place of the vanilla beans.
4. Can I make this ice cream dairy-free?
Yes! You can substitute the heavy cream and whole milk with dairy-free alternatives like coconut milk, almond milk, or cashew cream.
Make sure to choose a full-fat dairy-free option for the best texture.
5. How can I avoid ice crystals in my ice cream?
To avoid ice crystals, make sure to chill your custard thoroughly before churning.
The colder the base, the smoother the texture.
Additionally, churning the mixture in an ice cream maker for the proper amount of time helps create a creamy consistency with fewer ice crystals.

Vanilla Bean Ice Cream
Equipment
- Ice Cream Maker – 1 (standard 1.5-quart size)
- Medium Saucepan – 1
- Mixing bowls (2)
- Whisk (1)
- Wooden spoon or spatula (1)
- Fine Mesh Strainer – 1
- Airtight Storage Container – 1
Ingredients
- Heavy Cream – 2 cups 480 ml
- Whole Milk – 1 cup 240 ml
- Vanilla Beans – 2 split and scraped
- Granulated Sugar – 3/4 cup 150 g
- Egg Yolks – 5 large
- Salt – 1/4 tsp 1.5 g
Instructions
- Prepare the Vanilla Beans: Split the vanilla beans lengthwise and scrape out the seeds with the back of a knife. Set the seeds aside.
- Heat the Cream and Milk: In a medium saucepan, combine the heavy cream, whole milk, and vanilla bean pods. Heat over medium, stirring occasionally, until the mixture is hot but not boiling. Remove from heat and let steep for 15-20 minutes.
- Whisk the Egg Yolks and Sugar: In a separate bowl, whisk together the egg yolks and sugar until smooth and pale.
- Temper the Egg Yolks: Gradually pour a small amount of the hot cream mixture into the egg yolks, whisking constantly to temper them. Once combined, return the egg yolk mixture to the saucepan and whisk continuously.
- Cook the Custard: Cook the custard over medium-low heat, stirring constantly, until it thickens enough to coat the back of a spoon. Do not let it boil.
- Strain the Custard: Remove from heat and strain the custard through a fine mesh sieve to remove the vanilla pods and any curdled bits.
- Chill the Custard: Let the custard cool to room temperature, then refrigerate for at least 4 hours or overnight.
- Churn the Ice Cream: Pour the chilled custard into an ice cream maker and churn according to the manufacturer’s instructions (typically 20-30 minutes).
- Freeze: Transfer the ice cream to an airtight container and freeze for at least 4 hours to firm up before serving.
Notes
- Texture Tip: Be sure to chill the custard completely before churning. The colder the custard, the smoother the texture.
- Vanilla Beans: Fresh vanilla beans will provide the best flavor, but you can substitute with vanilla extract in a pinch. Use about 1 tablespoon of extract for the two vanilla beans.
- Storing the Ice Cream: This ice cream will stay fresh for 1-2 weeks in the freezer if stored in an airtight container.

