All products are selected by our editorial team for quality. If you buy through our links, we may earn a small commission at no extra cost to you.
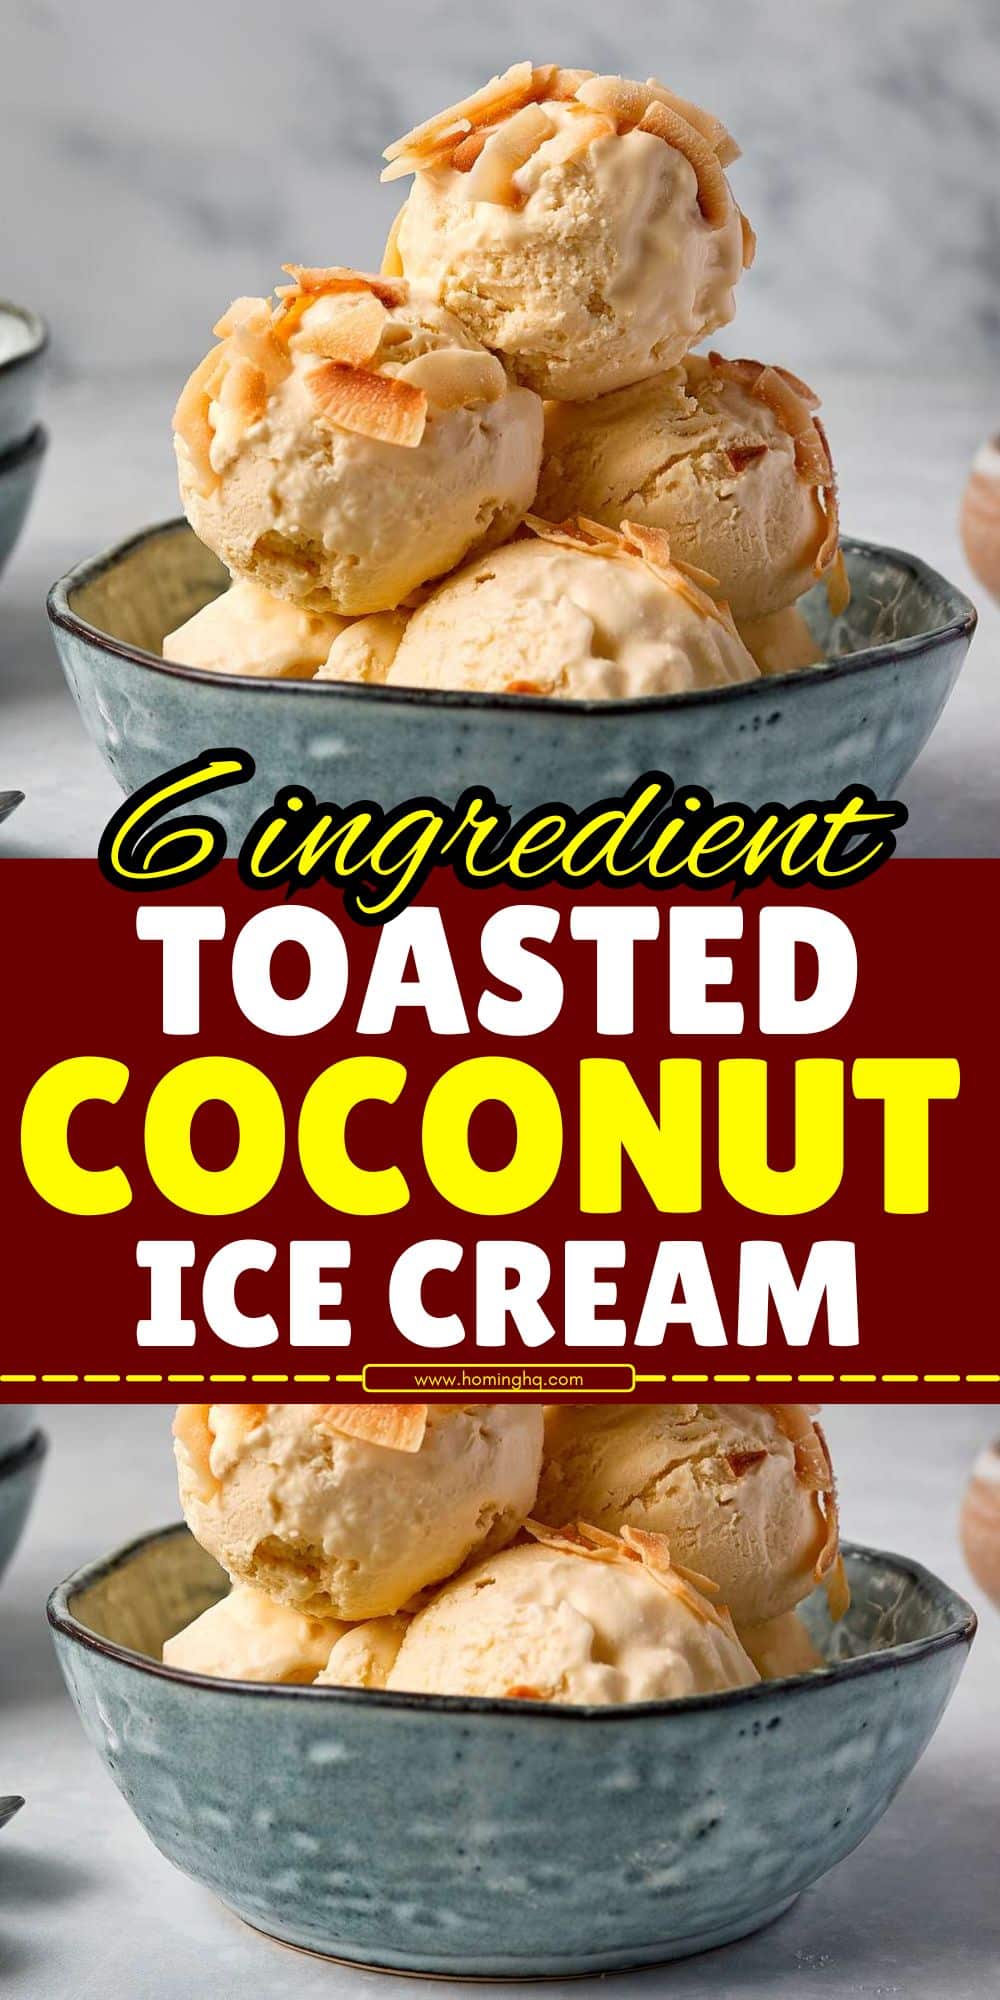
Toasted Coconut Ice Cream is a tropical dessert that brings a refreshing, indulgent twist to your ice cream routine.
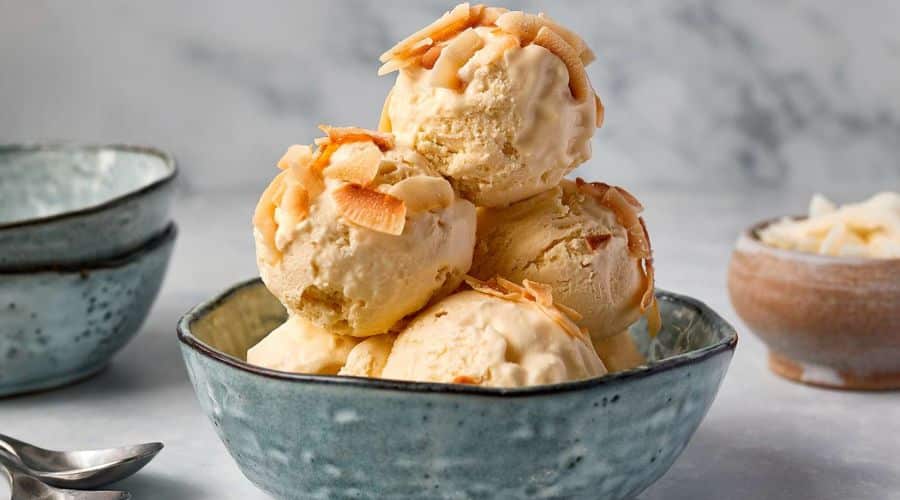
The rich, creamy base combined with the nutty, slightly crispy toasted coconut flakes creates an irresistible contrast of textures and flavors.
Whether you’re enjoying a sunny day or simply craving a sweet, exotic treat, this ice cream is sure to transport your taste buds to a tropical paradise.
Perfect for both summer gatherings and as a special indulgence year-round, Toasted Coconut Ice Cream is as delightful to make as it is to eat.
Why You’ll Love Toasted Coconut Ice Cream
Toasted Coconut Ice Cream is a true indulgence, and there are plenty of reasons why it’ll quickly become a favorite in your dessert rotation.
First, the combination of coconut’s natural sweetness and the rich creaminess of the ice cream base creates a mouthwatering harmony.
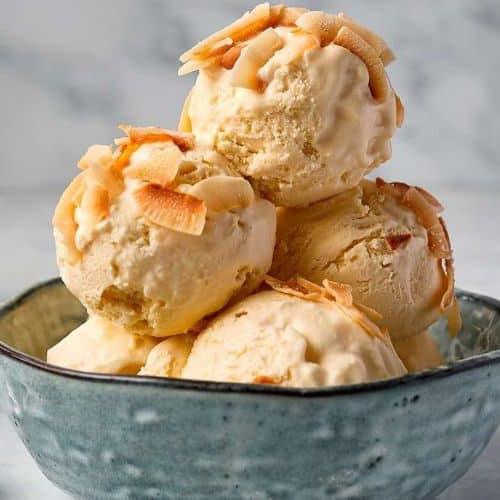
The toasted coconut adds a delightful crunch, creating a unique texture that elevates the smooth and velvety ice cream.
Another reason this ice cream stands out is its versatility.
You can make it as sweet or as subtle as you like, with the option to use either sweetened or unsweetened coconut flakes depending on your preference.
Additionally, it can easily be adapted to fit different dietary needs.
If you’re vegan or dairy-free, swapping in coconut milk or cream instead of dairy options results in a delicious, plant-based alternative that everyone can enjoy.
Toasted Coconut Ice Cream is more than just a dessert; it’s a little tropical getaway in every bite.
Ingredients for Toasted Coconut Ice Cream
To make this luxurious ice cream, you’ll need a few simple ingredients, some of which might already be in your kitchen.
Here’s a rundown of what you’ll need to make the base and the toasted coconut topping:
Basic Ice Cream Ingredients
- Coconut milk or cream – for a rich and velvety texture.
- Heavy cream – to add a creamy, smooth base.
- Sugar – to bring sweetness to the coconut and cream mixture.
- Egg yolks – for a custard-style base, adding richness and smoothness to the final product.
- Vanilla extract – a touch of vanilla complements the coconut flavor and enhances the overall taste.
Toasted Coconut Ingredients
- Shredded coconut – either sweetened or unsweetened, depending on your preference. Shredded coconut gives the ice cream its signature crunch and flavor.
- Butter or oil – used for toasting the coconut, giving it a golden color and rich flavor that perfectly complements the ice cream.
These ingredients come together to form a tropical, creamy, and texturally interesting ice cream that’s perfect for a variety of occasions.
How to Make Toasted Coconut Ice Cream: Step-by-Step
Making Toasted Coconut Ice Cream from scratch is a rewarding experience that lets you enjoy the creamy, coconut-infused dessert right at home.
Follow these simple steps for a smooth and delicious result.
Step 1: Toast the Coconut
Begin by toasting the coconut flakes to bring out their natural nutty flavor. Heat a large pan over medium heat and add your shredded coconut.
Stir frequently to ensure it doesn’t burn. Continue to toast for about 5–7 minutes or until the coconut is golden brown and fragrant.
Remove from heat and set aside to cool completely. This will give the ice cream its signature texture and flavor.
Step 2: Prepare the Ice Cream Base
In a saucepan, combine the coconut milk (or cream) and heavy cream.
Heat this mixture over medium heat until it begins to simmer, but do not let it boil.
While the cream mixture is heating, whisk the egg yolks and sugar together in a separate bowl until smooth and pale.
Slowly pour a small amount of the hot cream mixture into the egg mixture to temper the eggs, whisking constantly to prevent curdling.
Gradually add the rest of the cream mixture into the egg yolks while continuing to whisk.
Pour this combined mixture back into the saucepan and cook over low heat, stirring constantly until it thickens enough to coat the back of a spoon.
Step 3: Chill the Mixture
Once your custard base has thickened, remove the pan from the heat. Allow the mixture to cool slightly before transferring it to a bowl.
Cover the bowl with plastic wrap, ensuring the wrap touches the surface of the mixture to prevent a skin from forming.
Chill in the refrigerator for at least 4 hours or overnight to allow the flavors to meld and the base to cool completely.
Step 4: Churn the Ice Cream
After the custard has chilled, pour it into an ice cream maker and churn according to the manufacturer’s instructions.
This process usually takes 20–30 minutes, depending on your machine. The mixture should thicken into a soft, creamy consistency.
Step 5: Mix in the Toasted Coconut
Once the ice cream has finished churning, gently fold in the toasted coconut flakes.
Be careful not to overmix, as you want to maintain the texture of the coconut and keep it from breaking down too much.
The coconut adds both flavor and crunch, so it’s important to distribute it evenly throughout the ice cream.
Step 6: Freeze and Serve
Transfer the ice cream to an airtight container and freeze for at least 4 hours, or until it firms up to your desired consistency.
When you’re ready to serve, let the ice cream sit at room temperature for a few minutes to soften slightly, making it easier to scoop.
Serve with extra toasted coconut on top for added texture and visual appeal.
Tips for the Perfect Toasted Coconut Ice Cream
Creating the perfect batch of Toasted Coconut Ice Cream is all about attention to detail and using quality ingredients.
Here are some tips to help you achieve ice cream perfection:
Use Full-Fat Coconut Milk or Cream
For a richer, creamier ice cream, choose full-fat coconut milk or coconut cream.
These provide the decadent texture and flavor that make your ice cream so special.
You can also mix coconut cream with regular coconut milk for an ideal balance.
Don’t Skip the Toasting Step
Toasting the coconut flakes is essential for deepening the flavor.
It brings out the nutty, slightly caramelized taste that pairs so well with the rich coconut base.
Be vigilant while toasting, as coconut can go from golden to burnt in a matter of seconds.
Chill Your Mixture Thoroughly
Ensure the custard base is thoroughly chilled before churning. This will help it freeze faster, resulting in a smoother texture with fewer ice crystals.
If you’re in a hurry, you can place the bowl in an ice bath to speed up the cooling process.
Choose the Right Ice Cream Maker
Using a quality ice cream maker can make a big difference in the final result.
If you’re planning to make homemade ice cream frequently, investing in a good machine will help you achieve consistent, creamy results every time.
Adjust Sweetness to Your Liking
The sweetness of your ice cream can be adjusted to suit your taste. If you prefer a less sweet treat, reduce the sugar slightly or use unsweetened coconut flakes.
Taste your base mixture before chilling it to determine if it needs a little extra sweetness.
Add Custom Mix-ins
While toasted coconut is the star of the show, feel free to get creative with other mix-ins.
Chopped chocolate, candied nuts, or even a swirl of caramel can complement the coconut flavor and add even more layers of texture to your ice cream.
Conclusion
Toasted Coconut Ice Cream is more than just a sweet treat; it’s an experience of tropical indulgence.
With its creamy texture and the delightful crunch of toasted coconut, this ice cream is bound to become a go-to dessert.
The simple ingredients and easy-to-follow steps make it an accessible yet luxurious option for any occasion.
Whether you’re hosting a summer gathering or treating yourself to a special dessert, this Toasted Coconut Ice Cream brings a little sunshine to your day.
Don’t forget to customize it with your favorite mix-ins, and be sure to share your creation with friends and family – it’s the kind of dessert that sparks joy in every bite.
Frequently Asked Questions
1. Can I make Toasted Coconut Ice Cream without an ice cream maker?
Yes, you can! If you don’t have an ice cream maker, you can still make this ice cream by freezing the custard mixture in a shallow container.
Every 30 minutes, take it out and stir vigorously with a fork to break up ice crystals.
Repeat until the ice cream reaches a soft-serve consistency, then add the toasted coconut and continue freezing until firm.
2. How do I prevent ice crystals from forming in my homemade ice cream?
To avoid ice crystals, be sure to chill your custard mixture thoroughly before churning.
The colder your base, the smoother the final product will be.
Additionally, the fat content in coconut cream helps prevent the formation of large ice crystals, so using full-fat coconut milk or cream is crucial for a creamy result.
3. Can I use sweetened coconut flakes instead of unsweetened?
Yes, you can use sweetened coconut flakes, but keep in mind that it will result in a sweeter ice cream.
If you prefer a less sugary dessert, unsweetened coconut will give you a more subtle coconut flavor, which complements the richness of the ice cream base perfectly.
4. How long can I store Toasted Coconut Ice Cream?
You can store your ice cream in an airtight container in the freezer for up to 2 weeks.
For the best texture, let it sit at room temperature for a few minutes before scooping, as it may harden slightly in the freezer.
5. Can I make a vegan version of this ice cream?
Absolutely! To make this recipe vegan, substitute the heavy cream and egg yolks with coconut cream and coconut milk.
You can also use a plant-based sweetener if you prefer, making this dessert completely dairy-free and vegan-friendly without compromising on flavor.
Toasted Coconut Ice Cream
Equipment
- Ice Cream Maker – 1 unit
- Saucepan: 1 medium-sized
- Mixing bowls (2)
- Whisk (1)
- Measuring Cups & Spoons: 1 set
- Spatula (1)
- Shallow Pan for Toasting Coconut (1)
- Airtight Container for Freezing – 1
Ingredients
- 1 cup Coconut Milk full-fat
- 1 cup Heavy Cream
- ¾ cup Sugar
- 4 Egg Yolks
- 1 tsp Vanilla Extract
- 1 ½ cups Shredded Coconut sweetened or unsweetened
- 2 tbsp Butter or Oil for toasting
Instructions
- Toast the Coconut: Heat a shallow pan over medium heat and add the shredded coconut. Stir constantly for 5–7 minutes, or until the coconut turns golden brown and fragrant. Remove from heat and set aside to cool.
- Make the Ice Cream Base: In a medium saucepan, combine the coconut milk and heavy cream. Heat over medium heat until it starts to simmer. Meanwhile, whisk the egg yolks and sugar together in a mixing bowl until smooth.
- Temper the Eggs: Slowly pour a small amount of the hot cream mixture into the egg yolk mixture, whisking constantly. Gradually add the rest of the cream mixture to the eggs, whisking to combine. Pour the entire mixture back into the saucepan and cook over low heat, stirring constantly, until it thickens enough to coat the back of a spoon (about 5 minutes).
- Chill the Mixture: Remove from heat and allow the custard to cool slightly. Cover with plastic wrap, pressing it against the surface to prevent a skin from forming. Chill in the refrigerator for at least 4 hours or overnight.
- Churn the Ice Cream: Once the mixture is chilled, pour it into an ice cream maker and churn according to the manufacturer's instructions (about 20–30 minutes).
- Add the Toasted Coconut: Gently fold in the cooled toasted coconut flakes into the churned ice cream.
- Freeze and Serve: Transfer the ice cream to an airtight container and freeze for at least 4 hours until firm. Allow it to soften slightly before serving, if needed.
Notes
- Storage: Store your ice cream in an airtight container in the freezer for up to 2 weeks.
- Customization: You can add other mix-ins such as chocolate chips, chopped nuts, or a swirl of caramel to enhance the flavor.
- Vegan Option: Use coconut cream instead of heavy cream and replace the egg yolks with cornstarch or a vegan egg substitute.
- Ice Cream Maker Tip: If you don’t have an ice cream maker, you can freeze the mixture in a shallow pan and stir every 30 minutes until it reaches a soft-serve consistency.
