All products are selected by our editorial team for quality. If you buy through our links, we may earn a small commission at no extra cost to you.
There’s something special about the aroma of freshly baked bread filling your home, and a sweet brioche loaf takes that experience to another level.
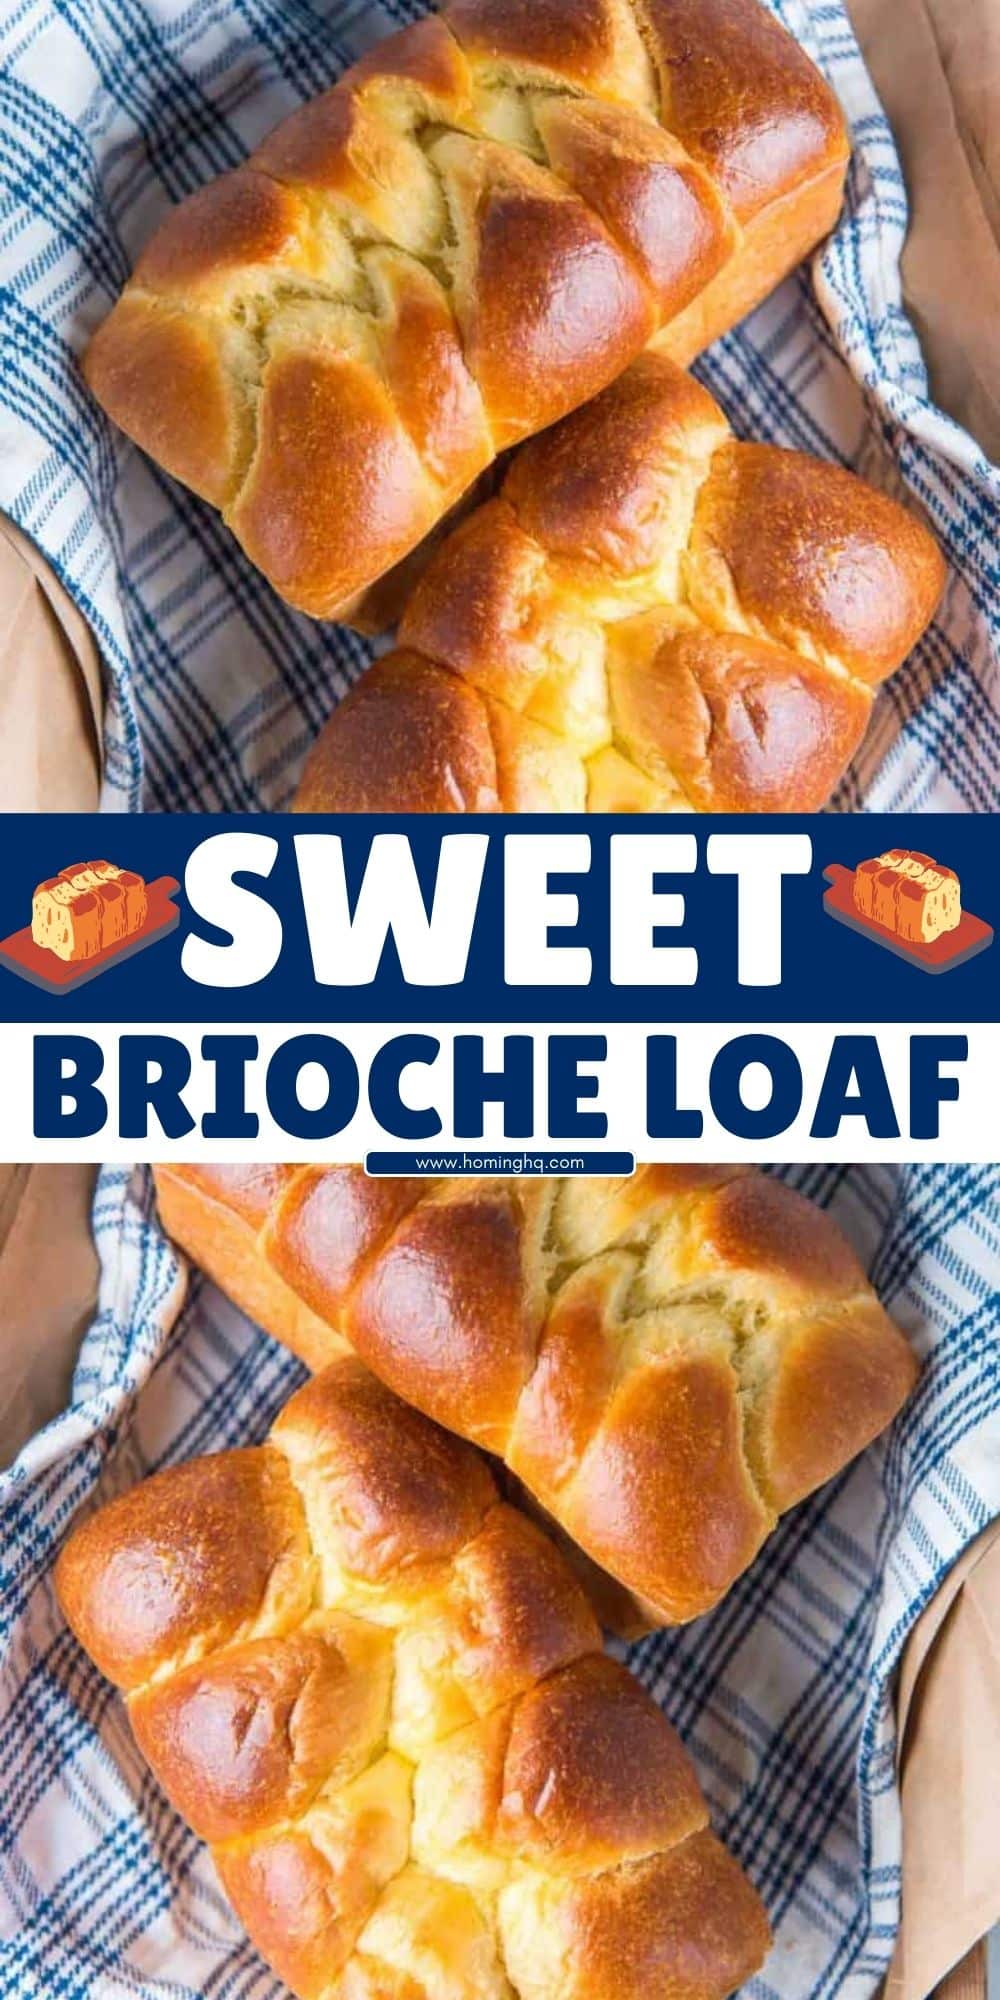
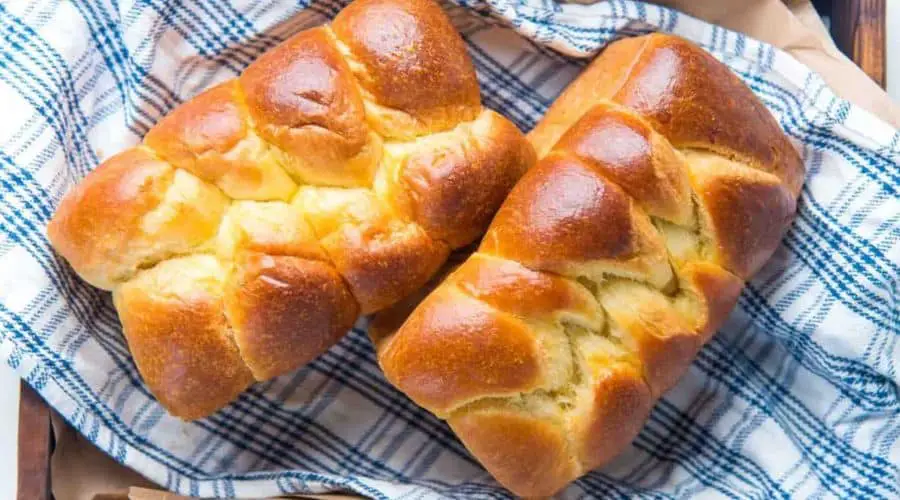
This French classic is known for its soft, buttery texture and slightly sweet flavor, making it perfect for breakfast, dessert, or a delightful afternoon treat.
Brioche is a rich, egg-enriched bread that strikes a perfect balance between lightness and indulgence.
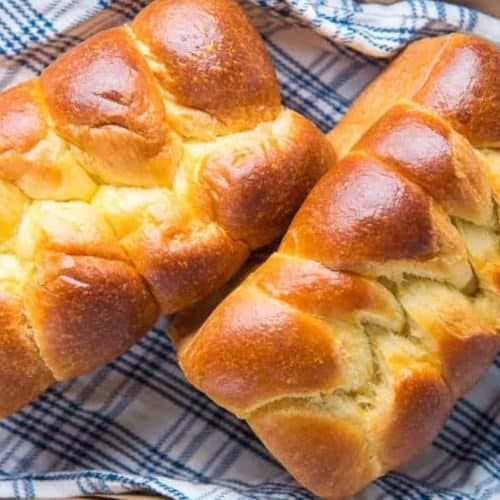
Unlike regular sandwich bread, it has a tender crumb, a golden crust, and just the right amount of sweetness.
Whether enjoyed plain, toasted with butter, or transformed into French toast, this sweet brioche loaf is versatile and absolutely delicious.
In this guide, you’ll learn how to make a perfect brioche loaf at home with simple steps, expert tips, and practical variations to suit your taste.

Introduction to Sweet Brioche Loaf
Brioche has a long history dating back to 15th-century France, where it was considered a luxurious bread made with high-quality ingredients.
Traditionally enriched with eggs, butter, and a touch of sugar, brioche stands out for its soft texture and slightly sweet flavor.
Over time, it has become a staple in French bakeries and households, often enjoyed as a breakfast pastry or an elegant dessert base.
What sets a sweet brioche loaf apart from other breads is its delicate balance of richness and fluffiness.
The addition of eggs and butter creates a soft, melt-in-your-mouth crumb, while the subtle sweetness makes it incredibly satisfying.
Unlike regular bread, brioche requires longer proofing times to develop its airy texture and deep flavor, but the results are well worth the wait.
One of the best things about brioche is its versatility. While delicious on its own, it can also be used for French toast, bread pudding, or even a gourmet sandwich.
Whether you’re a seasoned baker or trying your hand at homemade bread for the first time, this sweet brioche loaf is a great recipe to master.
Ingredients for Sweet Brioche Loaf
Making a perfect sweet brioche loaf starts with high-quality ingredients. Here’s what you’ll need:
Essential Ingredients
- All-Purpose or Bread Flour – Provides structure and chewiness. Bread flour gives a slightly firmer texture, while all-purpose flour makes a softer loaf.
- Granulated Sugar – Adds sweetness and helps with browning.
- Active Dry Yeast or Instant Yeast – The key to a light, airy texture. Instant yeast doesn’t require activation, while active dry yeast needs to be dissolved in warm liquid before use.
- Milk – Adds moisture and richness. Whole milk is ideal for the best flavor.
- Eggs – Essential for the bread’s soft texture and golden color. Use room-temperature eggs for better incorporation.
- Unsalted Butter – Adds richness and a tender crumb. It should be softened but not melted.
- Salt – Balances the sweetness and enhances flavor.
- Egg Wash (Egg + Milk or Water) – Creates the signature shiny, golden crust.
Optional Additions
- Vanilla Extract – Adds a subtle depth of flavor.
- Orange or Lemon Zest – For a citrusy twist.
- Chocolate Chips or Dried Fruits – If you want a more indulgent version.
Using fresh, high-quality ingredients will make a noticeable difference in the final loaf.
Substitutions like non-dairy milk or vegan butter can be used for dietary adjustments, but the texture may vary slightly.
Tools and Equipment Needed
Baking a sweet brioche loaf doesn’t require fancy tools, but having the right equipment will make the process smoother.
Mixing and Kneading
- Stand Mixer with Dough Hook (Optional) – Makes kneading much easier and ensures a well-developed dough. If kneading by hand, be prepared for a workout!
- Large Mixing Bowl – Essential for mixing and proofing the dough.
Proofing
- Plastic Wrap or Kitchen Towel – Covers the dough to retain moisture during proofing.
- Warm Place for Proofing – A turned-off oven with the light on or a warm countertop works well.
Shaping and Baking
- Loaf Pan (9×5 inch or 8×4 inch) – Provides structure and helps shape the brioche.
- Pastry Brush – For applying the egg wash to create a golden crust.
- Sharp Knife or Dough Scraper – Helps with shaping and scoring the dough.
Measuring and Baking Accuracy
- Digital Kitchen Scale – Ensures precise measurements for consistent results.
- Measuring Cups and Spoons – If you prefer volume measurements.
- Oven Thermometer – Helps ensure your oven is at the correct temperature for baking.
Having the right tools will make the process of making brioche more enjoyable and increase your chances of success. Now that you have everything ready, it’s time to start baking your perfect sweet brioche loaf!
Step-by-Step Instructions to Make Sweet Brioche Loaf

Making a sweet brioche loaf requires patience and precision, but the end result is well worth the effort.
Follow these step-by-step instructions for a soft, buttery, and perfectly golden loaf.
Step 1: Preparing the Dough
- Activate the Yeast (if using active dry yeast) – In a small bowl, combine warm milk (about 110°F or 43°C) with a teaspoon of sugar. Sprinkle the yeast over the milk and let it sit for 5–10 minutes until foamy. If using instant yeast, you can skip this step and mix it directly with the dry ingredients.
- Mix Dry Ingredients – In a large mixing bowl or stand mixer, combine flour, sugar, and salt.
- Add Wet Ingredients – Pour in the yeast mixture (or dry yeast), beaten eggs, and vanilla extract (if using). Mix on low speed until combined.
- Incorporate Butter – Gradually add softened butter, a few cubes at a time, while mixing. The dough will be sticky at first but will come together.
- Knead the Dough – Knead using a stand mixer with a dough hook for about 8–10 minutes, or by hand for 15 minutes, until the dough is smooth, elastic, and slightly tacky but not too sticky.
Step 2: First Proofing
- Shape the Dough into a Ball – Lightly grease a large bowl and place the dough inside, turning it to coat with oil.
- Cover and Let Rise – Cover with plastic wrap or a damp towel and let it rise in a warm place for 1.5–2 hours, or until doubled in size.
Step 3: Shaping the Brioche Loaf
- Punch Down the Dough – Gently deflate the dough by pressing it down with your hands.
- Divide and Shape – For a traditional loaf, shape the dough into a log and place it into a greased loaf pan. Alternatively, divide it into three pieces, roll them into ropes, and braid them for a braided brioche loaf.
- Second Proofing – Cover and let the shaped dough rise for another 45 minutes to 1 hour until puffy and slightly above the pan’s rim.
Step 4: Baking the Brioche Loaf
- Preheat the Oven – Set your oven to 350°F (175°C) and place a rack in the center.
- Apply Egg Wash – Lightly brush the top of the dough with an egg wash to create a shiny, golden crust.
- Bake – Bake for 30–35 minutes until the top is deep golden brown and the loaf sounds hollow when tapped. If it browns too quickly, tent it with foil after 20 minutes.
- Cool Before Slicing – Let the loaf cool in the pan for 10 minutes, then transfer it to a wire rack to cool completely before slicing.
Tips for the Best Sweet Brioche Loaf
Use High-Quality Ingredients
The richness of brioche comes from butter, eggs, and milk, so use the best quality available.
European-style butter and fresh eggs can enhance the flavor and texture.
Be Patient with Kneading and Proofing
Brioche dough is enriched with butter, which makes it softer and more challenging to knead.
A stand mixer can help, but if kneading by hand, be patient—it takes time to develop elasticity.
The long proofing time is essential for a light and airy texture.
Avoid Adding Too Much Flour
Brioche dough is naturally sticky, but resist the temptation to add extra flour while kneading.
A slightly tacky dough results in a softer crumb. Lightly oiling your hands can help manage the stickiness.
Control the Proofing Temperature
Too cold, and the dough won’t rise properly; too warm, and the butter may melt, affecting the structure.
An ideal proofing temperature is between 75–80°F (24–27°C).
Enhance the Flavor with Add-Ins
For a fun twist, mix in chocolate chips, dried fruits, or citrus zest during the final kneading stage.
Achieve a Perfect Crust
Brushing with egg wash before baking creates a golden, glossy crust. For a softer crust, cover the loaf with a clean towel while cooling.
Storing and Freezing Tips
Brioche stays fresh for up to three days when stored in an airtight container at room temperature.
For longer storage, wrap it tightly and freeze for up to two months. Toasting slices before serving revives their softness and flavor.
By following these steps and tips, you’ll be able to create a bakery-worthy sweet brioche loaf that’s perfect for any occasion.
Storing and Freezing Sweet Brioche Loaf
A freshly baked sweet brioche loaf is best enjoyed the day it’s made, but proper storage can help maintain its softness and flavor for days.
Here’s how to keep your brioche fresh and delicious.
Short-Term Storage
- At Room Temperature: Wrap the brioche loaf in plastic wrap or store it in an airtight container. This prevents it from drying out while maintaining its tender texture. It stays fresh for up to 3 days.
- In the Refrigerator: While not recommended, brioche can be stored in the fridge if necessary. However, refrigeration can dry out the bread faster, so always wrap it well and warm it up before serving.
Freezing Brioche Loaf
If you want to extend the shelf life of your brioche, freezing is the best option.
- Whole Loaf: Allow the brioche to cool completely, then wrap it tightly in plastic wrap followed by aluminum foil. Store it in a freezer-safe bag and freeze for up to 2 months.
- Sliced Loaf: To make it easy to grab individual slices, slice the brioche before freezing. Place parchment paper between slices, wrap tightly, and freeze in a ziplock bag.
Thawing and Reheating
- Thawing: Let the loaf or slices thaw at room temperature for a few hours.
- Reheating: Warm in a 300°F (150°C) oven for 10 minutes or toast slices for a crispy texture. If reheating in the microwave, use short bursts to prevent dryness.
Final Thoughts
Making a sweet brioche loaf from scratch is a rewarding experience, filling your kitchen with a rich, buttery aroma and yielding a soft, golden-brown bread that’s perfect for any occasion.
Whether you enjoy it fresh, toasted with butter, or transformed into French toast, brioche offers endless possibilities.
With the right ingredients, patience, and technique, you can achieve bakery-quality results at home.
Don’t be discouraged if your first loaf isn’t perfect—baking brioche is a skill that improves with practice.
Try different variations, experiment with flavors, and most importantly, enjoy the process.
Now that you’ve mastered this sweet brioche loaf, share your results, and let us know how you like to enjoy it!
Frequently Asked Questions
1. Can I make brioche without a stand mixer?
Yes! While a stand mixer makes kneading easier, you can knead by hand.
It will take about 15–20 minutes of continuous kneading to develop the gluten properly.
The dough will be sticky at first, but avoid adding too much extra flour.
2. Why is my brioche dough too sticky?
Brioche dough is naturally soft and slightly sticky due to its high butter and egg content.
If it feels too wet, refrigerate it for 30 minutes before kneading. Lightly oiling your hands instead of adding extra flour can also help.
3. How do I know when my brioche is fully baked?
A fully baked brioche loaf should have a deep golden brown crust and sound hollow when tapped on the bottom.
For accuracy, use a thermometer—the internal temperature should reach 190°F (88°C).
4. Can I make brioche ahead of time?
Yes! You can prepare the dough the night before and let it rise slowly in the refrigerator overnight.
This enhances the flavor and makes it easier to handle the next day. Shape the dough, let it rise again, and bake as usual.
5. Can I make brioche dairy-free?
Yes, but the texture and flavor will be slightly different.
Use plant-based milk (such as almond or oat milk), replace butter with vegan butter, and ensure your egg wash is dairy-free (a mix of plant-based milk and maple syrup works well).

Sweet Brioche Loaf
Equipment
- 1 Stand mixer with dough hook (optional)
- 1 Large Mixing Bowl
- 1 Measuring Cups and Spoons
- 1 Digital kitchen scale
- 1 Dough scraper or knife
- 1 Pastry brush
- 1 Loaf pan (9×5 inch or 8×4 inch)
- 1 Plastic wrap or kitchen towel
- 1 Wire rack
- 1 Oven thermometer (optional)
Ingredients
- 3 ½ cups all-purpose or bread flour
- ¼ cup granulated sugar
- 2 ¼ tsp active dry or instant yeast
- ½ cup whole milk warm, about 110°F/43°C
- 4 large eggs room temperature
- 1 tsp salt
- ½ cup unsalted butter softened, cut into cubes
- 1 tsp vanilla extract optional
- 1 egg for egg wash
- 1 tbsp milk or water for egg wash
Instructions
Step 1: Prepare the Dough
- Activate the Yeast (if using active dry yeast): In a small bowl, mix warm milk with a teaspoon of sugar. Sprinkle the yeast over and let sit for 5–10 minutes until foamy. If using instant yeast, skip this step.
- Mix Dry Ingredients: In a large mixing bowl or stand mixer, combine flour, sugar, and salt.
- Add Wet Ingredients: Add the yeast mixture (or dry yeast), eggs, and vanilla extract. Mix until combined.
- Incorporate Butter: Gradually add softened butter, a few cubes at a time, while mixing. The dough will be sticky at first.
- Knead the Dough: Knead with a stand mixer on medium speed for 8–10 minutes or by hand for 15 minutes, until smooth and elastic.
Step 2: First Proofing
- Let it Rise: Place the dough in a greased bowl, cover with plastic wrap, and let it rise in a warm place for 1.5–2 hours until doubled in size.
Step 3: Shape the Loaf
- Deflate and Shape: Gently punch down the dough. Shape it into a log and place it in a greased loaf pan.
- Second Proofing: Cover and let it rise again for 45 minutes to 1 hour until puffy and slightly above the pan’s rim.
Step 4: Bake the Brioche
- Preheat the Oven: Set to 350°F (175°C).
- Apply Egg Wash: In a small bowl, whisk together one egg and 1 tablespoon of milk or water. Brush over the dough’s surface.
- Bake: Bake for 30–35 minutes until golden brown. If it browns too quickly, cover it loosely with foil after 20 minutes.
- Cool: Let it rest in the pan for 10 minutes before transferring to a wire rack to cool completely.
Notes
- For a Softer Texture: Use all-purpose flour instead of bread flour.
- Flavor Enhancements: Add citrus zest, chocolate chips, or a touch of honey for variation.
- Make-Ahead Option: Refrigerate the dough overnight after the first rise for better flavor and easier handling.
- Storage: Keep at room temperature for up to 3 days in an airtight container. Freeze for up to 2 months.

