All products are selected by our editorial team for quality. If you buy through our links, we may earn a small commission at no extra cost to you.
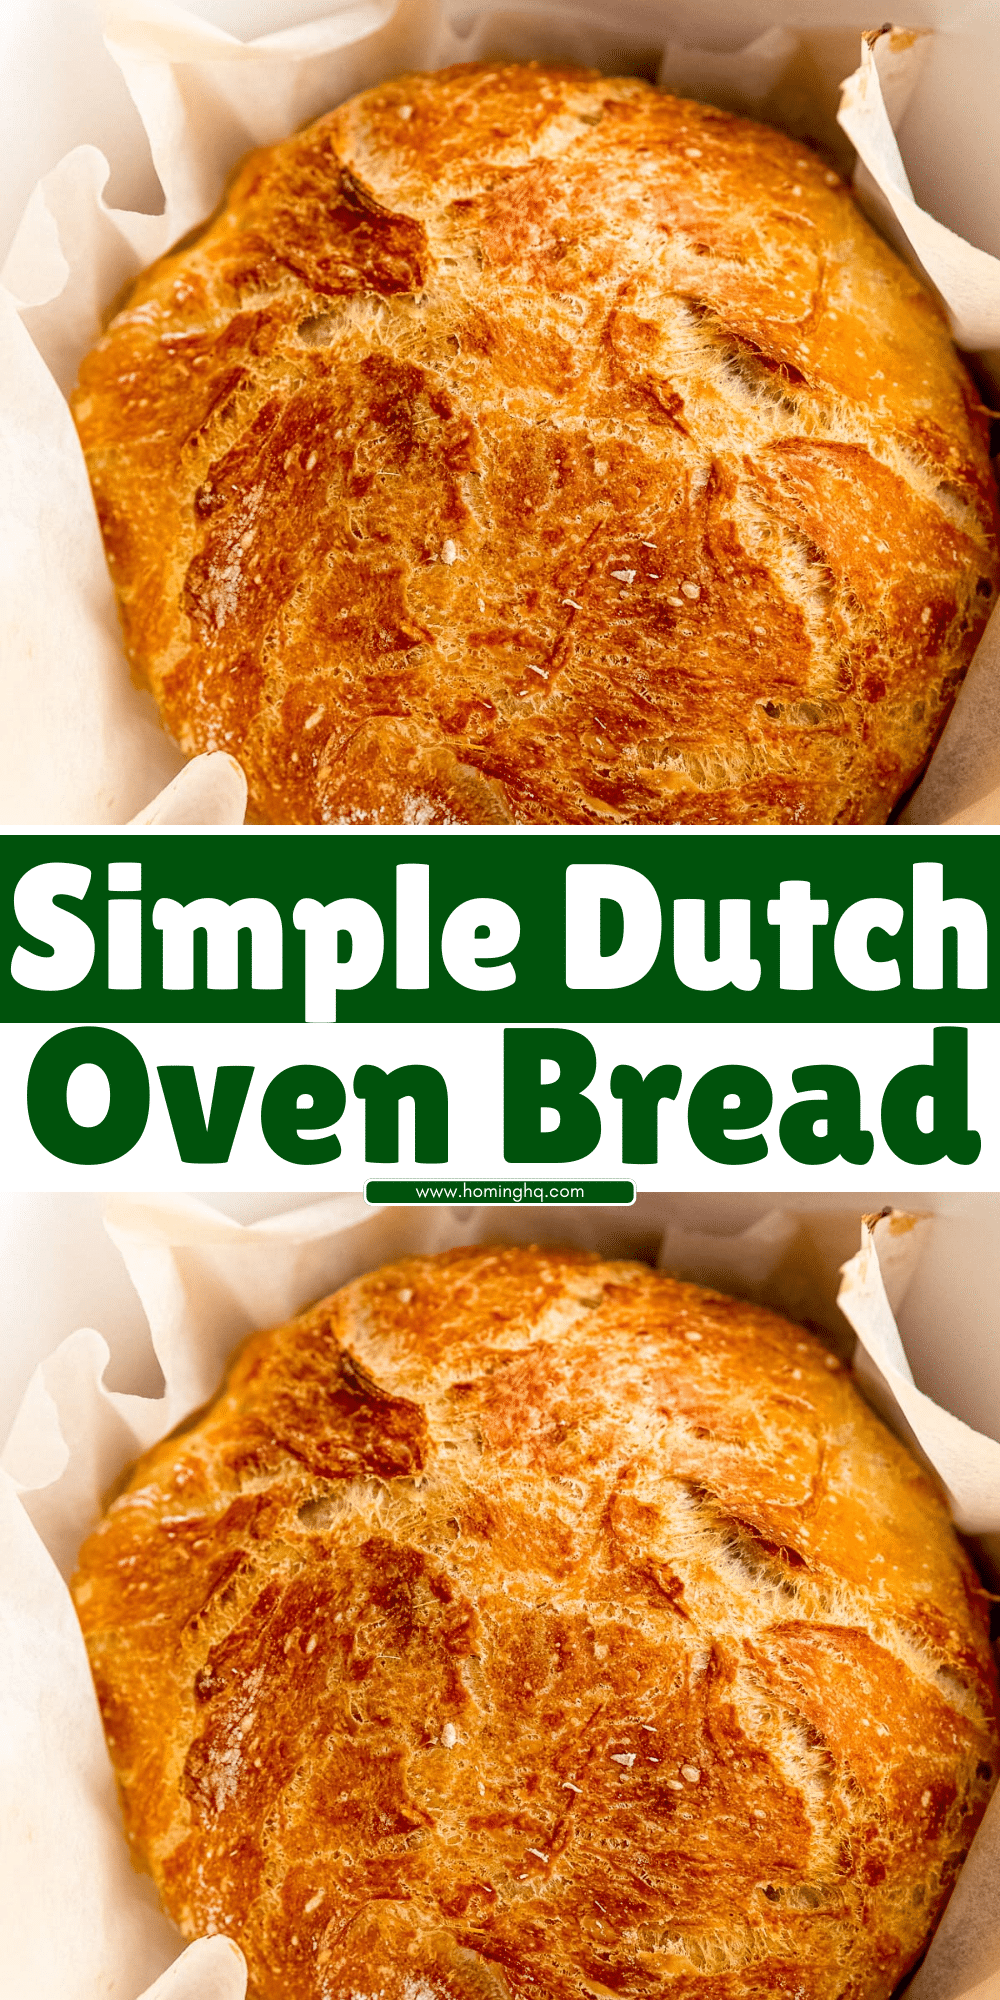
Baking bread in a Dutch oven is one of the simplest and most rewarding methods to achieve that perfect, golden crust and soft, airy interior.
Whether you’re a seasoned baker or a complete novice, this technique ensures your bread will have a beautifully crisp crust and tender crumb, with minimal effort required.
The Dutch oven creates a mini oven within your oven, trapping heat and moisture to mimic the professional baking environment found in artisan bread ovens.
So, whether you’re looking to bake a classic loaf or experiment with flavors, this method will surely bring you success every time.
Why Bake Bread in a Dutch Oven?
The Dutch oven method is loved by many for its ability to produce bakery-style loaves in a home kitchen. Here’s why it works so well:
- Retains Moisture: The heavy lid of the Dutch oven traps steam, which keeps the bread’s surface moist during the early stages of baking. This helps the dough expand fully, giving it that oven-baked lift and airy texture inside.
- Even Heat Distribution: The thick walls of the Dutch oven ensure that heat is evenly distributed around the bread, which results in a uniform crust and prevents hot spots that could burn your loaf.
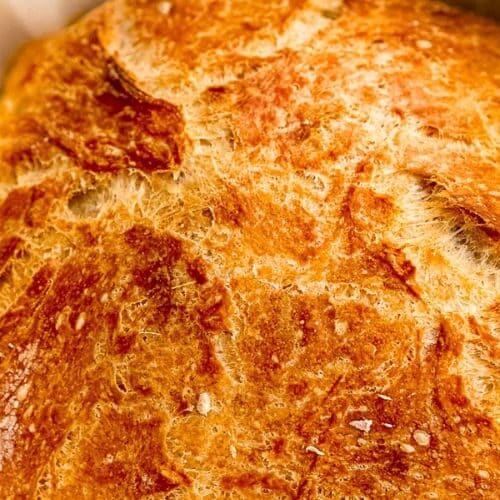
- Creates a Crispy Crust: The steam created in the closed Dutch oven helps the bread develop a crisp, golden-brown crust, while the interior remains soft and chewy. It’s the best of both worlds!
- Convenience: This method requires little equipment beyond the Dutch oven itself. No need for a bread stone, pizza peel, or fancy tools—just your ingredients and the pot. This makes it accessible to both beginners and those who want to simplify their baking routine.
Ingredients for Simple Dutch Oven Bread
To make a basic yet delicious loaf of Dutch oven bread, you only need a few simple ingredients:
- Flour: All-purpose flour works perfectly for this recipe, creating a soft and light texture. You can also use bread flour if you want a slightly chewier result.
- Water: Warm water helps activate the yeast and encourages the dough to rise effectively. It should be comfortably warm, not too hot or too cold.
- Yeast: Active dry yeast is the most common choice for home bakers, and it will give your dough the rise it needs.
- Salt: A pinch of salt enhances the flavor of the bread and helps to balance the yeast’s activity.
- Olive Oil (optional): Some recipes call for a little olive oil to soften the texture of the bread, though it’s entirely optional.
These five ingredients are the foundation of a simple yet delightful bread.
You can always tweak them by adding herbs, seeds, or other flavorings to make the loaf your own.
Tools You’ll Need
Baking bread in a Dutch oven is a straightforward process, but there are a few tools that will help make the process smoother and more efficient:
- Dutch Oven: This is the star of the show! A 5 to 6-quart Dutch oven works best for most bread recipes, ensuring there’s enough room for the dough to expand. Make sure it has a tight-fitting lid to trap the steam.
- Large Mixing Bowl: You’ll need a spacious bowl to combine the flour, water, yeast, and salt. A sturdy, non-reactive bowl (such as glass or plastic) is ideal.
- Wooden Spoon or Dough Scraper: To mix the ingredients together, a wooden spoon is perfect, or you can use a dough scraper for incorporating and folding the dough.
- Parchment Paper: While optional, parchment paper makes it easier to transfer your dough into the hot Dutch oven without the risk of burning yourself or damaging the dough.
- Towel or Plastic Wrap: You’ll need something to cover the dough as it rises, such as a clean kitchen towel or plastic wrap.
- Sharp Knife or Bread Lame: For scoring the top of the dough before baking, a sharp knife works fine, but a bread lame (a tool specifically designed for this) will give you more control and create beautiful patterns.
Step-by-Step Instructions for Simple Dutch Oven Bread
Step 1: Prepare the Dough
In your large mixing bowl, combine 3 cups of all-purpose flour with 1 ½ teaspoons of salt.
In a separate bowl, dissolve 1 teaspoon of active dry yeast into 1 ½ cups of warm water (about 110°F).
Stir until the yeast is fully dissolved and let it sit for a few minutes to activate.
You should see small bubbles forming in the water, which means the yeast is working.
Add the yeast-water mixture to the flour and salt mixture.
Use a wooden spoon or your hands to combine everything until the dough begins to come together.
You’re looking for a shaggy dough that isn’t too sticky.
Step 2: Knead the Dough
Transfer the dough onto a lightly floured surface.
Knead it for about 5-7 minutes, folding it over itself and gently pressing it out with your palms. You’re aiming for a smooth and elastic dough.
If it’s too sticky, sprinkle a little more flour, but be careful not to add too much.
Once you’ve achieved the desired consistency, form the dough into a round ball.
Step 3: First Rise
Place the dough in a lightly greased bowl, covering it with a clean kitchen towel or plastic wrap.
Let the dough rise at room temperature for about 1 to 1.5 hours, or until it has doubled in size.
This rise allows the dough to develop flavor and texture.
Step 4: Preheat the Dutch Oven
While the dough is rising, preheat your oven to 450°F (230°C).
Place your Dutch oven (with the lid on) into the oven as it heats up.
This ensures the pot is thoroughly hot when it’s time to bake the bread, helping to achieve that crispy crust.
Step 5: Shape and Score the Dough
Once the dough has risen, turn it out onto a lightly floured surface.
Gently shape it into a round loaf, being careful not to deflate it too much.
If using parchment paper, place the dough on it, and carefully lift the dough into the preheated Dutch oven.
Using a sharp knife or bread lame, make a few shallow slashes on the top of the dough.
This allows the bread to expand beautifully during baking and creates a lovely pattern on the surface.
Step 6: Bake the Bread
Cover the Dutch oven with the lid and place it in the oven.
Bake for 30 minutes with the lid on, allowing the bread to steam and form that golden crust.
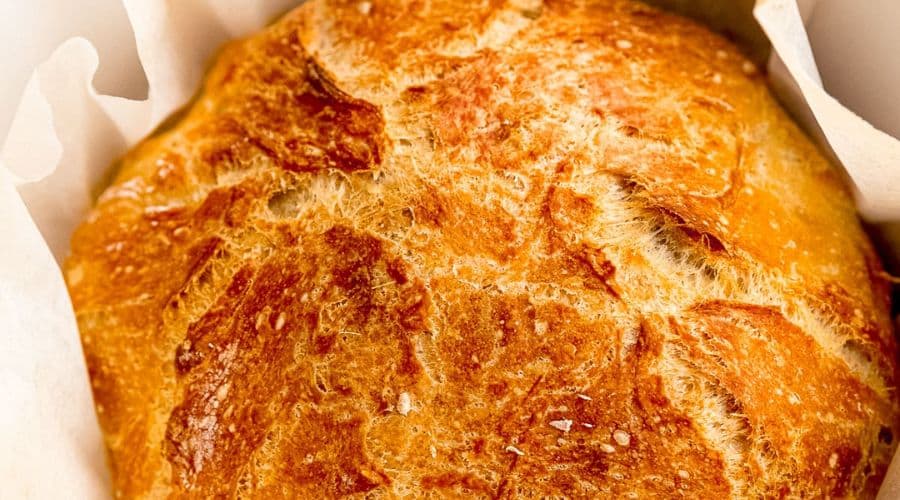
After 30 minutes, remove the lid and bake for an additional 15-20 minutes until the crust is a deep golden-brown.
Step 7: Cool and Enjoy
Once your bread is done, remove it from the Dutch oven and let it cool on a wire rack for at least 30 minutes.
This resting period allows the crumb to set and makes slicing easier. Once cooled, slice, serve, and enjoy!
Tips for Perfect Dutch Oven Bread
To ensure your bread turns out perfectly every time, here are some expert tips:
- Use the Right Flour: While all-purpose flour works well, using bread flour (which has a higher protein content) can give you a chewier texture and better rise. For even more flavor, you can experiment by adding whole wheat flour or a mix of flours.
- Don’t Skip the Resting Time: Letting the dough rise fully is essential for a light and airy loaf. Rushing this step can result in a denser, flatter bread. If you have the time, consider letting the dough rise in the fridge for an extended period (12-24 hours) for even better flavor.
- Preheat Your Dutch Oven: Ensuring your Dutch oven is thoroughly preheated will help the bread get a great start in baking, ensuring that the crust forms quickly and the dough rises properly.
- Add Steam Early: If you’re looking for a crunchier crust, you can mist the dough with water before placing the lid on, or even add a few ice cubes to the bottom of the pot just before baking. This extra steam boosts the bread’s rise.
- Use a Thermometer: To make sure your bread is baked through, you can use an instant-read thermometer. Bread is done when it reaches an internal temperature of about 200°F (93°C).
- Let the Bread Cool Completely: It’s tempting, but resist the urge to slice the bread right out of the oven. Let it cool on a wire rack so the interior has time to set. This prevents the crumb from becoming gummy.
Conclusion
Baking bread in a Dutch oven is an incredibly simple yet rewarding process.
By following these straightforward steps, you can produce a rustic, artisan-style loaf right in your own kitchen.
With a few key tools and ingredients, and a little patience, you can enjoy homemade bread that’s perfect for sandwiches, toast, or just eating fresh from the oven.
It’s a satisfying and fun way to bake, and the results speak for themselves. Happy baking!
Frequently Asked Questions
- Can I use a cast-iron skillet instead of a Dutch oven? Yes! A cast-iron skillet can work as a substitute for a Dutch oven, though you might need to cover the bread with foil or a lid to trap the steam. The key is to create a hot, enclosed environment to help the bread rise and form a crust.
- What if I don’t have active dry yeast? You can substitute with instant yeast, which works similarly but doesn’t need to be activated in water first. Just mix it directly with the flour.
- How do I know if my bread is fully baked? Check the internal temperature with a thermometer. It should be around 200°F (93°C). Alternatively, tap the bottom of the loaf—if it sounds hollow, it’s ready.
- Can I add ingredients like herbs or cheese to this bread? Absolutely! After the first rise, feel free to fold in herbs, cheese, olives, or any flavor additions you like. Be sure not to overwork the dough to keep it airy.
- How do I store leftover bread? Once cooled, store your bread in a paper bag or wrapped in a kitchen towel to maintain the crust’s crispness. If you want it to last longer, store it in a plastic bag for a softer crust, or freeze it for later use.
Simple Dutch Oven Bread
Equipment
- 1 Dutch oven (5–6 quarts)
- 1 large mixing bowl
- 1 wooden spoon or dough scraper
- 1 sharp knife or bread lame
- 1 Parchment paper (optional)
- 1 Kitchen Towel or Plastic Wrap
Ingredients
- 3 cups All-purpose flour
- 1 ½ teaspoons Salt
- 1 teaspoon Active dry yeast
- 1 ½ cups Warm water about 110°F or 43°C
- Olive oil optional, for greasing the bowl
Instructions
- Mix Dry Ingredients: In a large mixing bowl, combine the flour and salt.
- Activate the Yeast: In a separate bowl, dissolve yeast in warm water. Let it sit for 5-10 minutes until bubbles form and the yeast is activated.
- Combine Ingredients: Pour the yeast-water mixture into the flour-salt mix. Stir with a wooden spoon until the dough comes together, forming a shaggy mass.
- Knead the Dough: Turn the dough onto a lightly floured surface and knead for about 5-7 minutes, until smooth and elastic. If the dough is too sticky, add small amounts of flour.
- First Rise: Shape the dough into a ball and place it in a greased bowl. Cover with a towel or plastic wrap and let it rise for 1-1.5 hours, or until doubled in size.
- Preheat the Oven: While the dough rises, preheat the oven to 450°F (230°C) and place the Dutch oven (with the lid on) inside to heat.
- Shape the Dough: After the dough has risen, gently turn it out onto a floured surface and shape it into a round loaf. Place it onto a piece of parchment paper for easy transfer.
- Score the Dough: Using a sharp knife or bread lame, score the top of the dough with a few shallow slashes.
- Bake the Bread: Carefully place the dough into the preheated Dutch oven. Cover with the lid and bake for 30 minutes. Then, remove the lid and bake for an additional 15-20 minutes until the bread has a golden-brown crust.
- Cool and Serve: Once done, remove the bread from the Dutch oven and cool on a wire rack for at least 30 minutes before slicing.
Notes
- Flour Substitution: You can experiment with different types of flour, such as whole wheat or spelt, for added flavor and texture. However, you may need to adjust the amount of water to get the right consistency.
- Rising Time Variations: If you don’t have enough time for a 1.5-hour rise, you can let the dough rise in the refrigerator overnight for a slower, more flavorful fermentation.
- Crust Texture: For a thicker, crunchier crust, you can spray a bit of water onto the dough before baking or add a few ice cubes to the Dutch oven before putting it in the oven.
- Storing: Store leftovers in a paper bag or wrapped in a kitchen towel to maintain the crust’s crispness. If you want to keep it for a longer time, freeze the bread after it’s cooled.
