All products are selected by our editorial team for quality. If you buy through our links, we may earn a small commission at no extra cost to you.
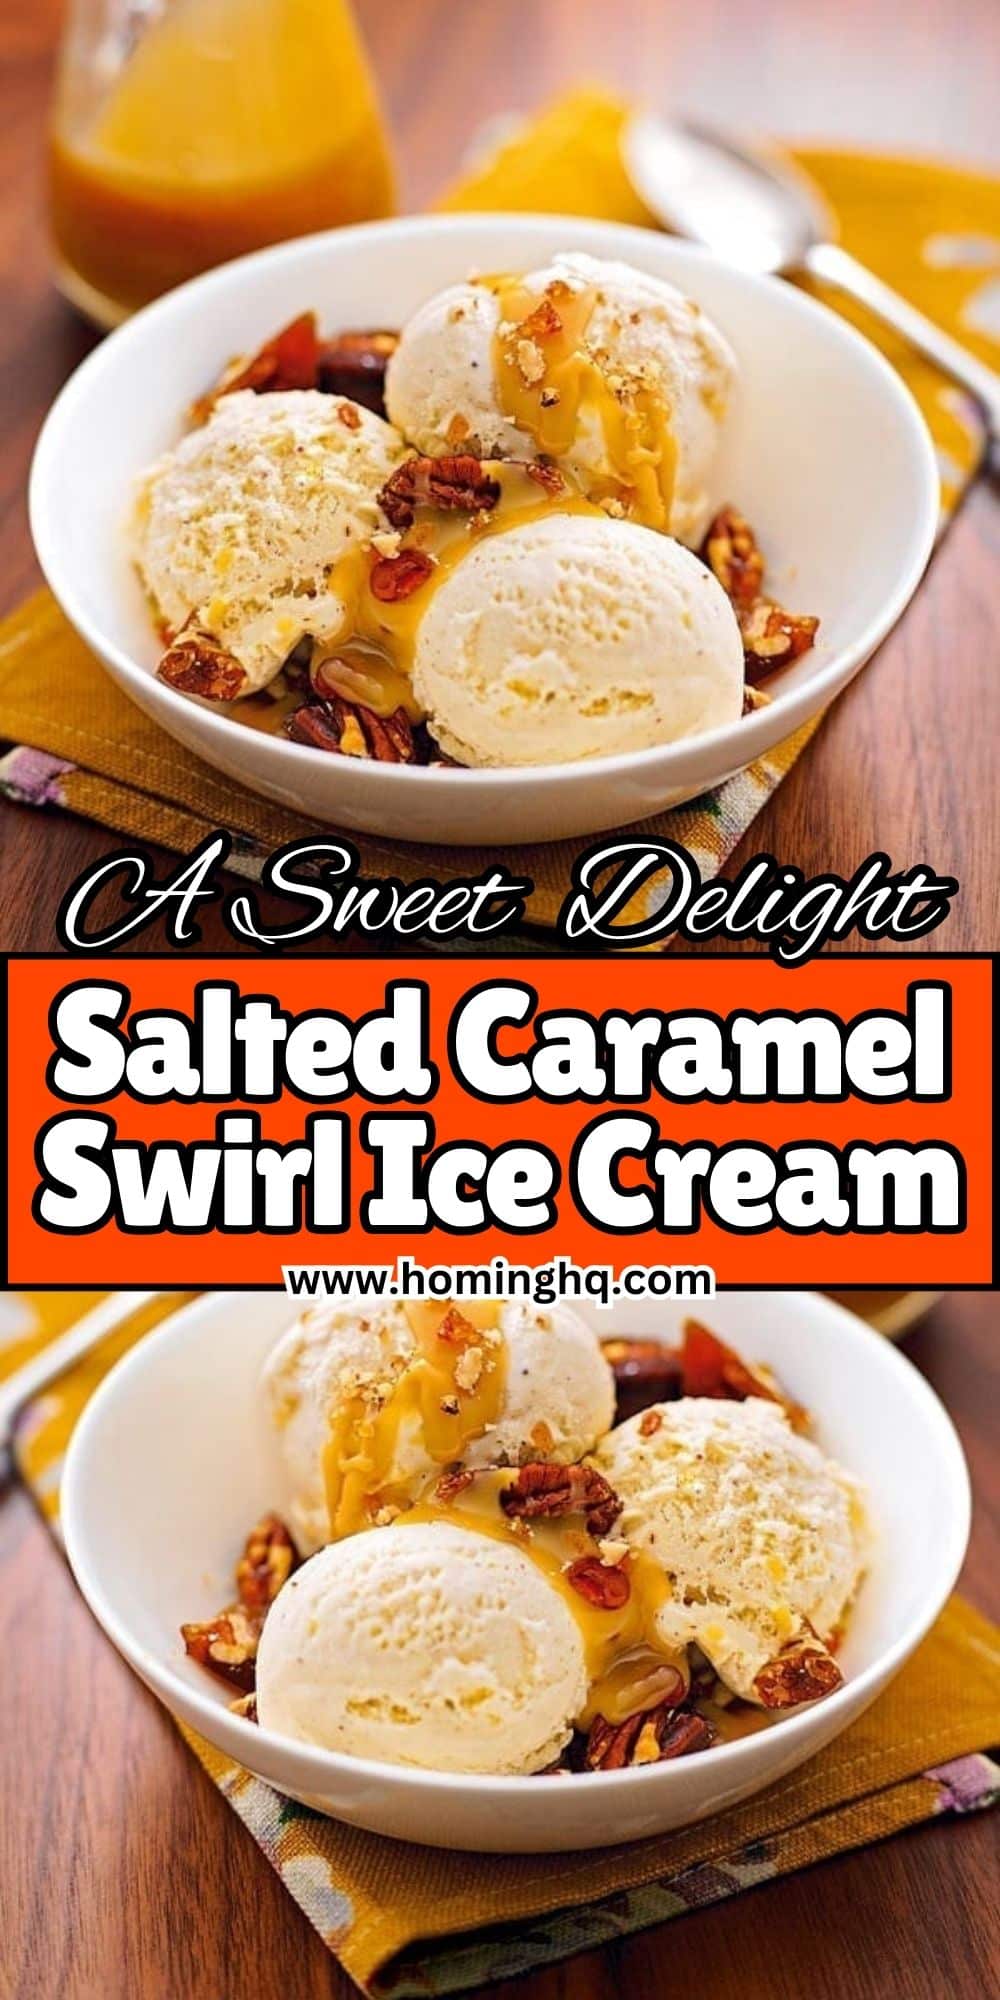
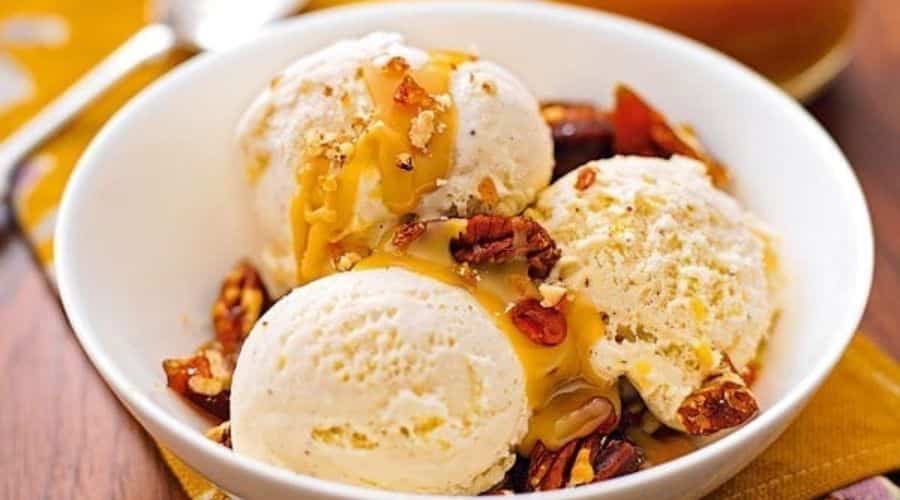
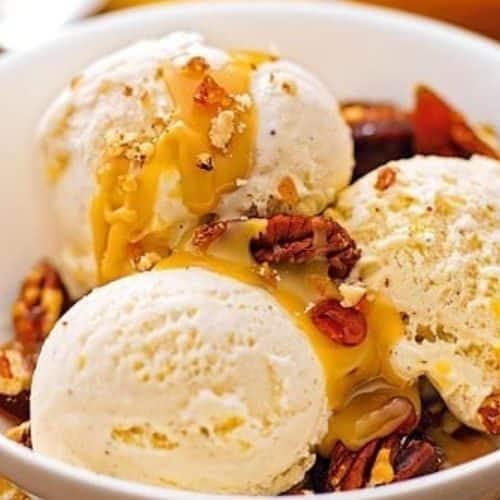
Salted Caramel Swirl Ice Cream is the ultimate indulgence for any sweet tooth, offering the perfect balance of rich, velvety ice cream with the irresistible swirl of homemade salted caramel sauce.
This recipe combines the creamy texture of traditional ice cream with the warm, complex flavor of caramel, complemented by a touch of sea salt that elevates the sweetness to new heights.
While store-bought versions can never quite compare to the freshness and customization of homemade ice cream, this recipe allows you to create a gourmet treat in your own kitchen.
Whether you’re serving it after a family dinner, enjoying a solo bowl on a hot summer day, or surprising friends with a delicious dessert, Salted Caramel Swirl Ice Cream is sure to impress.
The swirl of golden caramel not only adds flavor but also creates an eye-catching visual appeal.
In this blog, I will guide you through each step to create a decadent and creamy salted caramel ice cream that’s just as enjoyable to make as it is to eat!
Ingredients List
To create this luxurious Salted Caramel Swirl Ice Cream, you’ll need the following ingredients:
For the Salted Caramel Sauce:
- 1 cup granulated sugar
- 6 tablespoons unsalted butter
- 1/2 cup heavy cream
- 1/2 teaspoon sea salt (or to taste)
For the Ice Cream Base:
- 2 cups heavy cream
- 1 cup whole milk
- 3/4 cup granulated sugar
- 5 large egg yolks
- 1 teaspoon vanilla extract
- 1/4 teaspoon salt
These ingredients combine to form a smooth, creamy ice cream base, complemented by the irresistible homemade salted caramel.
The heavy cream gives the ice cream its rich texture, while the sea salt in the caramel adds that signature flavor contrast that makes this treat truly special.
Equipment You Will Need
To make the perfect Salted Caramel Swirl Ice Cream, you’ll need a few essential kitchen tools. Here’s a list of everything you’ll require:
- Ice Cream Maker (if you have one): This is the easiest way to churn your ice cream to a smooth, creamy texture. If you don’t own one, I’ll provide alternative methods below.
- Medium Saucepan: For making the caramel sauce and heating the cream mixture.
- Large Mixing Bowl: To combine and cool the custard base before churning.
- Measuring Cups and Spoons: For precise ingredient measurements.
- Whisk: To whisk the custard base and prevent it from curdling.
- Fine Mesh Strainer: Optional, but recommended for straining the caramel sauce or the custard mixture if needed.
- Storage Container: A lidded container to store the ice cream as it freezes.
How to Make Salted Caramel Swirl Ice Cream
Making Salted Caramel Swirl Ice Cream is a rewarding process, with each step bringing you closer to a luxurious treat.
Follow these instructions to achieve the perfect caramel swirl and a smooth, creamy base.
Step 1: Prepare the Salted Caramel Sauce
Start by making the salted caramel sauce, which will be swirled into the ice cream later.
- In a medium saucepan, heat the sugar over medium heat. Stir occasionally to ensure it melts evenly. The sugar will first clump together, then gradually melt into a smooth amber liquid.
- Once melted, add the butter and stir until fully incorporated. Be careful as the mixture may bubble up at this stage.
- Slowly pour in the heavy cream, continuing to stir. The mixture will bubble again, so take caution.
- Let the caramel simmer for about 3-4 minutes until it thickens slightly.
- Remove from heat and stir in the sea salt. Taste the caramel and adjust the salt level if you prefer a stronger salty flavor.
- Allow the caramel to cool before using it in the ice cream. Set it aside.
Step 2: Make the Ice Cream Base
While the caramel cools, it’s time to prepare the ice cream base.
- In a medium saucepan, combine heavy cream, milk, and sugar. Heat over medium heat, stirring frequently until the mixture is warm and the sugar has dissolved.
- In a separate bowl, whisk together the egg yolks until smooth.
- Slowly pour the warm cream mixture into the egg yolks, whisking constantly to temper the eggs (this prevents them from curdling).
- Return the egg-cream mixture to the saucepan and cook over low heat, stirring constantly. The custard is ready when it thickens and coats the back of a spoon.
- Remove from heat and stir in the vanilla extract and salt.
- Pour the custard through a fine mesh strainer into a clean bowl to remove any cooked egg bits. Let the custard cool at room temperature, then refrigerate for at least 2 hours, or until thoroughly chilled.
Step 3: Churn the Ice Cream
Once your ice cream base is chilled, it’s time to churn it.
- Pour the chilled custard into your ice cream maker and churn according to the manufacturer’s instructions, typically for about 20-25 minutes, until it reaches a soft-serve consistency.
- If you don’t have an ice cream maker, you can place the custard in a shallow container in the freezer, stirring every 30 minutes until it reaches a similar consistency (this can take 3-4 hours).
Step 4: Swirl in the Salted Caramel
Now comes the fun part — adding the salted caramel swirl!
- Transfer half of the churned ice cream into a storage container.
- Drizzle a generous amount of the cooled salted caramel sauce over the ice cream.
- Add the remaining ice cream and drizzle more caramel on top.
- Using a knife or spoon, swirl the caramel into the ice cream to create beautiful, marbled patterns.
- Freeze the ice cream for an additional 4-6 hours or until it reaches a firm, scoopable consistency.
Step 5: Freeze the Ice Cream
After swirling in the caramel, it’s time to freeze the ice cream until it’s ready to serve. Be patient — the longer the ice cream sets, the better the texture!
- Place your container in the freezer and allow the ice cream to freeze fully for at least 4-6 hours.
- Once frozen, your homemade Salted Caramel Swirl Ice Cream is ready to be enjoyed!
Tips for the Best Salted Caramel Swirl Ice Cream
To ensure your Salted Caramel Swirl Ice Cream is nothing short of perfect, here are a few expert tips:
- Use quality ingredients: The key to achieving a rich, flavorful ice cream is using high-quality butter, cream, and milk. Opt for organic or full-fat versions for the best texture and flavor.
- Watch the caramel closely: Caramel can burn quickly, so always stir constantly as the sugar melts. Once it turns amber, remove it from heat immediately to avoid bitterness.
- Cool the custard completely: For smooth, creamy ice cream, make sure the custard is thoroughly chilled before churning. This helps create a smoother texture and prevents icy crystals from forming.
- Don’t skip the straining step: Straining the custard before chilling removes any curdled bits, ensuring a silky smooth ice cream base.
- Swirl gently: When adding the caramel swirl, don’t overdo it. Gently swirl to create that beautiful marbled effect — too much stirring will mix it in fully, losing the contrast and texture of the caramel.
Conclusion
Salted Caramel Swirl Ice Cream is a dessert that combines the best of both worlds: the richness of ice cream and the deep, sweet-salty allure of caramel.
By making this treat at home, you’re not only able to control the flavors but also enjoy the satisfaction of creating something so indulgent from scratch.
Whether served on its own or as an accompaniment to other desserts, it’s sure to become a favorite.
Take your time to master each step, and you’ll be rewarded with a smooth, creamy ice cream that’s both decadent and perfectly balanced.
I hope this recipe brings joy to your kitchen, and don’t forget to share it with your loved ones — after all, homemade ice cream is always best when enjoyed together.
Frequently Asked Questions
- Can I make this recipe without an ice cream maker? Yes, you can! If you don’t have an ice cream maker, you can still make this ice cream by pouring the chilled custard into a shallow container and freezing it. Stir every 30 minutes to break up ice crystals, until it reaches a creamy, scoopable texture. This method takes about 3-4 hours.
- How can I make the caramel less sweet? To adjust the sweetness, simply reduce the amount of sugar in the caramel sauce. You can also add more sea salt for a stronger contrast and reduce the sugar in the ice cream base as well.
- Can I use store-bought caramel sauce? While homemade caramel sauce adds a personal touch and superior flavor, you can use store-bought salted caramel sauce in a pinch. However, homemade will always deliver a richer, more customizable taste.
- How can I store the ice cream to maintain texture? To keep your homemade ice cream creamy and prevent ice crystals from forming, store it in an airtight container and make sure it is tightly covered with plastic wrap or parchment paper before sealing with the lid. This helps preserve the texture.
- Can I make this recipe dairy-free or vegan? Yes! You can substitute the heavy cream and whole milk with coconut cream and almond milk for a dairy-free option. For the caramel, use dairy-free butter and coconut cream instead of heavy cream for a vegan-friendly alternative.
Salted Caramel Swirl Ice Cream
Equipment
- Ice Cream Maker – 1 unit
- Medium Saucepan – 1 unit
- Large mixing bowl – 1 unit
- Measuring cups (1 set)
- Measuring spoons (1 set)
- Whisk – 1 unit
- Fine Mesh Strainer – 1 unit (optional)
- Storage Container – 1 unit
Ingredients
For the Salted Caramel Sauce:
- 1 cup granulated sugar
- 6 tablespoons unsalted butter
- 1/2 cup heavy cream
- 1/2 teaspoon sea salt or to taste
For the Ice Cream Base:
- 2 cups heavy cream
- 1 cup whole milk
- 3/4 cup granulated sugar
- 5 large egg yolks
- 1 teaspoon vanilla extract
- 1/4 teaspoon salt
Instructions
Prepare the Salted Caramel Sauce:
- In a medium saucepan, heat the sugar over medium heat until it melts and turns amber.
- Add the butter and stir until fully melted and combined.
- Slowly add the heavy cream while stirring. Let the mixture simmer for 3-4 minutes.
- Stir in the sea salt and let the caramel cool to room temperature.
Make the Ice Cream Base:
- In a saucepan, combine the heavy cream, whole milk, and sugar. Heat over medium, stirring until the sugar dissolves.
- In a bowl, whisk the egg yolks. Slowly add the warm cream mixture to the yolks, whisking constantly to temper the eggs.
- Return the mixture to the saucepan and cook over low heat, stirring until the custard thickens and coats the back of a spoon.
- Remove from heat and stir in the vanilla extract and salt.
- Strain the custard through a fine mesh strainer into a bowl and cool to room temperature. Refrigerate for at least 2 hours.
Churn the Ice Cream:
- Pour the chilled custard into an ice cream maker and churn according to the manufacturer’s instructions for 20-25 minutes.
- If you don’t have an ice cream maker, place the custard in a shallow container and stir every 30 minutes until it thickens, which can take around 3-4 hours.
Swirl in the Salted Caramel:
- Transfer half of the churned ice cream into a storage container.
- Drizzle a generous amount of the cooled salted caramel over the ice cream.
- Add the remaining ice cream, drizzle with more caramel, and swirl gently using a knife or spoon.
Freeze the Ice Cream:
- Cover the container and freeze for 4-6 hours or until firm.
Notes
- To store, keep the ice cream in an airtight container to maintain its creamy texture and avoid freezer burn.
- Feel free to adjust the level of salt in the caramel to suit your taste.
- If you don’t have an ice cream maker, consider using a no-churn method (stir every 30 minutes as it freezes).
- For a dairy-free version, substitute with coconut milk and vegan butter.
- The salted caramel sauce can be made ahead and stored in the refrigerator for up to a week.
