All products are selected by our editorial team for quality. If you buy through our links, we may earn a small commission at no extra cost to you.
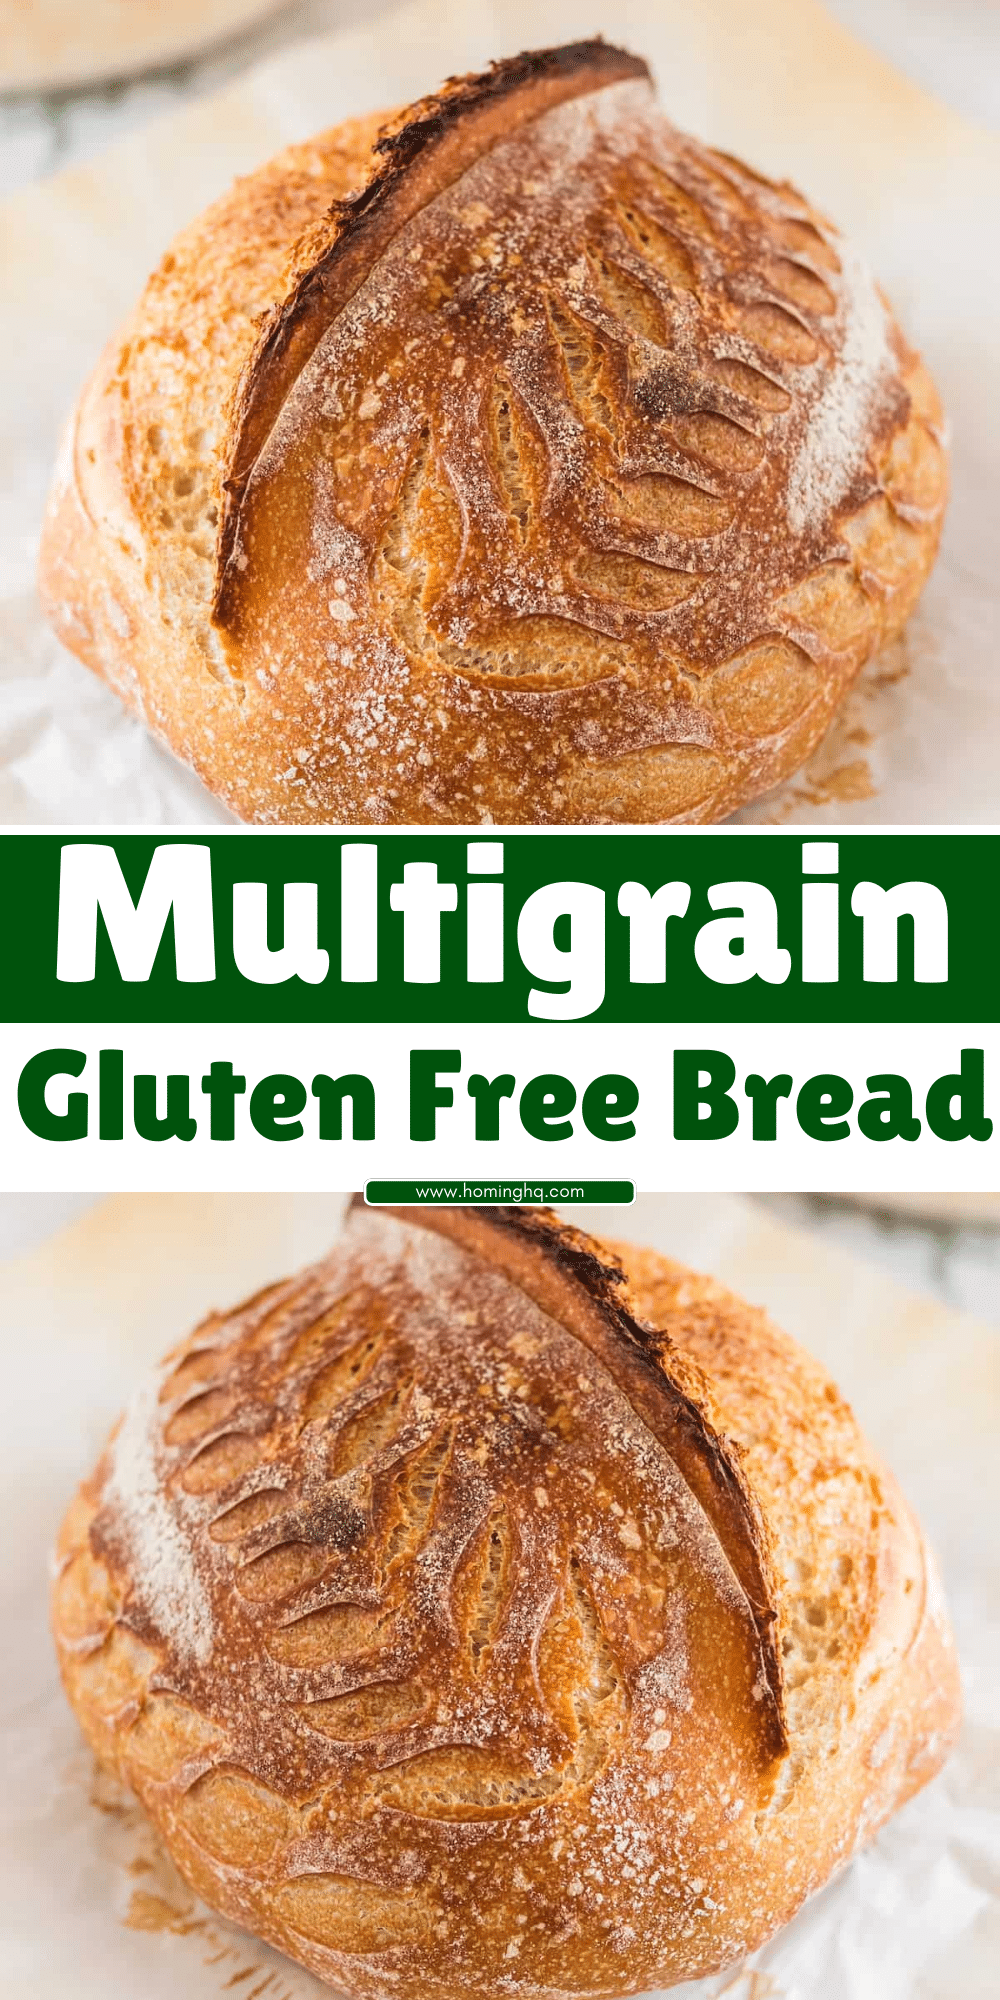
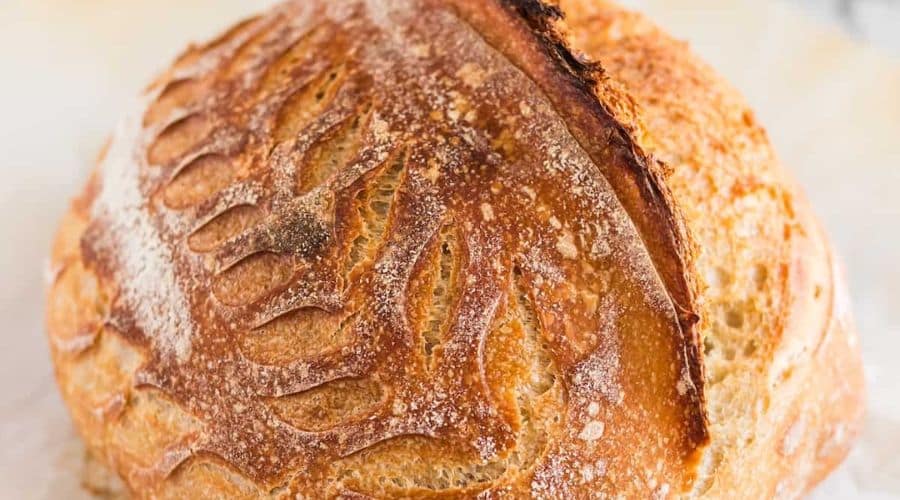
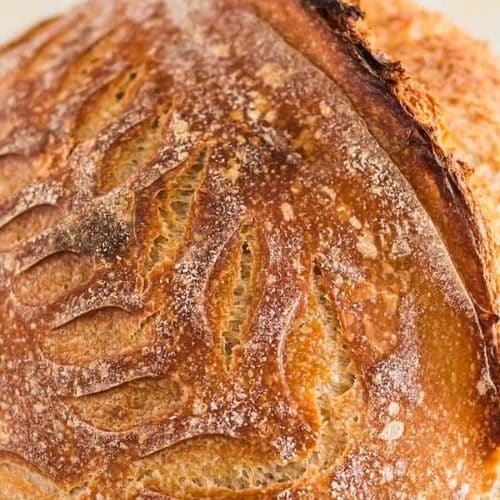
Multigrain Gluten-Free Bread is a nutritious and delicious alternative to traditional bread.
Perfect for those who follow a gluten-free diet, this bread combines the wholesome benefits of multiple grains, ensuring you don’t miss out on taste or texture.
Whether you’re baking for yourself or for someone with dietary restrictions, this bread is a perfect addition to your meals.
Why Choose Multigrain Gluten-Free Bread?
Choosing Multigrain Gluten-Free Bread provides a variety of health benefits.
Unlike regular bread, which is typically made from refined white flour, this bread is made with a blend of gluten-free grains, offering a more complex flavor and a better nutritional profile.
Here’s why it’s a great choice:
- Packed with Nutrients: Multigrain bread typically includes a variety of grains like quinoa, oats, and millet, providing a broader spectrum of vitamins and minerals compared to single-grain varieties.
- Suitable for Dietary Needs: It’s a great option for those with gluten intolerance or celiac disease, while still offering a satisfying, hearty bread experience.
- Higher Fiber Content: The mix of grains in this bread helps increase your fiber intake, which can aid digestion and help regulate blood sugar levels.
Benefits of Multigrain in Gluten-Free Bread
Incorporating multiple grains into your gluten-free bread offers several advantages that single-grain options may not:
1. Enhanced Flavor Profile
Multigrain flour blends create a depth of flavor that white or rice flour alone cannot provide.
The combination of grains like buckwheat, quinoa, and millet brings a nutty, slightly earthy taste, making the bread not only gluten-free but also delicious and satisfying.
2. Better Texture
One of the challenges of gluten-free baking is achieving the right texture.
The use of multiple grains can help create a denser, more elastic bread, mimicking the texture of traditional wheat-based bread.
3. Increased Nutritional Value
By combining various grains, multigrain gluten-free bread offers a wider range of nutrients.
Grains like quinoa are rich in protein, while others, like millet, provide essential minerals like magnesium and phosphorus.
This makes your bread not just a tasty snack but also a nutrient-packed choice.
Step-by-Step Recipe: How to Make Multigrain Gluten-Free Bread
Here’s how to create your own batch of Multigrain Gluten-Free Bread from scratch. With a few simple steps, you’ll have a delicious, homemade loaf ready to enjoy.
Ingredients:
- 1 cup of gluten-free all-purpose flour
- 1/2 cup of quinoa flour
- 1/4 cup of oat flour
- 1/4 cup of millet flour
- 1 tablespoon of ground flaxseed
- 1 teaspoon of salt
- 1 teaspoon of sugar (optional)
- 2 teaspoons of instant yeast
- 1 cup of warm water
- 1/4 cup of olive oil
- 2 tablespoons of apple cider vinegar
- 1 teaspoon of honey or maple syrup (optional)
Instructions:
Step 1: Prepare the Dry Ingredients
In a large mixing bowl, whisk together the gluten-free all-purpose flour, quinoa flour, oat flour, millet flour, ground flaxseed, salt, and sugar (if using).
Make sure the dry ingredients are well-combined.
Step 2: Activate the Yeast
In a separate small bowl, combine the warm water with the yeast and honey or maple syrup (if using).
Stir gently and let it sit for about 5-10 minutes until the mixture becomes frothy.
Step 3: Mix the Wet Ingredients
Add the activated yeast mixture, olive oil, and apple cider vinegar to the dry ingredients.
Stir everything together until you form a thick dough. You might need to use your hands to incorporate all of the ingredients properly.
Step 4: Knead and Let it Rise
Transfer the dough onto a lightly floured surface (using gluten-free flour) and knead gently for 5-10 minutes until the dough is smooth.
If it feels too sticky, sprinkle in a little more flour, but be careful not to add too much.
Place the dough back into the bowl, cover with a damp cloth, and let it rise for 1-2 hours or until it doubles in size.
Step 5: Shape the Dough
Once the dough has risen, punch it down gently and transfer it to a greased loaf pan.
Shape it into a loaf and smooth the top.
Step 6: Second Rise
Cover the loaf pan with a cloth and allow it to rise for another 30-45 minutes.
Preheat your oven to 375°F (190°C) during this time.
Step 7: Bake the Bread
Place the loaf in the preheated oven and bake for 30-35 minutes or until the top is golden brown and the bread sounds hollow when tapped.
You can also check the internal temperature with a thermometer — it should read around 200°F (93°C).
Step 8: Cool and Serve
Let the bread cool in the pan for about 10 minutes before transferring it to a wire rack to cool completely.
Slice and enjoy your freshly baked multigrain gluten-free bread!
Tips for Perfecting Your Multigrain Gluten-Free Bread
Baking gluten-free bread can be a bit tricky, but with a few tips and tricks, you can achieve the perfect loaf every time.
Here are some useful pointers to ensure your multigrain gluten-free bread turns out just right:
1. Use Fresh Ingredients
Ensure that your yeast is fresh and active. Expired yeast may not rise properly, which can result in a denser loaf.
Always check the expiration date on your yeast packets before using them.
2. Don’t Overmix the Dough
Gluten-free dough tends to be stickier than regular dough, and overmixing can make it too dense.
Mix the ingredients until they’re just combined to avoid heavy, tough bread.
3. Adjust Flour Blends as Needed
Depending on the gluten-free flours you use, you may need to adjust the ratio of wet to dry ingredients.
Some gluten-free flours absorb more moisture than others, so keep an eye on the consistency of your dough.
If it feels too dry, add a little more water, or if it’s too wet, sprinkle in a bit more flour.
4. Give the Dough Time to Rise
Since gluten-free bread doesn’t rise the same way as wheat-based bread, it’s important to allow enough time for the dough to rise.
Don’t rush this step; a longer rise time helps improve the texture and flavor of the bread.
5. Add a Little Extra Moisture
Gluten-free bread can sometimes end up too dry.
You can add a tablespoon or two of a moisture-retaining ingredient like applesauce, yogurt, or a bit more olive oil to help keep the bread soft and moist.
6. Experiment with Add-ins
Feel free to add extras like seeds, nuts, or dried fruit to your dough for an added burst of flavor and texture.
Just make sure to fold them in gently to maintain the bread’s structure.
How to Store and Serve Your Multigrain Gluten-Free Bread
Proper storage and serving of your multigrain gluten-free bread will help preserve its freshness and flavor.
Here’s how to make sure your loaf stays delicious:
Storage Tips:
1. Let the Bread Cool Completely
Before storing your bread, let it cool completely on a wire rack.
This prevents condensation from forming inside the storage container, which can make the bread soggy.
2. Store at Room Temperature
For short-term storage (up to 3 days), keep your bread in a sealed, airtight container or a bread bag at room temperature.
Avoid refrigerating it, as this can dry out the bread.
3. Freezing for Long-Term Storage
If you want to store your bread for longer than a few days, freezing is the best option.
Slice the loaf before freezing to make it easier to thaw individual slices.
Wrap the bread tightly in plastic wrap or foil, then place it in a freezer-safe bag.
To thaw, simply leave it at room temperature or toast the slices directly from the freezer.
4. Refreshing Stale Bread
If your multigrain gluten-free bread starts to get a little stale, you can revive it by wrapping it in a damp paper towel and microwaving it for 10-15 seconds. This will help bring back some softness.
Serving Suggestions:
1. As a Sandwich Base
Multigrain gluten-free bread is perfect for making hearty sandwiches.
Try it with turkey, avocado, and fresh veggies for a nutritious and satisfying lunch.
2. Toasted with Toppings
Toast slices of the bread for a quick snack or breakfast.
Top with butter, peanut butter, or a spread of your choice, or even serve it with jam for a sweet treat.
3. Pair with Soups and Stews
Serve slices of this bread alongside your favorite soups or stews.
The hearty texture of the bread complements the flavors of warm, savory dishes beautifully.
4. As a Side to Salads
You can also serve multigrain gluten-free bread as a side dish with your salads, either as a crouton or lightly toasted with olive oil and herbs for extra flavor.
Conclusion
Making Multigrain Gluten-Free Bread at home is not only a rewarding experience but also a fantastic way to ensure you’re getting the best, most nutritious ingredients.
With a variety of grains packed into each slice, this bread is perfect for those looking for a delicious gluten-free option without sacrificing flavor or texture.
Whether you’re baking for dietary reasons or simply want to try something new, this multigrain recipe is sure to impress.
By following the steps and tips outlined above, you’ll be able to enjoy homemade bread that’s perfect every time!
Frequently Asked Questions (FAQs)
1. Can I use regular flour in place of gluten-free flour?
No, regular flour contains gluten, which is essential for traditional bread to rise and have the right texture.
If you’re making gluten-free bread, you’ll need to use a blend of gluten-free flours such as rice flour, oat flour, or quinoa flour, which are specifically designed to replace wheat flour in recipes.
2. Can I make this bread without yeast?
While yeast helps the bread rise and gives it a light texture, you can experiment with yeast-free options.
However, gluten-free bread without yeast may turn out denser.
You can try using baking soda or baking powder as an alternative, but the flavor and texture will be different.
3. How can I make my gluten-free bread softer?
To make your bread softer, you can add ingredients that retain moisture, such as applesauce, yogurt, or extra olive oil.
Additionally, ensuring the dough has a good rise time and isn’t overmixed can help achieve a lighter, softer texture.
4. Can I use other types of gluten-free flour?
Yes, feel free to experiment with other gluten-free flours like chickpea flour, brown rice flour, or teff flour.
Just be sure to maintain a good balance of flours to ensure proper texture and rise. You may need to adjust the liquid content depending on the flour you’re using.
5. How can I make the bread more flavorful?
To enhance the flavor, consider adding ingredients like honey, molasses, herbs (such as rosemary or thyme), or even a handful of seeds and nuts to the dough. These add depth and complexity to the bread, making each bite more satisfying.
Multigrain Gluten-Free Bread
Equipment
- 1 Loaf Pan (8.5 x 4.5 inches)
- 1 Mixing bowl
- 1 Small Bowl (for activating yeast)
- 1 whisk
- 1 wooden spoon or silicone spatula
- 1 Damp Cloth (for covering dough)
- 1 Wire rack (for cooling)
Ingredients
- 1 cup gluten-free all-purpose flour
- 1/2 cup quinoa flour
- 1/4 cup oat flour
- 1/4 cup millet flour
- 1 tbsp ground flaxseed
- 1 tsp salt
- 1 tsp sugar optional
- 2 tsp instant yeast
- 1 cup warm water
- 1/4 cup olive oil
- 2 tbsp apple cider vinegar
- 1 tsp honey or maple syrup optional
Instructions
Prepare the Dry Ingredients:
- In a large bowl, whisk together the gluten-free all-purpose flour, quinoa flour, oat flour, millet flour, ground flaxseed, salt, and sugar (if using).
Activate the Yeast:
- In a separate small bowl, mix the warm water with yeast and honey/maple syrup (if using).Stir and let sit for 5-10 minutes until it becomes frothy.
Combine Wet and Dry Ingredients:
- Pour the activated yeast mixture, olive oil, and apple cider vinegar into the dry ingredients. Mix everything until you form a thick dough. You can use a spatula or your hands to incorporate.
Knead the Dough:
- Transfer the dough onto a lightly floured surface and knead for 5-10 minutes until smooth. If it’s too sticky, sprinkle with a little more flour, but don’t add too much.
Let It Rise:
- Place the dough in the bowl, cover it with a damp cloth, and let it rise for 1-2 hours or until it has doubled in size.
Shape the Dough:
- Once the dough has risen, punch it down gently. Shape it into a loaf and transfer it to a greased loaf pan, smoothing the top.
Second Rise:
- Cover the loaf pan with a cloth and let the dough rise for another 30-45 minutes while you preheat the oven to 375°F (190°C).
Bake the Bread:
- Place the loaf in the oven and bake for 30-35 minutes or until the top is golden brown and the bread sounds hollow when tapped. You can also check with a thermometer; it should read 200°F (93°C).
Cool and Serve:
- Let the bread cool for 10 minutes in the pan, then transfer to a wire rack to cool completely before slicing.
Notes
- Flour Variations: You can experiment with different gluten-free flour blends to suit your taste, such as adding brown rice flour or sorghum flour.
- Moisture: If your dough feels too dry, you can add more water, a tablespoon at a time, until you reach the right consistency.
- Rising Tips: If your kitchen is cold, you can place the dough in an oven with the light on to help it rise.
- Sweetness: For a slightly sweeter bread, you can add more honey or maple syrup.
