All products are selected by our editorial team for quality. If you buy through our links, we may earn a small commission at no extra cost to you.
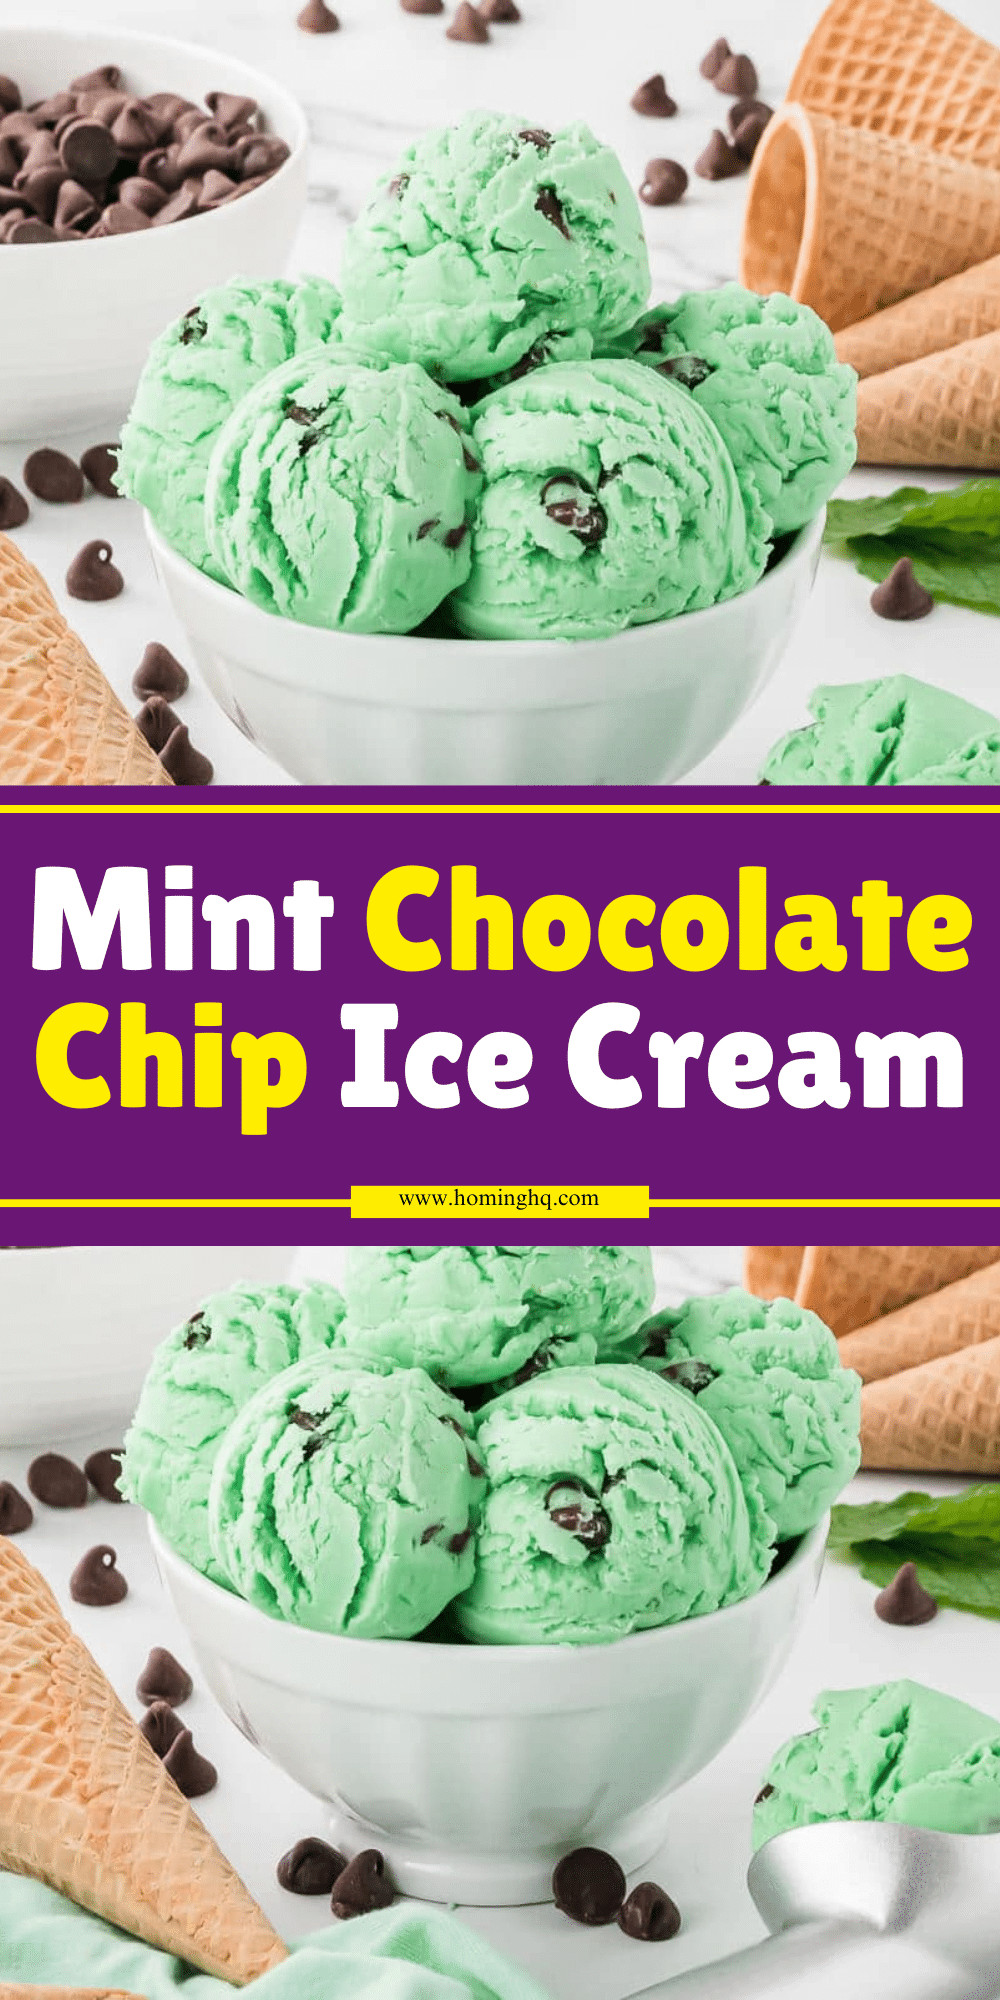
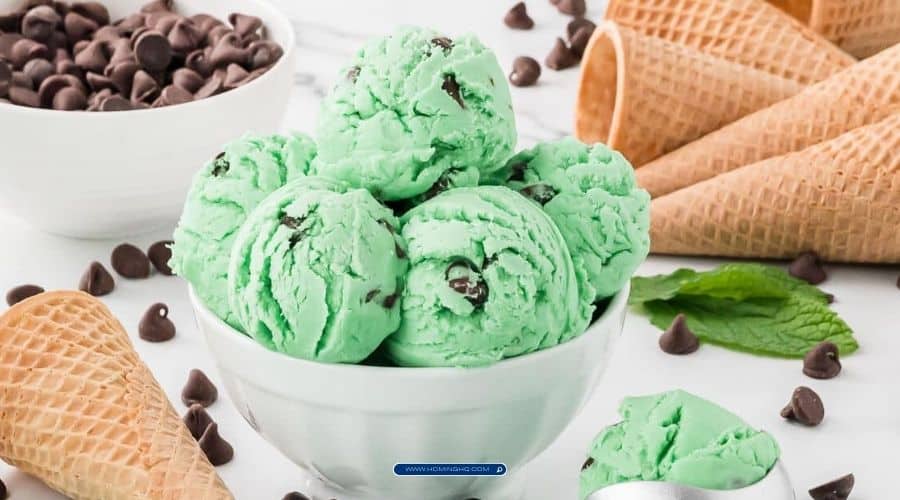
Mint chocolate chip ice cream is a classic treat that has stood the test of time, beloved by ice cream lovers of all ages.
The smooth, creamy texture of the ice cream combined with the refreshing taste of mint and the delightful crunch of chocolate chips creates a perfect balance of flavors and textures.
This recipe allows you to make it at home, ensuring it’s fresh, customizable, and free of artificial additives.
Whether you’re celebrating a special occasion or simply satisfying a sweet craving, this homemade mint chocolate chip ice cream will surely become a staple in your dessert repertoire.

Why You’ll Love This Mint Chocolate Chip Ice Cream Recipe
There are countless reasons why this mint chocolate chip ice cream recipe will become your go-to.
For starters, it’s incredibly easy to make, requiring just a few basic ingredients that you likely already have in your kitchen.
You’ll love the creamy, velvety texture that’s just like what you’d find at an ice cream parlor, but with the added benefit of knowing exactly what’s going into it.
The combination of cool, refreshing mint and rich chocolate chips creates a flavor profile that’s both satisfying and indulgent, without being too overwhelming.
Whether you prefer large chunks of chocolate or smaller chips, this recipe is versatile, allowing you to adjust to your taste preferences.
Plus, making ice cream at home gives you complete control over the sweetness level, so you can tailor it to suit your desires.
It’s a fun and rewarding recipe that you and your family will return to time and again.
Ingredients You’ll Need for Mint Chocolate Chip Ice Cream
To make your own batch of this delicious mint chocolate chip ice cream, you’ll need a handful of simple ingredients.
Here’s what you’ll need:
- Heavy Cream: This gives the ice cream its rich, creamy texture.
- Whole Milk: Balances the richness of the cream while maintaining smoothness.
- Granulated Sugar: For the right amount of sweetness to complement the mint and chocolate.
- Fresh Mint Leaves: The key to getting that natural, refreshing mint flavor.
- Vanilla Extract: Adds depth to the flavor and enhances the mint.
- Chocolate Chips or Chopped Chocolate: Adds that signature chocolate crunch.
- Salt: A pinch to elevate all the flavors.
- Egg Yolks (Optional for custard base): This ingredient helps create a creamier texture and richer flavor if you choose to make a custard-style base.
With these basic ingredients, you can easily create an ice cream that rivals any store-bought version—fresh, flavorful, and completely customizable!
You have not enough Humanizer words left. Upgrade your Surfer plan.
Equipment You’ll Need to Make Mint Chocolate Chip Ice Cream
Before diving into the recipe, it’s important to gather all the necessary equipment to ensure a smooth and successful ice cream-making experience. Here’s what you’ll need:
- Ice Cream Maker: Essential for churning and freezing your mixture to achieve that perfect, creamy consistency. You can use either a traditional or electric ice cream maker, depending on what you have available.
- Medium Saucepan: For heating the cream, milk, and mint leaves to infuse the mint flavor.
- Mixing Bowls: For combining the ingredients and for separating the egg yolks, if you decide to use them.
- Fine Mesh Strainer or Cheesecloth: To strain out the mint leaves after infusing the cream mixture.
- Measuring Cups and Spoons: To ensure you get the perfect balance of ingredients.
- Whisk: For whisking the egg yolks and mixing the custard base, if making one.
- Spatula: To fold the chocolate chips into the ice cream mixture once it’s churned.
- Storage Container: A freezer-safe container to store the finished ice cream while it hardens further.
Having these tools ready will streamline the process and ensure your ice cream turns out just as you envision it.
Step-by-Step Instructions for Making Mint Chocolate Chip Ice Cream

Making homemade mint chocolate chip ice cream is both a fun and rewarding process. Follow these step-by-step instructions to create your own creamy, minty, and chocolatey treat.
Step 1: Prepare the Mint Cream Mixture
In a medium saucepan, combine the heavy cream, whole milk, and granulated sugar.
Heat the mixture over medium heat, stirring occasionally until it begins to steam. Be careful not to bring it to a boil.
Once steaming, add the fresh mint leaves and let them steep in the mixture for about 10 minutes.
This will allow the mint to infuse the cream with its refreshing flavor.
Step 2: Strain the Mint Leaves
After the mint has steeped, remove the saucepan from the heat.
Use a fine mesh strainer or cheesecloth to strain out the mint leaves, pressing them gently to extract all the infused flavor.
Set the strained cream mixture aside to cool slightly.
Step 3: Prepare the Egg Custard (Optional)
If you are making a custard-style ice cream base, whisk together the egg yolks in a separate bowl.
Gradually add a small amount of the warm cream mixture to the egg yolks, whisking constantly to temper the eggs and prevent them from curdling.
Once combined, slowly pour the egg yolk mixture back into the saucepan with the remaining cream mixture.
Step 4: Cook the Custard (Optional)
Return the saucepan to the stovetop and cook the mixture over low to medium heat, stirring constantly with a wooden spoon or spatula.
You’ll want to cook it until the custard thickens enough to coat the back of the spoon, which should take about 5-7 minutes.
Be sure not to let it boil.
If you’re not making a custard base, simply skip this step and proceed to the next one.
Step 5: Cool the Mixture
Once your custard is thickened (or if you skipped the custard step), remove the saucepan from the heat and allow the mixture to cool completely.
You can speed up this process by placing the mixture in the fridge for 2-3 hours, or overnight if you have time.
Step 6: Churn the Ice Cream
Once your mixture has cooled, pour it into your ice cream maker. Follow the manufacturer’s instructions for your specific model.
Generally, it will take about 20-25 minutes of churning to reach the soft-serve consistency.
Step 7: Add the Chocolate Chips
Once the ice cream is almost done churning, add in the chocolate chips or chopped chocolate.
Stir them in gently with a spatula to evenly distribute them throughout the ice cream.
Step 8: Freeze the Ice Cream
Transfer the churned ice cream to a freezer-safe container.
Smooth the top with your spatula and cover with a lid or plastic wrap.
Freeze the ice cream for at least 4 hours, or until it firms up to your desired consistency.
Step 9: Serve and Enjoy
Once the ice cream has hardened, scoop out portions into bowls or cones, and enjoy the refreshing, creamy, and crunchy mint chocolate chip ice cream you’ve made!
It’s perfect for any occasion or just as a sweet treat on a warm day.
Tips for the Best Mint Chocolate Chip Ice Cream
To make your mint chocolate chip ice cream even more delicious and ensure it turns out perfectly every time, here are a few expert tips to keep in mind:
1. Use Fresh Mint Leaves for Maximum Flavor
For the most authentic and vibrant mint flavor, always use fresh mint leaves.
The natural oils in the fresh mint leaves create a fragrant and refreshing taste that is far superior to mint extracts.
If you’re using a mint extract, use it sparingly to avoid an overpowering flavor.
2. Opt for High-Quality Chocolate
The chocolate chips or chopped chocolate you use can make a big difference in the overall taste.
Go for high-quality semi-sweet or dark chocolate to complement the sweetness of the mint.
If you prefer, you can even try mixing different types of chocolate for added complexity.
3. Don’t Skip the Churning
The churning process in an ice cream maker is what gives the ice cream its creamy texture.
Be sure to churn your mixture for the recommended amount of time to achieve that smooth and airy consistency.
Over-churning can cause the ice cream to become too hard, so keep an eye on it.
4. Add Chocolate Chips at the Right Time
To avoid melting the chocolate chips into the mixture, be sure to add them during the last few minutes of churning.
This way, they stay intact and provide that delightful crunch throughout the ice cream.
5. Adjust Sweetness to Your Taste
Depending on your preference, you can adjust the amount of sugar in the recipe.
If you like a less sweet ice cream, start with a lower sugar amount and taste the mixture before churning.
Keep in mind that freezing can slightly mute the sweetness, so it’s okay for the base to taste a little sweeter than you want the finished ice cream to be.
How to Store Homemade Mint Chocolate Chip Ice Cream
Proper storage is key to maintaining the quality and texture of your homemade mint chocolate chip ice cream.
Here’s how to store it effectively:
1. Use an Airtight Container
Once your ice cream is churned and transferred into a storage container, make sure it’s airtight.
This will prevent ice crystals from forming and protect the flavor from absorbing any unwanted odors from the freezer.
A plastic container with a tight-fitting lid or a glass jar with a seal works perfectly.
2. Cover with Plastic Wrap
For extra protection, press a piece of plastic wrap directly onto the surface of the ice cream before sealing the container with the lid.
This will help prevent air from getting to the ice cream and causing freezer burn.
3. Store in the Coldest Part of the Freezer
Place your ice cream in the coldest part of your freezer, ideally near the back.
This will help it freeze more evenly and keep the texture smooth and creamy.
4. Allow Time to Firm Up
Before serving, make sure to let the ice cream freeze for at least 4 hours or until it reaches the desired firmness.
Homemade ice cream may be slightly softer than store-bought versions, so if you prefer a firmer consistency, allow it to freeze overnight.
5. Keep Ice Cream Stored for Up to 2-3 Weeks
Homemade ice cream is best enjoyed within 2-3 weeks of making it. While it can technically last longer, the texture and flavor may start to degrade after this time.
Always make sure to consume it sooner for the freshest taste and texture.
By following these simple storage tips, your mint chocolate chip ice cream will stay fresh, creamy, and delicious for as long as possible!
Conclusion
Homemade mint chocolate chip ice cream is a delightful treat that offers a refreshing balance of creamy, minty goodness and rich, crunchy chocolate.
With a few simple ingredients and some careful steps, you can easily make a batch that rivals your favorite ice cream shop’s version.
Whether you’re enjoying it on a sunny day or as a special dessert after dinner, this homemade version will always be a crowd-pleaser.
Remember, making ice cream from scratch gives you complete control over the flavor, texture, and sweetness, so you can tailor it exactly to your liking.
Don’t forget to experiment with different types of chocolate or adjust the mint intensity to suit your preferences.
Enjoy the process, and most importantly, enjoy your homemade mint chocolate chip ice cream!
Frequently Asked Questions
1. Can I use mint extract instead of fresh mint leaves?
Yes, you can substitute mint extract for fresh mint leaves.
However, fresh mint gives a more natural and vibrant flavor.
If using extract, start with a small amount (about 1 teaspoon) and adjust to taste, as it can be quite potent.
2. Can I make mint chocolate chip ice cream without an ice cream maker?
Yes, you can make ice cream without an ice cream maker by freezing the mixture in a shallow dish and stirring it every 30 minutes for the first 2-3 hours.
This will help prevent large ice crystals from forming and create a smoother texture.
3. How can I make the ice cream creamier?
To make your ice cream creamier, you can try using more heavy cream and less milk.
You can also add an egg custard base, as described in the recipe, which will help enhance the texture and richness.
4. How do I prevent ice crystals from forming in my homemade ice cream?
To prevent ice crystals, make sure to churn the mixture well and store it in an airtight container.
Adding a small amount of alcohol, like vodka or a mint liqueur, can also help reduce ice crystals by lowering the freezing point slightly.
5. Can I add other mix-ins to the ice cream?
Absolutely! Feel free to customize your mint chocolate chip ice cream with other mix-ins like crushed cookies, nuts, or swirls of fudge.
Just make sure to add them toward the end of the churning process to keep them from breaking down too much.

Mint Chocolate Chip Ice Cream
Equipment
- Ice Cream Maker: 1 (necessary for churning the mixture)
- Medium Saucepan: 1 (for heating the cream, milk, and mint leaves)
- Mixing Bowls: 2 (for separating ingredients and combining)
- Fine Mesh Strainer or Cheesecloth: 1 (to strain the mint leaves)
- Whisk: 1 (for mixing egg yolks, if making a custard base)
- Spatula: 1 (for stirring in chocolate chips)
- Measuring Cups and Spoons: 1 set (for accurately measuring ingredients)
- Freezer-Safe Container: 1 (for storing the ice cream while it hardens)
Ingredients
- 2 cups 480 ml Heavy Cream
- 1 cup 240 ml Whole Milk
- ¾ cup 150 g Granulated Sugar
- 1 cup packed Fresh Mint Leaves
- 1 tsp Vanilla Extract
- ½ cup 90 g Chocolate Chips or Chopped Chocolate
- Pinch of Salt
- 4 Egg Yolks optional, for custard base
Instructions
- Infuse the Mint Cream Mixture: In a medium saucepan, combine the heavy cream, whole milk, and granulated sugar. Heat over medium heat, stirring occasionally until it starts to steam. Add the fresh mint leaves and let them steep for 10 minutes. Remove the saucepan from the heat and strain out the mint leaves using a fine mesh strainer.
- Make the Custard (Optional): If you're using a custard base, whisk the egg yolks in a separate bowl. Slowly pour in a small amount of the warm cream mixture to temper the eggs. Gradually add the egg mixture back into the saucepan with the remaining cream, and cook over low heat, stirring constantly until it thickens and coats the back of the spoon (about 5-7 minutes). Remove from heat.
- Cool the Mixture: Allow the mixture to cool completely. You can speed this up by placing the mixture in the fridge for 2-3 hours, or overnight.
- Churn the Ice Cream: Once cooled, pour the mixture into your ice cream maker and churn according to the manufacturer’s instructions (typically 20-25 minutes).
- Add Chocolate Chips: During the last few minutes of churning, add the chocolate chips or chopped chocolate.
- Freeze the Ice Cream: Transfer the ice cream to a freezer-safe container and cover. Freeze for at least 4 hours or until firm.
- Serve and Enjoy: Scoop the ice cream into bowls or cones, and enjoy your homemade mint chocolate chip ice cream!
Notes
- Custard Option: If you prefer a richer, creamier ice cream, consider using the egg yolks to make a custard base. It adds depth of flavor and a velvety texture.
- Mint Extract: If you’re short on fresh mint, mint extract can be used instead. Start with about 1 teaspoon and adjust to your taste.
- Chocolate: For a more decadent ice cream, you can use dark chocolate or mix in chocolate chunks for added texture.
- Storage: Homemade ice cream is best within 2-3 weeks. Store it in an airtight container in the freezer to maintain its texture and flavor.
- Alcohol Tip: Adding a tablespoon of vodka or another spirit (like mint liqueur) can help keep the ice cream from becoming too hard after freezing, as it lowers the freezing point slightly.

