All products are selected by our editorial team for quality. If you buy through our links, we may earn a small commission at no extra cost to you.
Italian bread has been a staple in Italian cuisine for centuries.
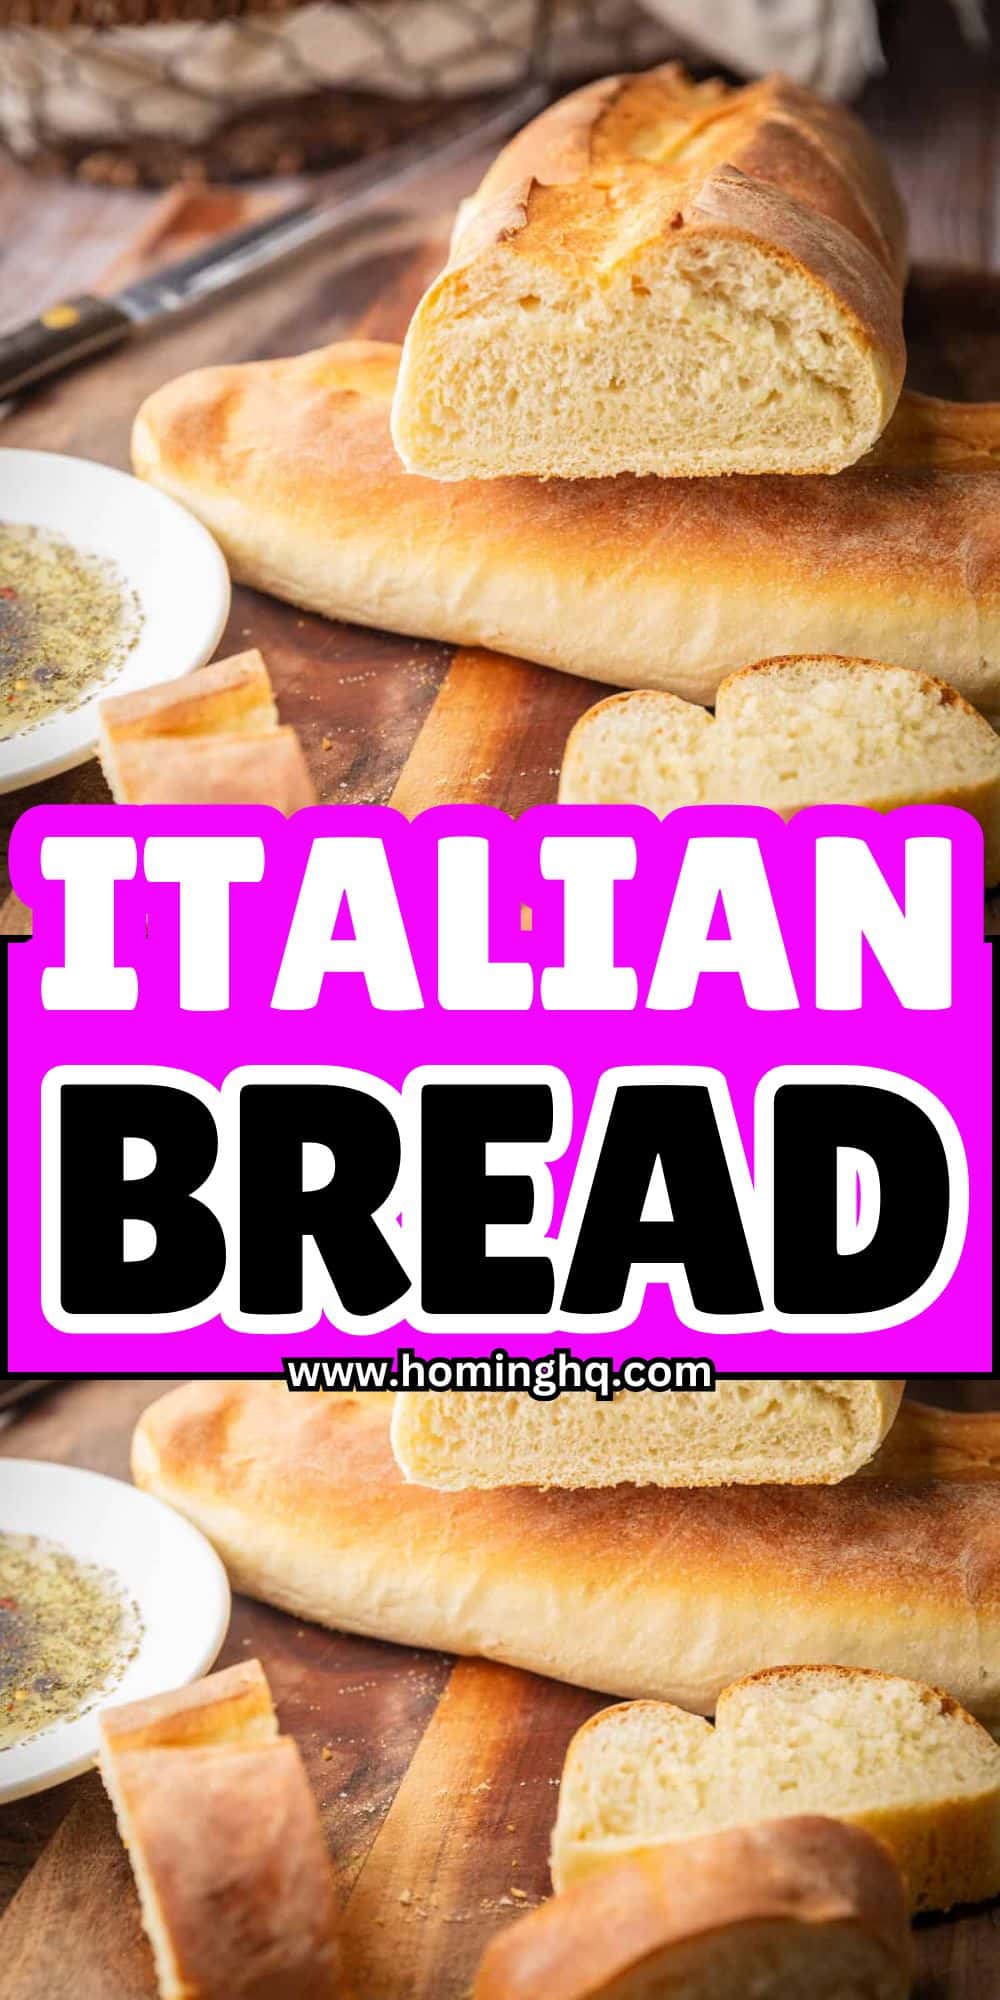
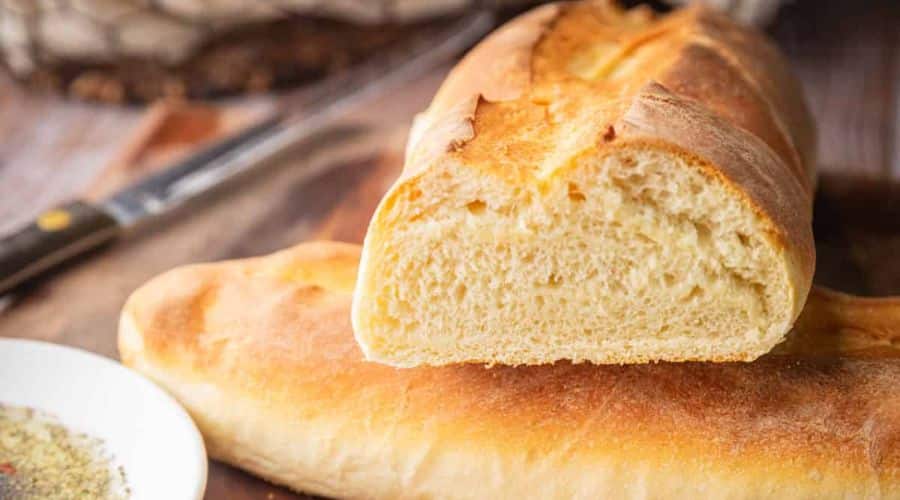
It is known for its crisp crust, airy texture, and rich flavor.
Unlike many store-bought breads, traditional Italian bread is made with simple, high-quality ingredients.
It relies on the slow fermentation process to develop its signature taste.
There are many variations of Italian bread, each with its own unique characteristics.
Some of the most well-known types include ciabatta, focaccia, and pane Toscano.
Making Italian bread at home allows you to enjoy a fresh, artisanal loaf with no preservatives.
The process is simple, and with a little patience, you can achieve bakery-quality results in your own kitchen.

Ingredients for Traditional Italian Bread
The foundation of any great Italian bread lies in its ingredients. Simple, high-quality ingredients will produce the best results.
Essential Ingredients
Flour – Italian bread is typically made with high-protein flour, such as bread flour or Tipo 00 flour.
This helps create the perfect chewy texture.
Yeast – Active dry yeast or instant yeast is used to help the dough rise. Fresh yeast can also be used for a more traditional approach.
Water – Lukewarm water activates the yeast and hydrates the flour. Proper hydration is key to a light, airy bread.
Salt – Salt enhances the flavor and helps regulate the fermentation process.
It should be added after the yeast has been mixed with the flour and water.
Olive Oil – While not always included in classic recipes, olive oil adds flavor and improves the texture of the bread.
It also helps keep the crust from becoming too hard.
Optional Ingredients for Variations
Herbs and Spices – Rosemary, thyme, or garlic can be added for a fragrant, flavorful loaf.
Cheese – Parmesan or pecorino can be incorporated into the dough for a richer taste.
Sugar or Honey – A small amount of sugar or honey can be used to enhance browning and add a hint of sweetness.
Step-by-Step Instructions to Make Authentic Italian Bread

Step 1: Preparing the Dough
Start by dissolving the yeast in lukewarm water. Let it sit for a few minutes until it becomes frothy.
This step ensures the yeast is active.
In a large mixing bowl, combine the flour and salt.
Slowly add the yeast mixture and olive oil. Stir until a sticky dough forms.
Turn the dough onto a floured surface and knead it for about 10 minutes.
The dough should become smooth and elastic. If using a stand mixer, knead with a dough hook on medium speed for about 8 minutes.
Step 2: First Rise – Letting the Dough Develop Flavor
Place the dough in a lightly greased bowl and cover it with a damp cloth.
Let it rise in a warm place for about 1 to 2 hours, or until it doubles in size.
To check if the dough is ready, gently press it with your finger. If it slowly springs back, it is properly proofed.
Step 3: Shaping the Bread
After the first rise, punch down the dough to release excess air.
Transfer it to a floured surface and shape it into a round loaf, baguette, or any preferred shape.
If making ciabatta, stretch the dough gently into a rectangular shape.
For a rustic loaf, fold the edges under to create a smooth surface.
Step 4: Second Rise – Enhancing the Bread’s Structure
Place the shaped dough onto a baking sheet lined with parchment paper.
Cover it with a cloth and let it rise again for about 30 to 45 minutes.
During this time, preheat the oven to 425°F (220°C).
Place a shallow pan of water in the oven to create steam, which helps form a crisp crust.
Step 5: Baking the Bread to Perfection
Before baking, lightly score the top of the dough with a sharp knife or razor blade.
This allows the bread to expand properly in the oven.
Bake for about 25 to 30 minutes, or until the crust is golden brown.
Tap the bottom of the loaf; if it sounds hollow, the bread is done.
Let the bread cool on a wire rack before slicing. This allows the steam to escape, preventing a gummy texture.
Tips for the Best Homemade Italian Bread
Use high-quality flour for the best texture and flavor.
Italian Tipo 00 or bread flour will give a better rise and structure.
Control the hydration level based on the type of bread you are making.
Higher hydration doughs, like ciabatta, require a wetter consistency.
Allow the dough to ferment slowly for deeper flavor.
A longer rise, especially with a pre-ferment like biga, enhances the taste.
Create steam in the oven by placing a pan of water on the bottom rack. This helps develop a crisp, golden crust.
Let the bread cool completely before slicing.
Cutting too soon can result in a gummy texture.
If storing, keep the bread wrapped in a paper bag or cloth to maintain its crust.
Avoid plastic bags, which can make the bread soggy.
Would you like me to continue with the remaining sections?
Storage and Freezing Tips
Storing Fresh Italian Bread
Italian bread is best enjoyed fresh on the day it is baked.
However, if you need to store it, proper methods will help maintain its texture and flavor.
Keep the bread at room temperature in a paper bag or wrapped in a clean kitchen towel.
This allows airflow and prevents the crust from becoming too soft.
Avoid storing Italian bread in plastic bags, as they trap moisture and can make the crust rubbery.
If you must use plastic, wrap the bread loosely.
For best results, consume the bread within two days. After that, it may start to dry out.
Reviving Stale Bread
If the bread becomes slightly stale, sprinkle it with a little water and place it in a preheated oven at 350°F (175°C) for 5 to 10 minutes.
This will refresh the crust and soften the interior.
Freezing Italian Bread
If you want to keep Italian bread for longer, freezing is the best option.
Wrap the fully cooled bread tightly in plastic wrap, then place it in a freezer-safe bag or airtight container.
Removing as much air as possible will prevent freezer burn.
For convenience, you can slice the bread before freezing.
This way, you can take out only the slices you need and toast them directly from frozen.
Thawing and Reheating
To thaw a whole loaf, leave it at room temperature for a few hours.
Once thawed, warm it in a 350°F (175°C) oven for about 10 minutes to restore its crusty texture.
For frozen slices, toast them directly in a toaster or warm them in a pan over low heat.
Common Mistakes and How to Avoid Them
Using the Wrong Type of Flour
Not all flours are created equal, and using low-protein flour can result in a dense loaf.
Bread flour or Tipo 00 flour provides the right gluten structure for a chewy texture.
Overproofing or Underproofing the Dough
If the dough rises for too long, it can collapse when baked.
If it doesn’t rise enough, the bread will be dense and heavy.
Follow the recommended proofing times and check if the dough springs back when gently pressed.
Adding Salt Too Early
Salt can inhibit yeast activity if added too soon.
Always mix the yeast with water and flour first before adding salt to avoid slowing down fermentation.
Not Kneading the Dough Enough
Kneading is essential for developing gluten, which gives the bread structure.
If the dough is not kneaded properly, the final bread may be flat and crumbly.
Knead for at least 10 minutes by hand or 8 minutes in a stand mixer.
Skipping the Second Rise
Some people rush the process and bake the bread after just one rise.
The second rise helps develop flavor and improves the final texture. Always allow time for this crucial step.
Baking Without Steam
Steam is key to achieving a crispy crust. If the oven is too dry, the crust may be too thick or tough.
Place a pan of water in the oven or spray the inside with water before baking.
Cutting the Bread Too Soon
It’s tempting to slice into fresh bread right away, but doing so can make the inside gummy.
Let the bread cool completely before cutting to allow the crumb to set.
Would you like me to continue with the remaining sections?
Conclusion
Homemade Italian bread is a rewarding experience that brings authentic flavors into your kitchen.
With just a few simple ingredients and patience, you can create a loaf with a crisp crust and soft, airy interior.
By following the step-by-step process, using the right techniques, and avoiding common mistakes, you can achieve bakery-quality results at home.
Whether you enjoy it with olive oil, alongside a hearty meal, or as the base for a delicious sandwich, fresh Italian bread elevates any dish.
Now that you have the knowledge and recipe, give it a try and enjoy the satisfaction of making your own Italian bread from scratch.
If you have any questions or want to share your experience, feel free to leave a comment.
Frequently Asked Questions
1. Can I make Italian bread without yeast?
Yes, but the texture and flavor will be different.
You can use baking powder or baking soda with an acid like yogurt or vinegar as a leavening agent.
However, for authentic Italian bread, yeast is essential for developing the proper rise and structure.
2. Why is my Italian bread too dense?
Dense bread can result from not kneading the dough enough, not allowing it to rise properly, or using too much flour.
Make sure the dough is well-kneaded, fully proofed, and properly hydrated for a light, airy texture.
3. How can I get a crispier crust?
Baking with steam is the key to a crispy crust.
Place a pan of hot water in the oven or mist the oven walls with water during the first few minutes of baking.
Also, baking at a high temperature and letting the bread cool on a wire rack helps maintain its crispness.
4. Can I use whole wheat flour instead of all-purpose flour?
Yes, but whole wheat flour absorbs more water and creates a denser loaf.
To maintain a lighter texture, use a mix of whole wheat and bread flour.
You may also need to add extra water to the dough to compensate for the added density.
5. How long should I let the dough rise?
The first rise typically takes 1 to 2 hours, depending on room temperature and yeast activity.
The second rise takes about 30 to 45 minutes. If you have time, a slow rise in the refrigerator overnight enhances the flavor.
Would you like any modifications or additions?

Italian Bread
Equipment
- 1 large mixing bowl
- 1 measuring cup
- 1 Set of Measuring Spoons
- 1 wooden spoon or dough scraper
- 1 Stand mixer with dough hook (optional)
- 1 baking sheet or pizza stone
- 1 sharp knife or lame for scoring
- 1 kitchen towel
- 1 Wire rack (for cooling)
Ingredients
Basic Dough
- 3 ½ cups 450g bread flour or all-purpose flour
- 1 ¼ cups 300ml warm water (110°F/45°C)
- 2 teaspoons 7g active dry yeast or instant yeast
- 1 ½ teaspoons 8g salt
- 1 tablespoon 15ml olive oil
Optional Additions
- 1 teaspoon 5g sugar (for a slightly softer texture)
- 1 teaspoon 2g dried rosemary or thyme
- ¼ cup 20g grated Parmesan cheese
Instructions
Step 1: Activate the Yeast
- In a small bowl, combine the warm water and yeast. Let it sit for 5–10 minutes until it becomes foamy. This ensures the yeast is active.
Step 2: Mix the Dough
- In a large mixing bowl, combine the flour and salt. Slowly add the yeast mixture and olive oil while stirring with a wooden spoon or dough scraper.
Step 3: Knead the Dough
- Transfer the dough to a floured surface and knead for about 10 minutes until smooth and elastic. If using a stand mixer, knead with the dough hook on medium speed for 8 minutes.
Step 4: First Rise
- Place the dough in a greased bowl and cover it with a damp towel. Let it rise in a warm place for 1–2 hours or until it doubles in size.
Step 5: Shape the Dough
- Punch down the dough and shape it into a round or oval loaf.Place it on a parchment-lined baking sheet.
Step 6: Second Rise
- Cover the shaped dough and let it rise for another 30–45 minutes. Meanwhile, preheat the oven to 425°F (220°C).
Step 7: Score and Bake
- Use a sharp knife or lame to score the top of the loaf. Bake for 25–30 minutes until golden brown. The bread should sound hollow when tapped on the bottom.
Step 8: Cool and Serve
- Transfer the bread to a wire rack and let it cool for at least 20 minutes before slicing. Serve with olive oil, butter, or alongside your favorite dish.
Notes
- Flour Choice: Bread flour will give a chewier texture, while all-purpose flour results in a slightly softer bread.
- Fermentation: For a deeper flavor, allow the dough to rise slowly in the refrigerator overnight.
- Crust Enhancement: Place a pan of hot water in the oven to create steam, which helps form a crispy crust.
- Storage: Store in a paper bag or wrap in a kitchen towel for up to 2 days. Freeze for longer storage.

