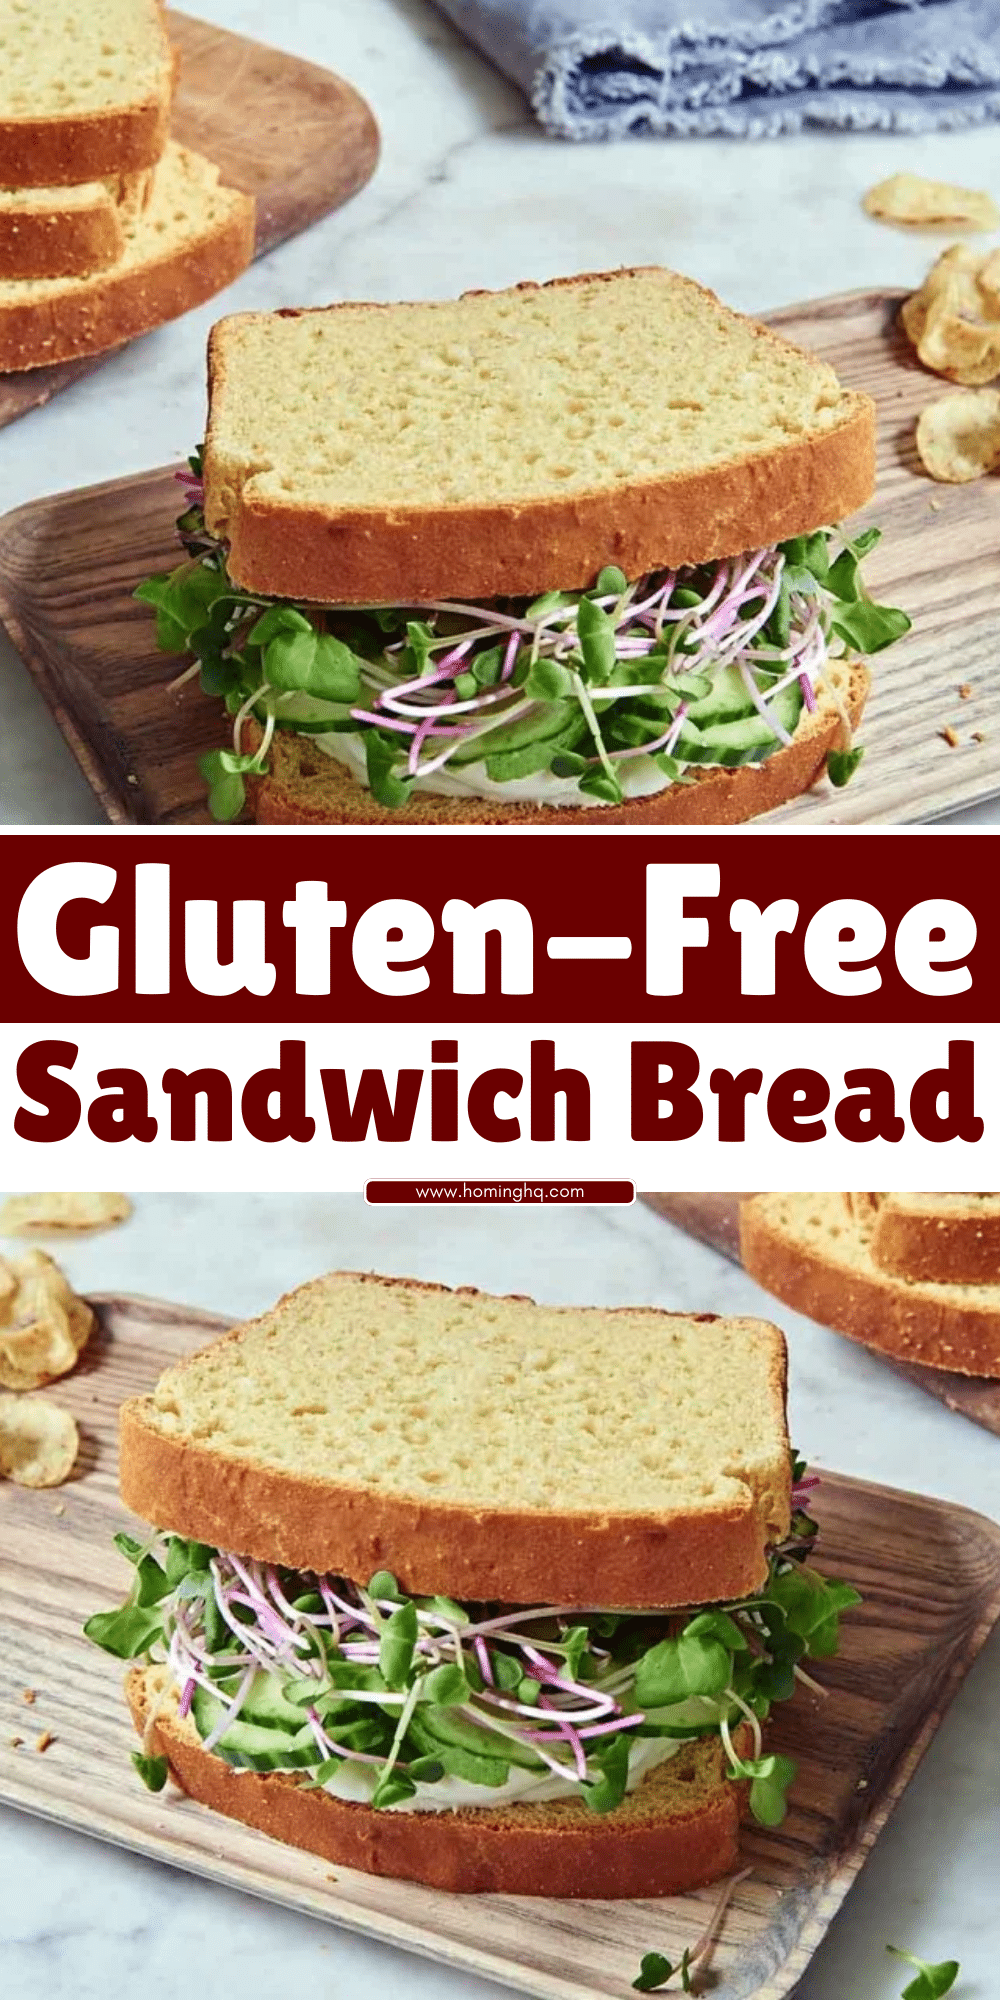
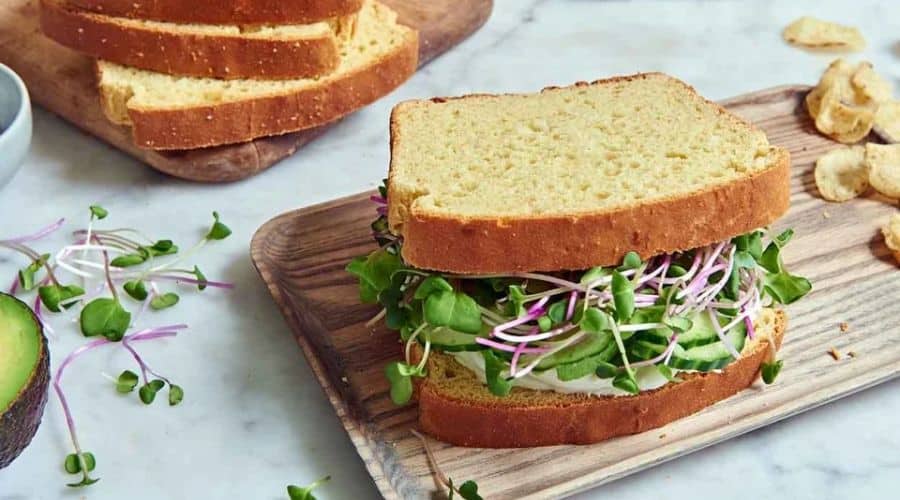
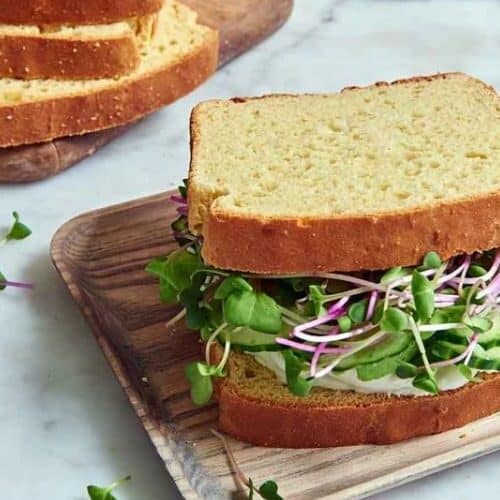
Making gluten-free sandwich bread at home is an excellent way to create a soft, fluffy loaf that is perfect for sandwiches.
Whether you’re avoiding gluten for health reasons or personal preference, this bread offers a delicious and simple alternative.
With the right ingredients and a few careful steps, you can enjoy fresh, homemade gluten-free bread that is versatile and perfect for any meal.
What You’ll Need
Before you begin, ensure you have all the necessary tools and ingredients:
- Mixing Bowls – For combining the dry and wet ingredients separately.
- Measuring Cups and Spoons – To get the precise measurements of your ingredients.
- Stand Mixer or Hand Mixer – A good mixer helps to achieve the right dough consistency.
Key Ingredients in Gluten-Free Sandwich Bread
The key to great gluten-free sandwich bread is choosing the right ingredients. These are some of the most important:
- Gluten-Free Flour Blend – Typically made with rice flour, tapioca flour, and potato starch. This flour blend is the foundation for the bread’s texture.
- Xanthan Gum or Guar Gum – Used as a binder to help hold the bread together, providing elasticity and structure in place of gluten.
- Yeast – The yeast helps the dough rise, giving the bread its light and fluffy texture.
- Eggs – Essential for binding the dough and adding structure to the bread.
- Milk or Dairy-Free Alternative – Adds moisture to the bread, creating a soft crumb.
Step-by-Step Instructions
Follow these easy steps to make your own gluten-free sandwich bread:
- Prepare the Dry Ingredients
In a large mixing bowl, whisk together the gluten-free flour blend, xanthan gum (or guar gum), and salt. This ensures that the dry ingredients are evenly distributed and ready to combine with the wet ingredients. - Activate the Yeast
In a separate bowl, warm the milk or dairy-free alternative to about 110°F (43°C). Add the yeast and a pinch of sugar to the warm liquid, stirring to dissolve. Let it sit for 5–10 minutes, or until it becomes frothy. This activates the yeast, which is essential for the rise. - Mix Wet Ingredients
In a separate bowl, whisk together the eggs, oil (or butter), and the activated yeast mixture. Mix well to combine. - Combine Wet and Dry Ingredients
Slowly add the wet ingredients to the dry mixture. Use a stand mixer with a paddle attachment or a hand mixer to blend everything together until a thick dough forms. The dough should be somewhat sticky but hold together. - Knead the Dough
Lightly flour a clean surface with gluten-free flour, then knead the dough for about 5 minutes. If using a stand mixer, knead on medium speed for the same amount of time. - Let the Dough Rise
Place the dough in a greased bowl and cover it with a clean kitchen towel. Let it rise in a warm place for about 1 to 1.5 hours, or until it has doubled in size. - Shape the Dough
After the dough has risen, gently punch it down to release any air bubbles. Transfer the dough to a greased loaf pan and shape it to fit the pan. - Final Rise
Cover the dough again with a towel and let it rise for another 30 minutes to an hour, or until it has puffed up and slightly risen above the top of the pan. - Bake the Bread
Preheat your oven to 375°F (190°C). Bake the bread for 30–35 minutes, or until the top is golden brown and a toothpick inserted into the center comes out clean. - Cool and Serve
Allow the bread to cool in the pan for about 10 minutes, then remove it from the pan and place it on a wire rack to cool completely before slicing.
Tips for Perfect Gluten-Free Sandwich Bread
To make sure your gluten-free sandwich bread turns out perfectly every time, keep these tips in mind:
- Use a Good Quality Gluten-Free Flour Blend
Different blends can produce varying results. Make sure to use a high-quality gluten-free flour mix that contains a good balance of flours and starches. - Don’t Overmix the Dough
Overmixing can result in dense bread. Mix just enough to combine the ingredients, and stop once the dough comes together. - Monitor the Dough’s Consistency
Gluten-free dough is typically stickier than regular dough. If it’s too wet, you can add a small amount of extra flour, but avoid making it too dry. - Ensure Proper Rising Conditions
Gluten-free bread needs warmth to rise properly. If your kitchen is cool, try placing the dough in an oven with the light on or covering it with a warm, damp towel. - Let the Bread Cool Completely
Gluten-free bread can become gummy if sliced while still warm. Allow it to cool thoroughly before slicing to achieve a better texture.
By following these steps and tips, you’ll be able to bake a perfectly soft and delicious gluten-free sandwich bread every time!
How to Serve Your Gluten-Free Sandwich Bread
Once your gluten-free sandwich bread is baked and cooled, it’s ready to be enjoyed in many delicious ways:
- Classic Sandwiches
Slice the bread into even slices and use it for your favorite sandwich fillings. Whether it’s turkey and avocado, a classic PB&J, or a veggie and hummus combo, gluten-free bread makes the perfect base. - Toast
Toast slices for a crispy, warm treat. Top with butter, jam, or even a savory spread like avocado or olive tapenade. - Bread for Dips
Serve slices of your gluten-free bread as an accompaniment to soups, stews, or dips like hummus or guacamole. It’s perfect for dipping, thanks to its soft and fluffy texture. - French Toast
Use your homemade gluten-free sandwich bread to make delicious French toast. Dip the slices in a cinnamon egg mixture, then cook them in a pan for a perfect breakfast or brunch treat.
Conclusion
Making your own gluten-free sandwich bread at home is an incredibly rewarding experience.
Not only do you have control over the ingredients, but you also get to enjoy a fresh loaf of bread that’s soft, flavorful, and versatile.
Whether you’re making sandwiches, toasts, or French toast, this bread is perfect for a variety of uses.
With the right ingredients, proper technique, and a little patience, you’ll have a delicious loaf that anyone, gluten-free or not, will love.
Frequently Asked Questions
- Can I use a different flour blend? Yes, you can experiment with other gluten-free flour blends, but keep in mind that the texture and taste might change. A blend that includes rice flour, potato starch, and tapioca flour generally works best.
- Can I make this recipe dairy-free? Absolutely! Simply substitute the milk with a dairy-free alternative like almond milk or oat milk, and replace butter with a dairy-free margarine or oil.
- How can I store leftover bread? Store the bread in an airtight container or plastic bag at room temperature for up to 3-4 days. For longer storage, slice and freeze the bread to keep it fresh for up to a month.
- Why is my gluten-free bread dense? Dense gluten-free bread could be caused by under-rising or using the wrong type of flour. Make sure the dough rises enough and use a quality gluten-free flour blend that has a good balance of starches and flours.
- Can I make this bread ahead of time? Yes, you can prepare the dough the night before and let it rise in the fridge overnight. The next day, let it come to room temperature before baking for a quicker process.
Gluten-Free Sandwich Bread
Equipment
- 1 Stand Mixer or Hand Mixer – For mixing dough
- 1 Large Mixing Bowl – For combining dry ingredients
- 1 Small Mixing Bowl – For activating yeast
- 1 Loaf Pan (8.5 x 4.5 inches) – For baking the bread
- 1 Measuring Cups and Spoons – For accurate measurements
- 1 Kitchen Towel – For covering the dough while it rises
- 1 Wire Rack – For cooling the bread after baking
Ingredients
- 2 ½ cups 300g Gluten-Free Flour Blend
- 1 teaspoon 5g Xanthan Gum or Guar Gum
- 1 teaspoon 5g Salt
- 1 cup 240ml Milk or Dairy-Free Alternative
- 1 tablespoon 15g Sugar
- 2 teaspoons 6g Active Dry Yeast
- 2 large Eggs
- ¼ cup 60ml Vegetable Oil or Melted Butter
Instructions
Prepare the Dry Ingredients
- In a large mixing bowl, whisk together the gluten-free flour blend, xanthan gum (or guar gum), and salt.
Activate the Yeast
- In a small bowl, warm the milk or dairy-free alternative to about 110°F (43°C). Add sugar and yeast, stirring to dissolve. Let sit for 5–10 minutes until frothy.
Mix Wet Ingredients
- In another bowl, whisk the eggs and oil (or melted butter) together. Add the yeast mixture once activated.
Combine Wet and Dry Ingredients
- Slowly add the wet ingredients to the dry ingredients, mixing with a stand mixer or hand mixer until the dough is thick and sticky.
Knead the Dough
- Knead the dough for 5 minutes, either by hand on a lightly floured surface or with your stand mixer.
Let the Dough Rise
- Place the dough in a greased bowl, cover with a towel, and allow it to rise for 1 to 1.5 hours until doubled in size.
Shape the Dough
- Punch down the dough gently and transfer it to a greased loaf pan. Shape it to fit the pan.
Final Rise
- Cover the dough and let it rise for another 30 minutes to an hour until it has risen above the pan.
Bake the Bread
- Preheat your oven to 375°F (190°C) and bake for 30–35 minutes, until golden brown and a toothpick inserted comes out clean.
Cool and Serve
- Let the bread cool in the pan for 10 minutes, then remove from the pan and place it on a wire rack to cool completely before slicing.
Notes
- Use a high-quality gluten-free flour blend for the best texture. Some blends may contain different starches, so results may vary slightly.
- Make sure to activate the yeast properly. If the mixture doesn’t foam up after a few minutes, the yeast may be old and should be replaced.
- Store the bread properly. For best freshness, store in an airtight container for up to 4 days, or freeze for longer storage.
- For dairy-free options, use almond or oat milk and dairy-free butter or oil.
