All products are selected by our editorial team for quality. If you buy through our links, we may earn a small commission at no extra cost to you.
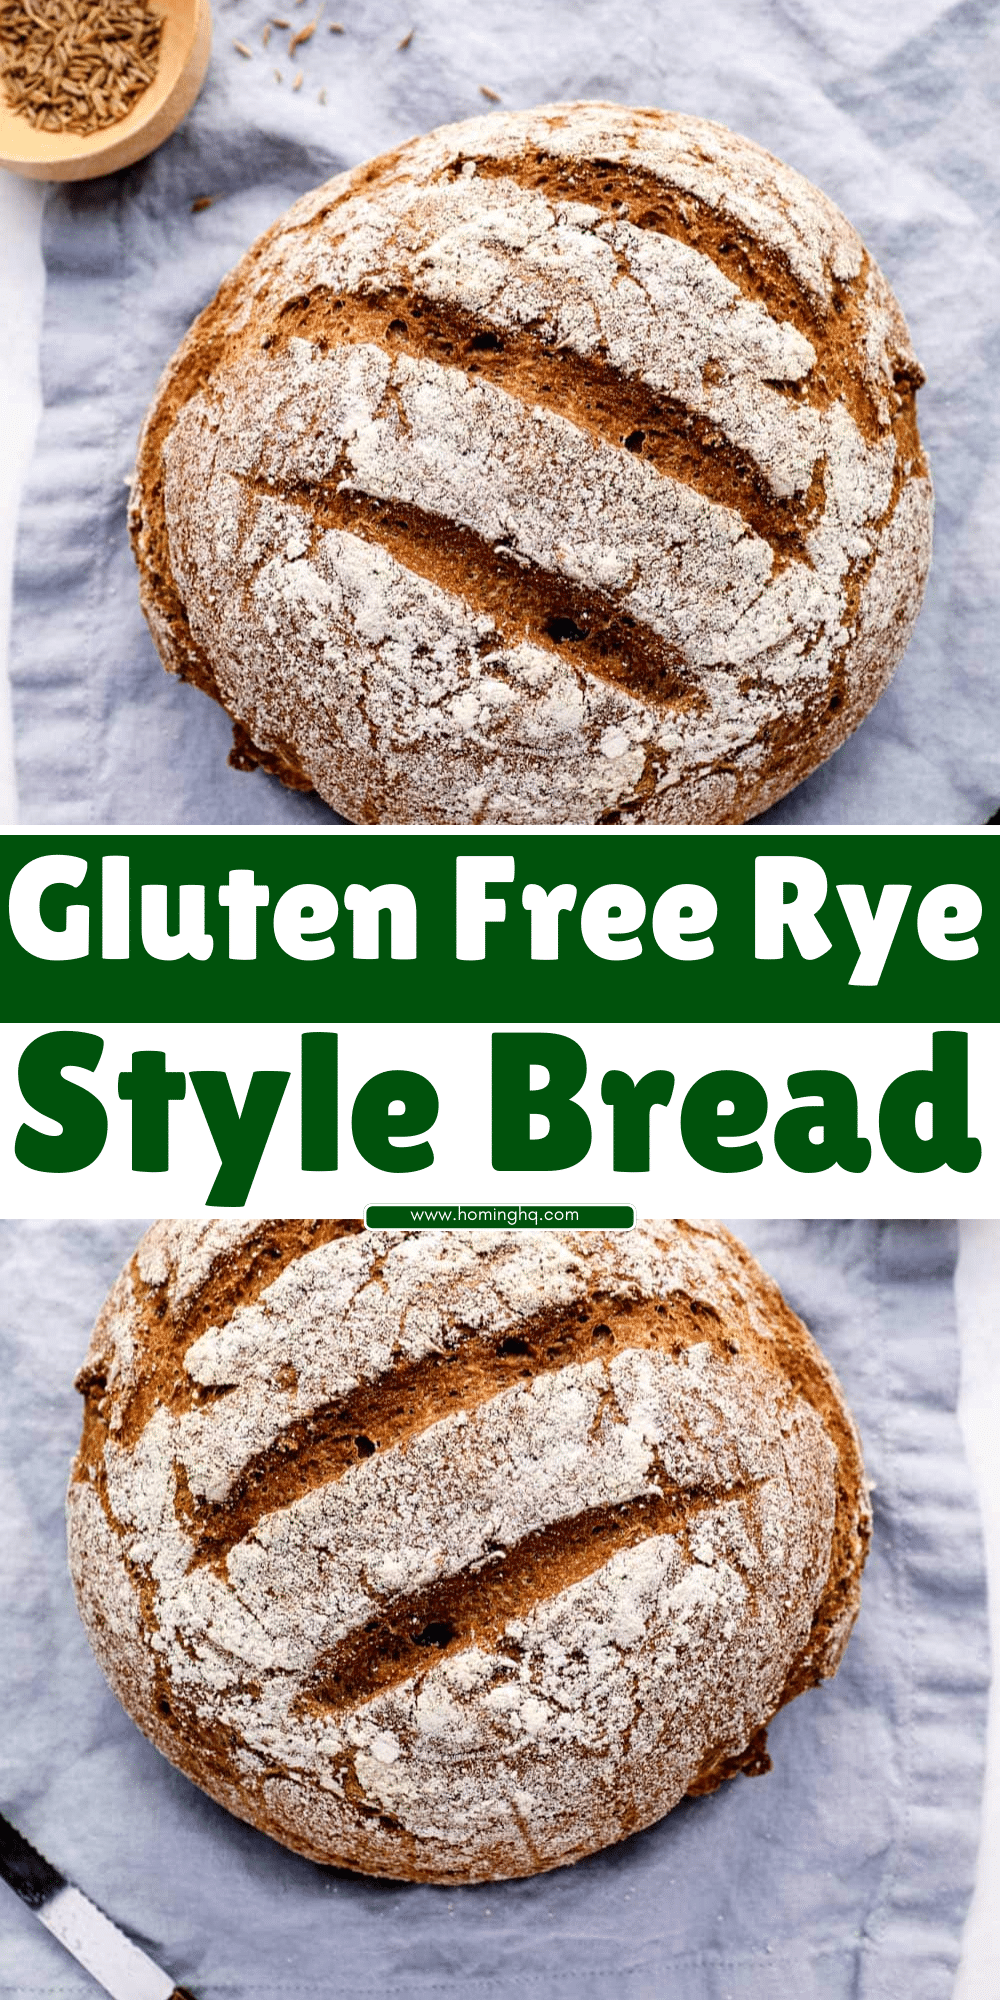
Gluten-Free Rye-Style Bread is a delicious and hearty alternative to traditional rye bread, designed for those who need to avoid gluten but still want the rich, earthy flavors of rye.
Rye bread is known for its distinct, slightly tangy taste and denser texture, which can be tricky to replicate in a gluten-free version.
However, with the right blend of gluten-free flours and ingredients, you can enjoy a similar flavor profile and texture without sacrificing taste or quality.
In this blog post, we will take you through a step-by-step process of making a gluten-free version of rye-style bread.
Whether you’re avoiding gluten for health reasons or simply want to try something new, this recipe will show you how to create a soft, flavorful loaf that’s perfect for sandwiches, toast, or as a side to your favorite meals.
Understanding Rye-Style Bread
What is Rye-Style Bread?
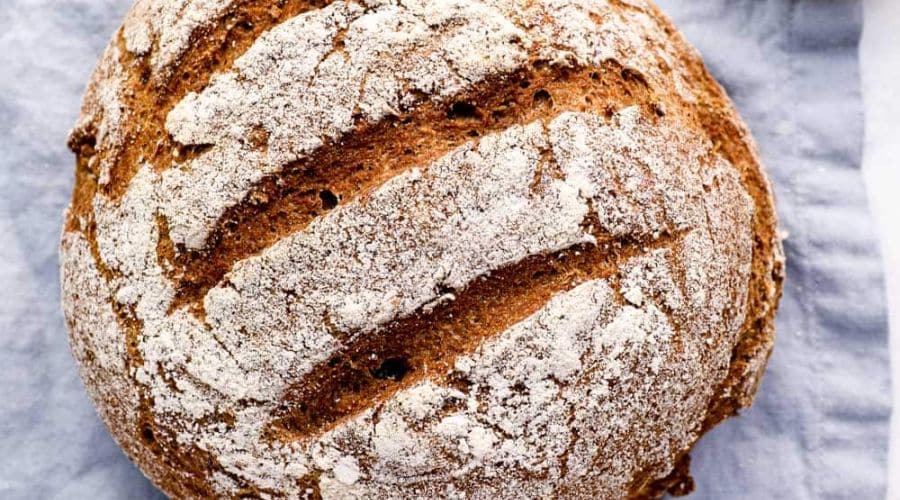
Rye-style bread is traditionally made with a significant portion of rye flour, giving it a dense, slightly sour flavor that many bread lovers cherish.
Unlike wheat-based bread, rye bread has a darker, richer color and often incorporates spices like caraway seeds to enhance its unique taste.
Rye bread is typically less airy than white or whole wheat bread, offering a chewy texture and a hearty, rustic flavor.
Why Gluten-Free Rye-Style Bread?
For individuals with gluten sensitivities or those living with celiac disease, enjoying traditional rye bread is not an option.
Gluten is a protein found in wheat, barley, and rye, and it causes reactions in those with gluten-related disorders.
However, this doesn’t mean you have to miss out on the distinct flavor of rye bread.
By using gluten-free flours and clever ingredients to mimic the taste and texture of rye, you can still enjoy a gluten-free version of this beloved classic.
Why Gluten-Free Rye-Style Bread?
Making gluten-free rye-style bread provides several benefits, especially for those with dietary restrictions.
Rye itself contains gluten, so when making a gluten-free version, it’s important to use flours that mimic the flavor and texture of rye without the gluten.
This recipe allows people with celiac disease, gluten intolerance, or those following a gluten-free lifestyle to enjoy the hearty, slightly sour flavor of traditional rye bread without discomfort.
Moreover, this gluten-free version allows for versatility in your baking.
You can add your own variations, like including spices such as caraway seeds to replicate the classic rye taste.
The result is a satisfying, chewy bread with a perfect balance of tang and earthiness.
Key Ingredients for Gluten-Free Rye-Style Bread
To achieve the ideal texture and flavor in your gluten-free rye-style bread, it’s essential to use a combination of ingredients that work well together. Here are the key components of the recipe:
Gluten-Free Flours
The foundation of any gluten-free bread is the flour.
Since rye flour cannot be used in a gluten-free recipe, a combination of gluten-free flours like sorghum flour, rice flour, and oat flour can help replicate the earthy, rich flavor of rye while maintaining a dense texture.
Each flour contributes to the bread’s structure and moisture, ensuring the loaf isn’t crumbly or dry.
Psyllium Husk
Psyllium husk is a crucial ingredient in gluten-free baking, as it provides structure and binding properties that would typically be offered by gluten.
It absorbs moisture and helps create a bread with a satisfying texture, allowing the dough to rise and hold its shape.
Yeast
Yeast is essential for leavening gluten-free bread, just like in traditional bread. It helps the dough rise and gives the bread a lightness that balances the denser gluten-free flours. The yeast also contributes to the flavor, enhancing the tanginess typically associated with rye bread.
Vinegar or Lemon Juice
To help mimic the acidic tang found in traditional rye bread, adding a small amount of vinegar or lemon juice to the dough is highly recommended.
This ingredient also contributes to the bread’s texture, ensuring it isn’t too heavy.
Spices and Flavor Enhancers
For those who miss the distinct rye flavor, adding caraway seeds, fennel seeds, or even dried thyme can help achieve a close resemblance.
These spices bring out the traditional rye flavors and make the gluten-free version even more flavorful.
Tools You Will Need
Before you begin, gather the essential tools for making this gluten-free rye-style bread.
Having the right equipment ensures a smooth and successful baking experience:
- Mixing Bowls: You’ll need large bowls to mix your dry and wet ingredients separately.
- Measuring Cups and Spoons: Accurate measurements are crucial in gluten-free baking to ensure the proper consistency and texture.
- Stand Mixer or Hand Mixer: While you can mix the dough by hand, using a mixer can help achieve a more consistent texture, especially when working with gluten-free ingredients.
- Baking Pan: A 9×5-inch loaf pan is ideal for shaping and baking your bread.
- Parchment Paper: This will help prevent sticking and make cleanup easier.
Having these tools ready will set you up for a successful bread-making experience.
Step-by-Step Guide to Making Gluten-Free Rye-Style Bread
Step 1: Preparing the Dry Ingredients
Start by measuring and combining all of your dry ingredients in a large mixing bowl.
In this step, you’ll mix the gluten-free flours (such as sorghum, rice, and oat flour), psylium husk, and yeast.
For extra flavor, incorporate caraway seeds or your choice of rye-like spices.
It’s important to make sure the dry ingredients are well-blended before moving to the next step.
Step 2: Combining Wet Ingredients
In a separate bowl, combine the wet ingredients.
Start by mixing warm water (not hot) with vinegar or lemon juice to help activate the yeast.
Add olive oil or any other oil you prefer to keep the bread moist.
Once the mixture is smooth and the yeast has started to bubble, you can move on to the next step.
Step 3: Mixing and Kneading the Dough
Gradually add the wet ingredients to the dry mixture, stirring to combine. The dough should be thick but somewhat sticky.
Unlike traditional wheat bread, gluten-free dough won’t be as elastic, but it should hold its shape and not be too runny.
Use a stand mixer or your hands to knead the dough for about 4-5 minutes.
The consistency should be firm, and when you press it with a finger, it should bounce back slightly.
Step 4: First Rise
After kneading the dough, transfer it to a greased bowl and cover it with a damp towel.
Allow the dough to rise in a warm, draft-free area for about 1-2 hours. During this time, the dough will expand slightly.
Keep an eye on it, as it won’t rise as much as gluten-based dough but should visibly puff up.
Step 5: Shaping the Dough and Preparing for Baking
Once the dough has risen, turn it out onto a lightly floured surface.
Shape it into a loaf by gently pressing and rolling it into a cylinder or oval shape, then transfer it to your prepared baking pan.
You can also sprinkle a few caraway seeds on top for decoration and extra flavor. Cover the dough with a towel and let it rest for 20-30 minutes while your oven preheats.
Step 6: Baking the Bread
Preheat your oven to 375°F (190°C).
Place the loaf in the middle of the oven and bake for 40-45 minutes.
The bread should have a golden-brown crust when done.
To check for doneness, tap the top of the loaf gently – it should sound hollow. You can also use a kitchen thermometer; the internal temperature of the bread should reach about 200°F (93°C).
Once done, remove the bread from the oven and let it cool completely on a wire rack before slicing.
Tips for Perfect Gluten-Free Rye-Style Bread
Don’t Skip the Psyllium Husk
Psyllium husk is a key ingredient for achieving the right texture in gluten-free bread.
It helps with moisture retention and gives the bread the structure it needs.
If you skip this step, the bread may become too crumbly or dry, so don’t overlook it.
Ensure Your Yeast Is Active
If you’re unsure whether your yeast is still good, always test it before using it in the recipe.
Simply combine the yeast with warm water and sugar, and wait for it to bubble.
If it doesn’t foam, your yeast might be expired, and your bread won’t rise properly.
Let the Dough Rise in a Warm Place
For optimal rise, make sure the dough is in a warm environment while it proofs.
A warm kitchen or turning on your oven for a minute and then turning it off to create a warm space works well.
This ensures that the yeast is active and the dough has a chance to expand fully.
Don’t Overmix the Dough
Unlike gluten-based bread dough, gluten-free dough does not benefit from excessive kneading or overmixing.
Stir it until just combined and knead it gently to avoid making the dough too dense.
Rest the Bread Before Slicing
Once the bread is out of the oven, be patient! Let it cool completely before slicing to allow the crumb to set properly. Cutting it too early may result in a gummy texture, so allow the loaf to rest on a wire rack for at least an hour.
Adjust the Oven Temperature If Needed
Ovens can vary, so if your bread starts to get too dark before it’s fully cooked, lower the temperature by 10-15°F (5-7°C) and continue baking.
If you find the bread isn’t browning enough, you can increase the temperature slightly during the last few minutes of baking.
Experiment with Spices
For a more authentic rye taste, feel free to play around with spices.
Adding caraway seeds is a traditional choice, but you could also try fennel seeds or dried thyme for a unique twist. Just a teaspoon or two of these spices will go a long way in enhancing the flavor.
Storing and Serving Gluten-Free Rye-Style Bread
How to Store Leftover Bread
Proper storage is key to keeping your Gluten-Free Rye-Style Bread fresh for as long as possible.
Gluten-free bread tends to dry out more quickly than regular bread, so it’s essential to store it properly:
- Room Temperature: Store your cooled bread in an airtight container or a zip-top bag at room temperature. It should stay fresh for about 2-3 days.
- Freezing: If you’re not planning to finish the bread within a few days, you can freeze it. Wrap the loaf tightly in plastic wrap or parchment paper, then place it in a zip-top bag or freezer-safe container. To thaw, simply leave it at room temperature for a few hours or toast slices directly from frozen.
- Avoid Storing in the Fridge: While it may seem like a good idea to refrigerate your gluten-free bread to prolong its shelf life, this can actually dry it out faster. Stick to room temperature storage or freezing for the best results.
Creative Ways to Serve Gluten-Free Rye-Style Bread
Your Gluten-Free Rye-Style Bread is versatile and can be used in various ways. Here are a few ideas:
- Classic Sandwiches: The dense texture of rye bread is perfect for making hearty sandwiches. Try filling it with your favorite deli meats, cheeses, or roasted veggies for a satisfying lunch.
- Toasts: Slice the bread and toast it for a crispy treat. Spread with butter, avocado, or your favorite jam for a quick snack or breakfast.
- Soup Accompaniment: The earthy flavor of rye-style bread pairs wonderfully with soups and stews, especially those with robust flavors like lentil, potato leek, or tomato basil.
- Cheese Pairing: The tangy flavor of rye-style bread complements cheeses beautifully. Serve it with sharp cheddar, gouda, or cream cheese for a delicious appetizer or snack.
- Breadcrumbs: If you have leftover slices, you can turn them into breadcrumbs to use in a variety of dishes, from meatballs to casseroles.
Conclusion
Making Gluten-Free Rye-Style Bread at home allows you to enjoy the hearty, earthy flavors of traditional rye without the gluten.
By using a combination of carefully selected gluten-free flours, psyllium husk, and yeast, you can achieve the ideal texture and taste that closely mimics rye bread.
Whether you’re baking it for sandwiches, toasting it for breakfast, or serving it alongside your favorite soups, this gluten-free version will undoubtedly satisfy your cravings for rye.
With the step-by-step guide, tips, and storage suggestions provided, you’re well-equipped to create a delicious and wholesome loaf every time.
Enjoy the process, and feel free to experiment with different spices or flours to make it truly your own.
We hope this recipe brings joy to your gluten-free baking adventures!
Frequently Asked Questions
1. Can I use any gluten-free flour for this recipe?
While you can experiment with different gluten-free flours, it’s best to stick with the recommended blend of sorghum, rice, and oat flour.
These flours closely mimic the texture and flavor of traditional rye bread.
Avoid using just one type of flour, as it may result in a crumbly or dense loaf.
2. Why is psyllium husk necessary for gluten-free rye bread?
Psyllium husk is crucial in gluten-free baking as it helps with moisture retention and adds structure to the dough.
It also helps bind the ingredients together, mimicking the elasticity that gluten would typically provide.
Without it, the bread may not rise properly and could be too dry or crumbly.
3. Can I add other spices to enhance the flavor of the bread?
Yes! Feel free to add spices like fennel seeds, dried thyme, or even caraway seeds to bring out a more traditional rye flavor.
Just remember to add them in moderation, as a little goes a long way in enhancing the bread’s taste.
4. How do I know when the bread is fully baked?
The best way to check is by tapping the top of the bread. If it sounds hollow, it’s done.
You can also use a kitchen thermometer to check the internal temperature, which should be around 200°F (93°C).
If the bread isn’t fully baked, continue to bake it for a few more minutes.
5. Can I make this bread without a stand mixer?
Yes, you can make Gluten-Free Rye-Style Bread without a stand mixer. While a mixer helps achieve a consistent texture, you can also mix the dough by hand.
Just be sure to knead the dough gently and for the recommended amount of time, as gluten-free dough tends to be stickier than traditional dough.

Gluten-Free Rye-Style Bread
Equipment
- Mixing bowls (2 large)
- Measuring cups and spoons (1 set)
- Stand Mixer or Hand Mixer (optional): 1
- Baking Pan (9×5-inch loaf pan): 1
- Parchment paper (1 sheet)
- Wire Rack: 1
- Wire Rack: 1
Ingredients
- 1 ½ cups 180g Sorghum Flour
- 1 cup 120g Rice Flour
- ½ cup 50g Oat Flour
- 2 tbsp 15g Psyllium Husk
- 2 tsp 6g Instant Dry Yeast
- 1 ½ tsp 9g Salt
- 1 ½ tsp 3g Caraway Seeds (optional)
- 1 tbsp 15g Apple Cider Vinegar (or lemon juice)
- 1 ¼ cups 300ml Warm Water (110°F/43°C)
- 2 tbsp 30ml Olive Oil (or any neutral oil)
Instructions
- Prepare the Dry Ingredients: In a large bowl, mix together the sorghum flour, rice flour, oat flour, psyllium husk, yeast, salt, and caraway seeds (if using). Set aside.
- Activate the Yeast: In a separate bowl, combine warm water and apple cider vinegar (or lemon juice). Stir and let it sit for about 5 minutes until the yeast begins to foam.
- Combine Wet and Dry Ingredients: Add the activated yeast mixture and olive oil to the dry ingredients. Stir well to combine, then use a stand mixer or your hands to knead the dough for 4-5 minutes. The dough will be sticky but should hold together.
- First Rise: Transfer the dough to a greased bowl, cover it with a damp towel, and place it in a warm, draft-free area. Let it rise for 1-2 hours, or until it has slightly puffed up (it won’t rise as much as traditional bread dough).
- Shape and Rest the Dough: Gently shape the dough into a loaf and place it in a greased 9×5-inch loaf pan lined with parchment paper. Cover it again with a damp towel and let it rest for 20-30 minutes.
- Preheat and Bake: Preheat your oven to 375°F (190°C). Bake the loaf for 40-45 minutes, or until the crust is golden brown and the internal temperature reaches about 200°F (93°C). The bread should sound hollow when tapped on the bottom.
- Cool: Remove the bread from the oven and allow it to cool completely on a wire rack before slicing. This ensures the texture sets properly.
Notes
- Adjust the Spices: Feel free to experiment with different spices like fennel or thyme to give your bread a unique flavor. Caraway seeds are the classic choice for rye bread, but other herbs can add a personal touch.
- Texture Variations: Gluten-free dough will be denser and stickier than traditional bread dough. If you prefer a slightly lighter loaf, you can experiment with adding more yeast or increasing the proofing time.
- Freezing Tips: This bread freezes well! Slice it before freezing so you can easily toast individual slices straight from the freezer.
- Storage: Store the bread in an airtight container at room temperature for 2-3 days. For longer shelf life, freeze it and thaw slices as needed.
