All products are selected by our editorial team for quality. If you buy through our links, we may earn a small commission at no extra cost to you.
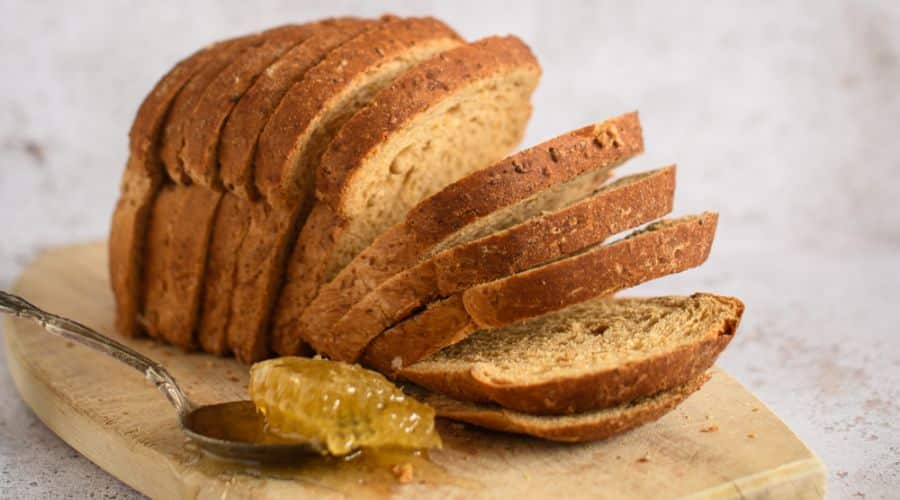
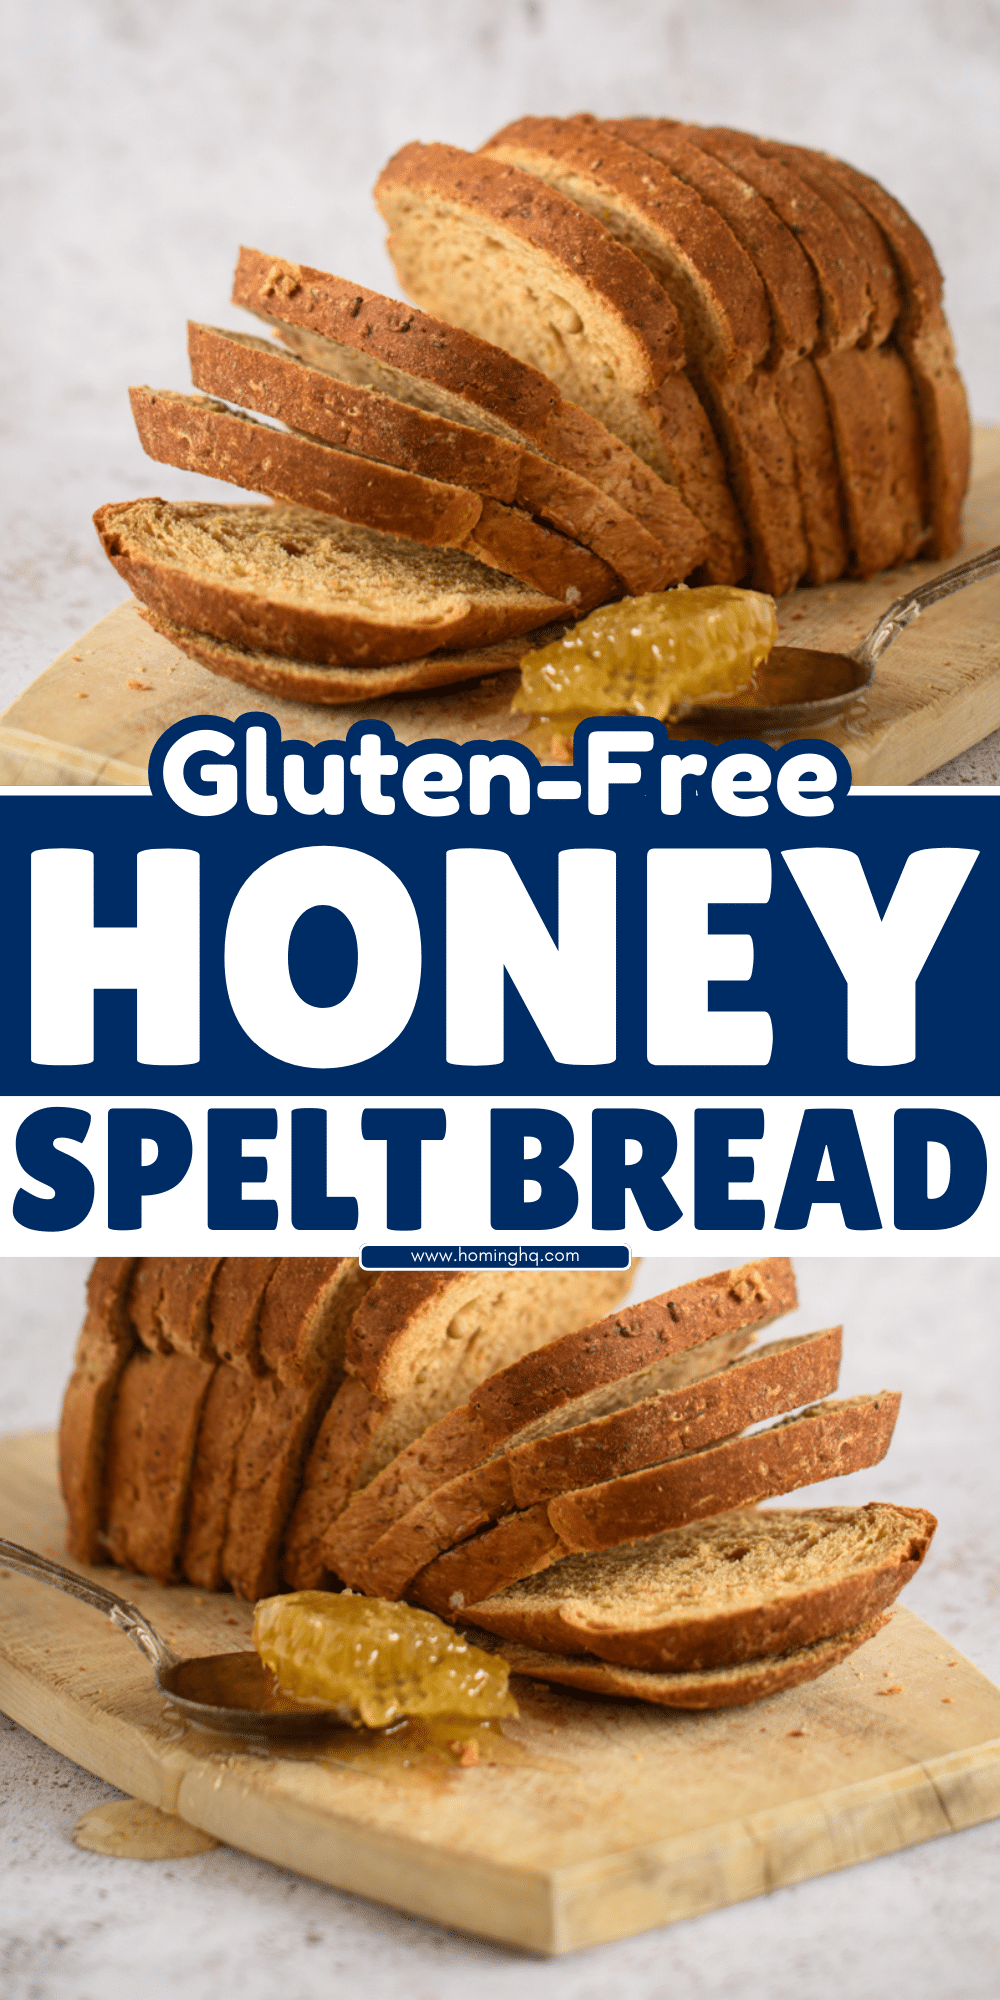
There’s something incredibly satisfying about baking your own bread, and this Gluten-Free Honey Spelt Bread is no exception.
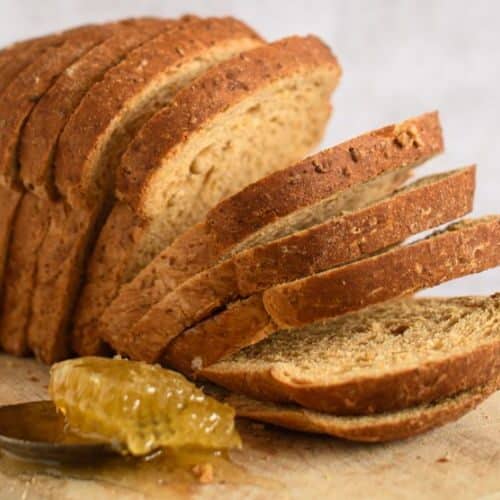
It’s soft, slightly nutty, and naturally sweetened with honey, making it a wholesome choice for any meal.
Whether you’re looking for a nutritious alternative to store-bought bread or simply want to enjoy the comfort of homemade baking, this recipe delivers on taste and texture.
One of the biggest challenges with gluten-free baking is achieving a light and airy loaf, but with the right ingredients and techniques, you can enjoy a perfect slice every time.
This bread is not only gluten-free but also made with minimal processed ingredients, making it a healthier option for those with dietary restrictions or anyone looking for a nourishing bread recipe.
Let’s dive into what makes this bread special and how you can easily make it at home.
What Makes This Gluten-Free Honey Spelt Bread Special?
This bread stands out for its unique combination of flavor, texture, and nutrition.
Unlike many gluten-free loaves that can be dry or crumbly, this one is moist, slightly chewy, and naturally sweet thanks to the addition of honey.
A Wholesome and Naturally Sweet Bread
Instead of using refined sugars, this recipe relies on pure honey, which enhances the bread’s flavor while adding natural moisture. Honey also helps create a beautifully golden crust and extends the bread’s shelf life.
A Nutty, Hearty Flavor
Gluten-free spelt flour has a mild nutty taste that gives this bread a richer, more complex flavor compared to standard gluten-free flour blends.
The result is a hearty loaf that pairs well with both sweet and savory toppings.
A Soft Yet Sturdy Texture
Many gluten-free breads fall apart easily, but this recipe incorporates binding agents like psyllium husk or xanthan gum to help create a structured, sliceable loaf.
The result?
A bread that holds up well for sandwiches, toast, or even dipping into soups.
Easy to Make and Perfect for Beginners
No complicated techniques or special equipment are needed.
This recipe is beginner-friendly, making it accessible for those new to gluten-free baking.
With just a few simple steps, you’ll have a delicious homemade loaf ready to enjoy.
Key Ingredients and Their Benefits
Each ingredient in this recipe has been carefully chosen to create a nutritious, flavorful, and well-structured gluten-free bread.
Here’s what you’ll need and why these ingredients are essential:
1. Gluten-Free Spelt Flour
Spelt flour is known for its mild, nutty taste and rich nutrient profile. However, traditional spelt flour contains gluten.
For this recipe, we use certified gluten-free spelt flour, which provides the same great flavor while being safe for those with gluten sensitivities.
It’s also packed with fiber, vitamins, and minerals, making it a healthier alternative to refined flours.
2. Honey
Honey is more than just a sweetener in this recipe—it also helps:
- Keep the bread moist and tender.
- Balance the natural nuttiness of the spelt flour.
- Enhance the golden crust as the bread bakes.
If you prefer a different sweetener, maple syrup or agave nectar can be used as substitutes.
3. Psyllium Husk or Xanthan Gum
Gluten-free baking requires a binding agent to replicate the elasticity and chewiness of traditional bread. Psyllium husk and xanthan gum help:
- Improve the dough’s structure.
- Prevent the bread from crumbling.
- Maintain moisture for a soft texture.
4. Yeast
Yeast is essential for giving the bread its airy, fluffy texture. We use active dry yeast or instant yeast, which:
- Helps the dough rise properly.
- Creates small air pockets for a lighter texture.
- Adds a subtle depth of flavor.
5. Warm Water or Milk
The liquid activates the yeast and hydrates the dough. Using warm (not hot) water or milk ensures optimal yeast activity and contributes to a soft crumb.
6. Olive Oil or Butter
A little fat goes a long way in gluten-free baking.
Adding olive oil or melted butter helps:
- Keep the bread moist and tender.
- Create a richer flavor.
- Improve the bread’s shelf life.
7. Salt
Salt enhances the bread’s overall taste, preventing it from tasting bland. It also helps strengthen the dough and control the yeast’s activity during fermentation.
Each of these ingredients plays a crucial role in creating the perfect Gluten-Free Honey Spelt Bread.
With the right balance of flavor, texture, and nutrition, this recipe is sure to become a staple in your kitchen.
Would you like me to continue with the next sections?
Step-by-Step Instructions to Make Gluten-Free Honey Spelt Bread
Step 1: Gather Your Ingredients
Before you begin, make sure you have all the ingredients measured and ready to go.
This will ensure that the process runs smoothly and you don’t miss any essential steps.
You’ll need:
- Certified gluten-free spelt flour
- Active dry yeast or instant yeast
- Honey
- Psyllium husk or xanthan gum
- Warm water or milk
- Olive oil or melted butter
- Salt
Step 2: Activate the Yeast
In a small bowl, combine the warm water (about 110°F or 43°C) and honey.
Stir gently to dissolve the honey, then sprinkle in the yeast. Let this mixture sit for about 5–10 minutes until it becomes foamy.
This step ensures the yeast is alive and ready to help your dough rise.
If the mixture doesn’t foam, it means the yeast is inactive and you’ll need to start over with fresh yeast.
Step 3: Prepare the Dough
In a separate large mixing bowl, whisk together your dry ingredients: the gluten-free spelt flour, psyllium husk (or xanthan gum), and salt. Once they’re well combined, make a well in the center and pour in the yeast mixture. Add the olive oil (or melted butter) to the mix as well.
Mix everything together using a spatula or a stand mixer fitted with a dough hook.
The dough should be sticky but not overly wet. If it’s too dry, add a little more water or milk, a tablespoon at a time.
If it’s too wet, add a small amount of flour until you get the right consistency.
Step 4: Let the Dough Rise
Transfer the dough into a lightly greased bowl and cover it with a clean kitchen towel or plastic wrap.
Set it aside in a warm place for about 1–2 hours, or until it has doubled in size.
This is where the yeast does its magic, giving your bread the lift and airy texture you’re looking for.
Step 5: Shape and Second Rise
Once the dough has risen, gently punch it down to release any air bubbles. Transfer it to a greased loaf pan and shape it to fit the pan.
Smooth the top with a spatula for an even surface.
Cover the pan again and let it rise for another 30 minutes to 1 hour until it has risen just above the rim of the pan.
Step 6: Bake the Bread
Preheat your oven to 375°F (190°C). When the dough has finished its second rise, place the loaf pan in the oven.
Bake for about 30–40 minutes, or until the bread is golden brown and sounds hollow when tapped on the bottom.
You can also check the internal temperature with a thermometer—aim for around 190°F (88°C) for the perfect texture.
Step 7: Cool and Serve
Remove the bread from the oven and let it cool in the pan for about 10 minutes before transferring it to a wire rack.
Allow it to cool completely before slicing.
This ensures the bread firms up, making it easier to cut. Enjoy it fresh or store it for later use.
Baking Tips for Perfect Gluten-Free Bread
1. Measure Accurately
Gluten-free baking requires precision.
Use a kitchen scale for the most accurate measurements of flour and other ingredients, as even small variations can affect the bread’s texture.
2. Don’t Rush the Rising Process
Gluten-free dough often takes longer to rise compared to traditional bread.
Be patient and allow the dough to rise fully before baking for the best results.
A warm, draft-free environment can help speed up the process.
3. Use the Right Flour
Not all gluten-free flours are created equal.
Stick to certified gluten-free spelt flour for the best taste and texture.
Always check that the flour blend you use is labeled gluten-free to avoid any cross-contamination.
4. Adjust Consistency as Needed
Gluten-free dough tends to be stickier than regular bread dough.
If you find your dough too wet or too dry, adjust by adding small amounts of water or flour until the dough is manageable.
It should be soft but not runny.
5. Use Binding Agents
Psyllium husk or xanthan gum helps provide the structure and elasticity gluten would normally provide.
Don’t skip these ingredients—they’re essential for achieving a good rise and texture.
6. Bake at the Right Temperature
Make sure your oven is fully preheated to the correct temperature before placing the bread inside.
A hot oven is crucial for a good rise.
Also, avoid opening the oven door too often, as this can cause temperature fluctuations that may affect the bread.
7. Cool Completely Before Slicing
Let your gluten-free bread cool completely on a wire rack before slicing.
This prevents the bread from becoming gummy or soggy.
It also helps the crumb to set and maintain its structure.
By following these tips, you can create a loaf of gluten-free honey spelt bread that’s light, moist, and full of flavor every time.
Would you like me to continue with more sections, or is this enough for now?
Storage and Freezing Instructions
Storing Your Gluten-Free Honey Spelt Bread
To keep your gluten-free honey spelt bread fresh for as long as possible, store it properly:
- Room Temperature: If you plan to eat the bread within a few days, store it in an airtight container or wrap it tightly in plastic wrap. Keep it in a cool, dry place (like a breadbox or pantry). This should keep the bread fresh for about 3–4 days.
- Refrigeration: If you want to extend its shelf life, you can refrigerate the bread. However, this can sometimes cause gluten-free bread to dry out. To prevent this, wrap the bread tightly in plastic wrap and place it in a resealable bag before storing it in the fridge. This will help it last for about 5–7 days.
Freezing Your Gluten-Free Honey Spelt Bread
Freezing is the best option for long-term storage. Here’s how to freeze your bread:
- Slice it first: If you prefer, slice the bread before freezing so you can pull out individual slices as needed.
- Wrap it tightly: Wrap the loaf (or slices) tightly in plastic wrap, followed by aluminum foil, or place it in a freezer-safe bag.
- Label and date: Label the packaging with the date to keep track of how long it’s been in the freezer.
- Thawing: When you’re ready to use it, remove the bread from the freezer and let it thaw at room temperature. For individual slices, you can toast them directly from frozen.
Frozen bread should maintain its flavor and texture for up to 3 months.
Final Thoughts
This Gluten-Free Honey Spelt Bread is a fantastic option for those looking for a healthier, naturally sweet alternative to store-bought bread.
It’s simple to make, requires minimal ingredients, and yields a loaf that’s moist, flavorful, and perfect for any meal.
Whether you’re enjoying it fresh out of the oven, toasted for breakfast, or as the base for a hearty sandwich, this bread is sure to become a staple in your gluten-free baking repertoire.
Take the time to experiment with different variations—add-ins like seeds, nuts, or dried fruits can make this bread even more personalized.
Enjoy the process, and don’t be afraid to share your own variations with friends and family.
If you have any questions or suggestions, feel free to leave them in the comments below. Happy baking!
Frequently Asked Questions (FAQs)
1. Can I substitute the honey with another sweetener?
Yes, you can substitute honey with other liquid sweeteners like maple syrup or agave nectar. Keep in mind that different sweeteners may slightly alter the flavor and texture, but they will still work well in the recipe.
2. Can I use a different gluten-free flour blend?
While this recipe is designed specifically for gluten-free spelt flour, you can experiment with other gluten-free flour blends.
However, be aware that different blends may yield slightly different results in terms of texture and flavor.
If using a different flour blend, ensure it includes a binding agent like xanthan gum or psyllium husk to ensure a good rise.
3. How do I know when the bread is fully baked?
The bread should be golden brown on top, and when you tap the bottom of the loaf, it should sound hollow.
You can also check the internal temperature with a kitchen thermometer; it should read around 190°F (88°C) when fully baked.
4. What should I do if my dough is too wet or too dry?
If your dough is too dry, add a tablespoon of water or milk at a time until it becomes soft and manageable. If the dough is too wet, gradually add more flour until you achieve the desired consistency. Remember, gluten-free dough is often stickier than traditional dough, so it’s okay if it’s a little moist.
5. Can I make this bread without psyllium husk or xanthan gum?
Psyllium husk or xanthan gum are important for providing the structure and elasticity in gluten-free bread.
If you don’t have either on hand, you can try using guar gum or gelatin as a substitute, although the texture may vary slightly.
It’s best to use one of these binding agents for optimal results.
Let me know if you’d like any more details or adjustments!
Gluten-Free Honey Spelt Bread
Equipment
- 1 Loaf Pan (9×5-inch)
- Large mixing bowl (1)
- Small bowl (1)
- Whisk (1)
- Spatula (1)
- Stand mixer or hand mixer (optional)
- Kitchen Towel or Plastic Wrap: 1
Ingredients
- 3 cups 360g Gluten-Free Spelt Flour
- 1 tablespoon 15g Honey
- 2 teaspoons 6g Active Dry Yeast
- 1 tablespoon 6g Psyllium Husk or Xanthan Gum
- 1 teaspoon 5g Salt
- 1 cup 240ml Warm Water or Milk
- 2 tablespoons 30g Olive Oil or Melted Butter
Instructions
- Activate the yeast: In a small bowl, combine warm water and honey. Sprinkle yeast over the liquid and stir. Let sit for 5–10 minutes until it becomes foamy.
- Prepare the dough: In a large mixing bowl, whisk together gluten-free spelt flour, psyllium husk, and salt.Make a well in the center and pour in the yeast mixture along with olive oil (or butter).
- Mix the dough: Use a spatula or stand mixer to combine the wet and dry ingredients until a sticky dough forms. If the dough is too wet, add a little more flour; if it’s too dry, add more water or milk.
- First rise: Transfer the dough to a greased bowl and cover with a kitchen towel or plastic wrap. Let rise in a warm place for 1–2 hours, or until doubled in size.
- Shape the dough: Punch down the dough and transfer it to a greased 9×5-inch loaf pan. Shape it to fit the pan and smooth the top.
- Second rise: Cover the pan and let the dough rise again for 30 minutes to 1 hour, until it rises just above the edge of the pan.
- Bake: Preheat the oven to 375°F (190°C). Bake for 35–40 minutes, or until the bread is golden brown and sounds hollow when tapped on the bottom.
- Cool: Let the bread cool in the pan for 10 minutes, then transfer it to a wire rack to cool completely before slicing.
Notes
- For a denser loaf: Reduce the yeast by half for a firmer, denser texture.
- Sweetener variations: Feel free to substitute honey with maple syrup or agave nectar for a different flavor profile.
- Flour alternatives: If you don’t have gluten-free spelt flour, a gluten-free all-purpose flour blend can be used, though the texture may vary slightly.
- Make it nutty: Add a handful of seeds or nuts to the dough for extra crunch and flavor.
- Don’t skip the psyllium husk or xanthan gum: These ingredients are crucial for the structure of gluten-free bread, helping it rise and maintain a soft texture.
