All products are selected by our editorial team for quality. If you buy through our links, we may earn a small commission at no extra cost to you.
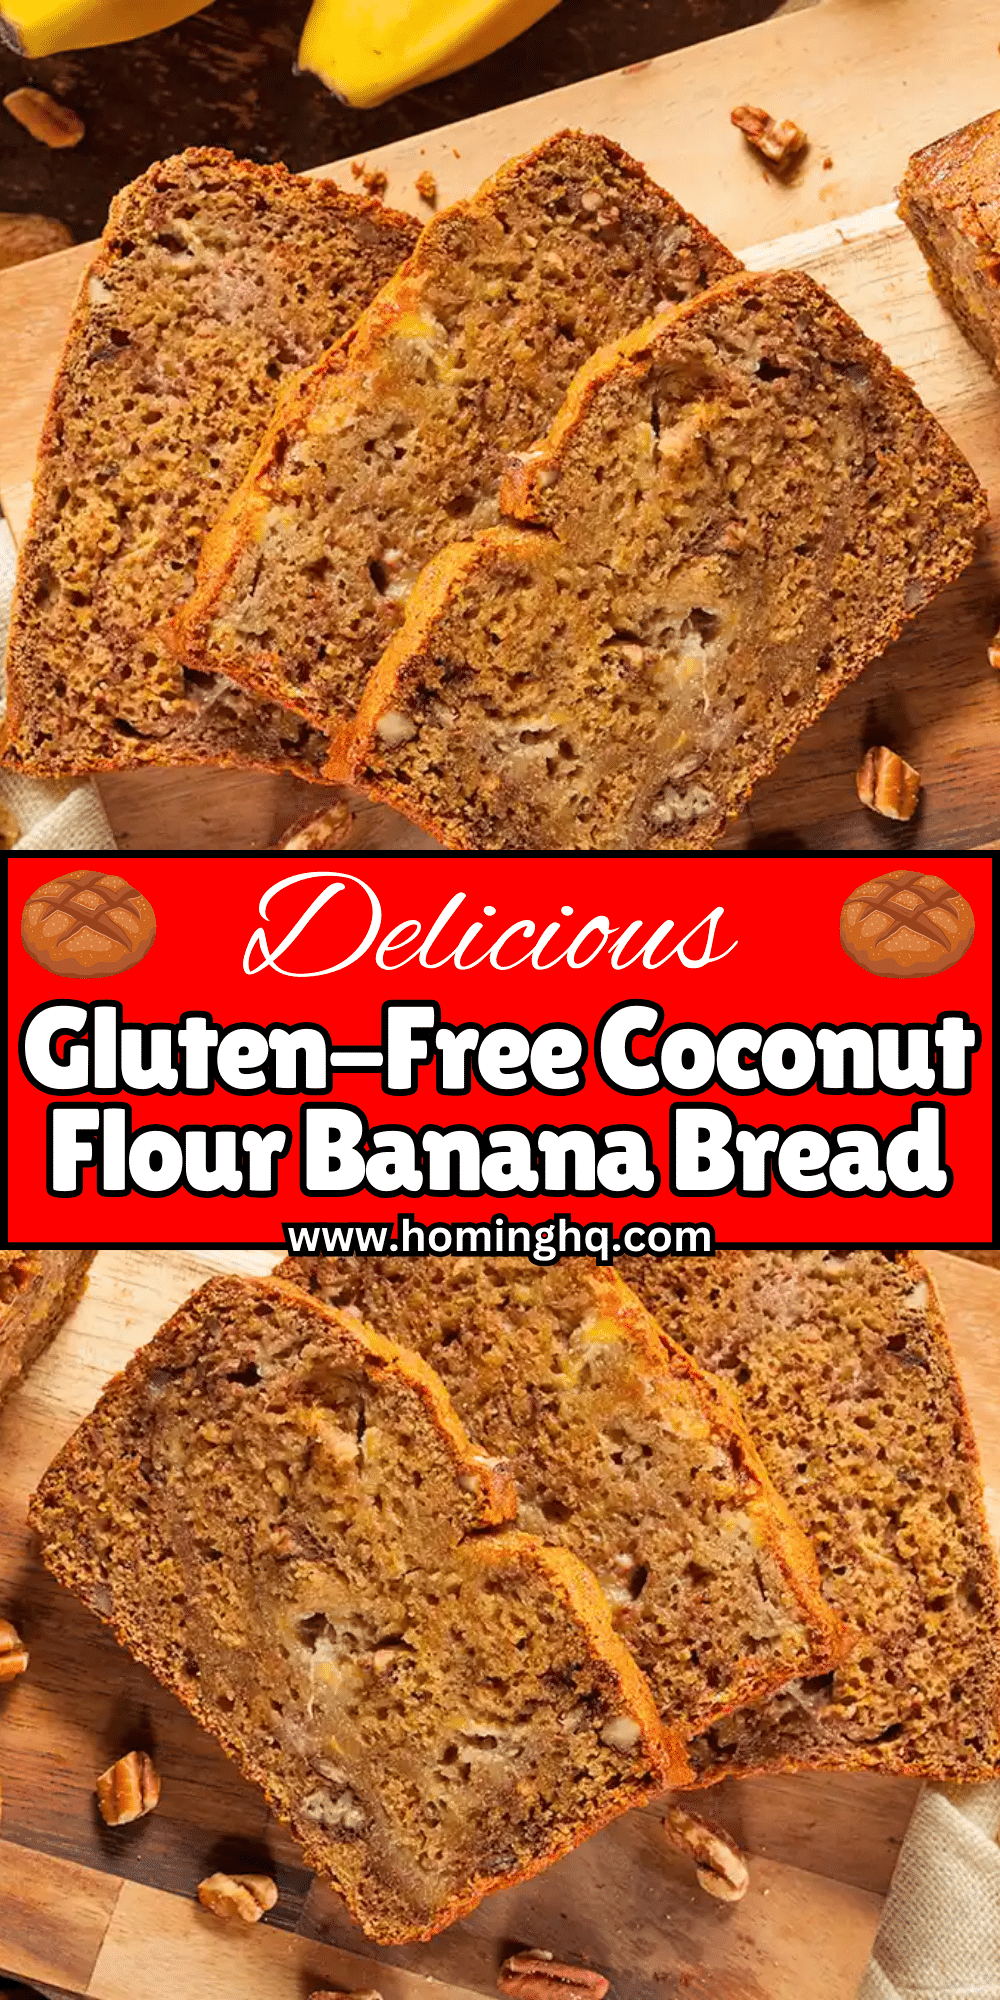
If you’re craving a delicious, gluten-free treat, look no further than this Gluten-Free Coconut Flour Banana Bread.
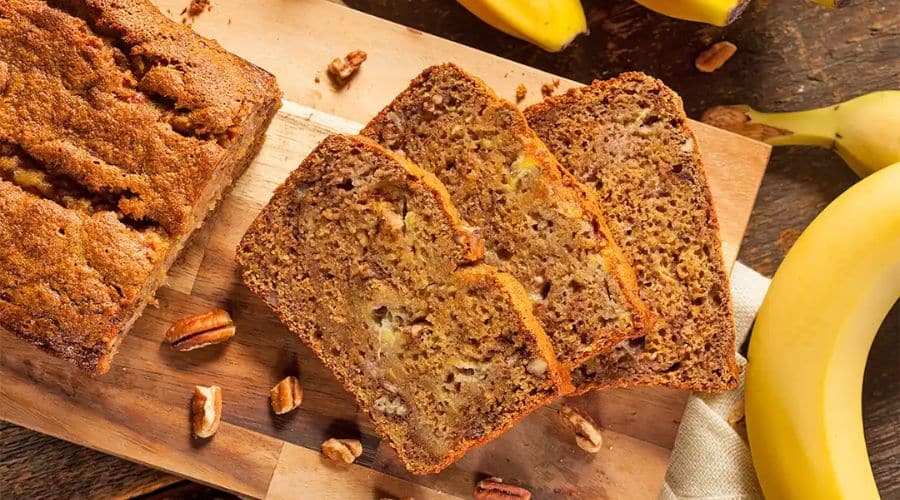
Packed with the natural sweetness of ripe bananas and the nutty flavor of coconut flour, this banana bread is perfect for those following gluten-free, paleo, or low-carb diets.
It’s not only a healthier alternative to traditional banana bread but also incredibly moist and satisfying.
Whether you’re new to gluten-free baking or you’re looking for a healthier way to enjoy a classic favorite, this recipe is sure to impress.
Plus, it’s quick to make and can be enjoyed as a breakfast, snack, or even dessert.
Let’s dive into why coconut flour makes this banana bread even more amazing!
Why Coconut Flour is Perfect for Banana Bread
Coconut flour is a game-changer in gluten-free baking. Unlike traditional wheat flour, it is made from dried coconut meat, making it naturally gluten-free, grain-free, and high in fiber.
Here’s why coconut flour works so well in banana bread:
Absorbs Moisture Effectively
Coconut flour has an incredible ability to absorb moisture, which is essential when making banana bread.
The bananas, eggs, and coconut oil create a perfect balance of moisture, ensuring your bread turns out tender and not too dry.
Rich in Fiber and Nutrients
Coconut flour is a fiber powerhouse, providing a healthy boost to your diet.
The added fiber helps with digestion, promotes feelings of fullness, and contributes to overall health.
Additionally, coconut flour contains healthy fats and essential minerals like iron and magnesium, making it a nutrient-dense option.
Naturally Sweet and Nutty Flavor
The subtle sweetness and nutty flavor of coconut flour perfectly complement the rich taste of bananas.
This gives the bread an extra layer of flavor without needing excessive sugar, making it a great option for those watching their sugar intake.
Overall, coconut flour provides both taste and nutrition, making it an ideal choice for this gluten-free banana bread recipe.
Ingredients for Gluten-Free Coconut Flour Banana Bread
This simple yet flavorful recipe uses just a handful of ingredients, many of which you likely already have in your pantry.
Let’s take a look at what you’ll need to bake this gluten-free banana bread.
Main Ingredients
- 3 large overripe bananas
The riper the bananas, the sweeter and more flavorful your bread will be. - 1/2 cup coconut flour
Coconut flour is the star of this recipe, offering both texture and flavor. - 4 large eggs
Eggs provide structure and moisture to the banana bread. - 1 teaspoon baking soda
This helps the bread rise and gives it that perfect light and airy texture. - 1/2 teaspoon salt
A pinch of salt enhances the flavor and balances the sweetness of the bananas. - 1/4 cup honey or maple syrup
For natural sweetness, choose either honey or maple syrup. You can adjust this based on your sweetness preference. - 1/4 cup coconut oil (melted)
Coconut oil adds moisture and a rich flavor, making the bread incredibly moist. - 1 teaspoon vanilla extract
Adds a delightful depth of flavor that complements the bananas.
Optional Add-ins
- 1/4 cup chocolate chips
If you’re a fan of a little extra sweetness and richness, chocolate chips are a great addition. - 1/4 cup chopped nuts
Walnuts or pecans add a nice crunch and a nutty flavor. - 1/2 teaspoon ground cinnamon
A dash of cinnamon pairs wonderfully with bananas and adds a cozy, warm aroma to the bread.
These ingredients come together to make a delicious, moist, and naturally sweetened banana bread that’s gluten-free and perfect for any occasion!
Step-by-Step Instructions for Baking Gluten-Free Coconut Flour Banana Bread
Baking gluten-free banana bread with coconut flour is simple and straightforward. Follow these easy steps to create a perfectly moist and flavorful loaf.
Step 1: Preheat the Oven and Prepare the Pan
Preheat your oven to 350°F (175°C).
This ensures the oven reaches the right temperature for even baking.
While the oven is warming up, prepare a 9×5-inch loaf pan by greasing it with coconut oil or lining it with parchment paper for easy removal after baking.
Step 2: Mash the Bananas
Peel the 3 overripe bananas and place them in a large mixing bowl.
Using a fork or potato masher, mash the bananas until they are smooth with only a few small chunks remaining.
The more ripe the bananas, the sweeter and moister your banana bread will be.
Step 3: Combine Wet Ingredients
In the same bowl with the mashed bananas, add the 4 eggs, 1/4 cup of honey or maple syrup, 1/4 cup melted coconut oil, and 1 teaspoon vanilla extract.
Stir well to combine until everything is fully incorporated.
Step 4: Mix the Dry Ingredients
In a separate bowl, sift together the 1/2 cup coconut flour, 1 teaspoon baking soda, and 1/2 teaspoon salt.
Sifting helps prevent clumps and ensures that the dry ingredients are evenly distributed throughout the batter.
Step 5: Combine Wet and Dry Ingredients
Slowly add the dry ingredients into the wet ingredients. Use a spatula to gently fold the mixture together.
Coconut flour absorbs a lot of moisture, so be sure to mix thoroughly until you have a smooth batter.
The batter may appear slightly thicker than traditional banana bread, but that’s completely normal due to the coconut flour’s high absorbency.
Step 6: Pour the Batter into the Pan
Transfer the batter into your prepared loaf pan, spreading it evenly with a spatula. If you want, you can sprinkle some optional chocolate chips or nuts on top for added flavor and texture.
Step 7: Bake and Test for Doneness
Place the pan in the preheated oven and bake for 40-50 minutes. After about 40 minutes, start checking for doneness by inserting a toothpick into the center of the bread.
If it comes out clean or with just a few crumbs, the bread is done.
If it’s still wet, let it bake for a few more minutes.
Once fully baked, remove the bread from the oven and let it cool in the pan for 10 minutes before transferring it to a wire rack to cool completely.
This ensures the bread holds its shape.
Tips for Perfect Gluten-Free Banana Bread
Achieving the perfect gluten-free banana bread takes a bit of attention to detail.
Here are some helpful tips to ensure your loaf turns out perfectly every time:
1. Use Overripe Bananas for Maximum Flavor
The riper your bananas, the sweeter and more flavorful your bread will be. Look for bananas with brown spots and even some dark patches, as they will provide the richest flavor and sweetness.
2. Adjust the Liquid-to-Coconut Flour Ratio
Coconut flour is highly absorbent, and each batch can vary slightly in how much liquid it needs.
If the batter feels too thick, you can add a tablespoon or two of water or almond milk to adjust the consistency.
It should resemble a thick, pourable batter.
3. Don’t Overmix the Batter
Once you combine the wet and dry ingredients, mix just until they are incorporated.
Overmixing the batter can result in dense banana bread, even though you’re using coconut flour.
4. Be Patient While Baking
Coconut flour bread takes a little longer to bake compared to regular banana bread.
Be patient and check your bread with a toothpick around the 40-minute mark, but keep an eye on it to avoid overbaking.
Every oven is different, so baking times can vary.
5. Store Correctly for Freshness
After baking, let your banana bread cool completely.
Store it in an airtight container at room temperature for up to 3 days or refrigerate it for up to a week.
You can also freeze slices for up to 3 months to enjoy later.
6. Experiment with Add-ins and Toppings
Don’t be afraid to get creative!
Add-ins like chopped walnuts, pecans, or chocolate chips can elevate the flavor and texture.
You can even top your banana bread with a light drizzle of almond butter or a dollop of Greek yogurt for extra creaminess.
Variations of Gluten-Free Coconut Flour Banana Bread
While the classic version of gluten-free coconut flour banana bread is already a winner, there are several ways to modify the recipe to suit different preferences or dietary needs.
Here are some variations you can try:
Vegan Version
To make this banana bread egg-free and dairy-free, simply substitute the eggs with a flax egg or chia egg.
To make a flax egg, mix 1 tablespoon of ground flaxseed with 2.5 tablespoons of water and let it sit for a few minutes until it becomes gelatinous.
You can also replace the honey with maple syrup or another vegan-friendly sweetener.
Low-Sugar Version
If you’re looking to reduce the sugar content, you can swap out the honey or maple syrup for a natural sweetener like stevia or monk fruit sweetener.
Keep in mind that these substitutes may alter the texture slightly, so it’s important to test the consistency of the batter before baking.
Add-Ins for Extra Flavor
Feel free to mix in some additional ingredients to customize your banana bread to your taste.
Here are a few ideas:
- Chocolate chips for a sweet, indulgent twist
- Chopped nuts like walnuts or pecans for extra crunch
- Cinnamon or nutmeg to enhance the warm, cozy flavors
- Shredded coconut for a tropical flair
Nut-Free Version
If you’re allergic to nuts or simply prefer to avoid them, leave out any nuts in the recipe and replace them with a higher quantity of chocolate chips or dried fruit such as raisins or cranberries for texture and sweetness.
Conclusion
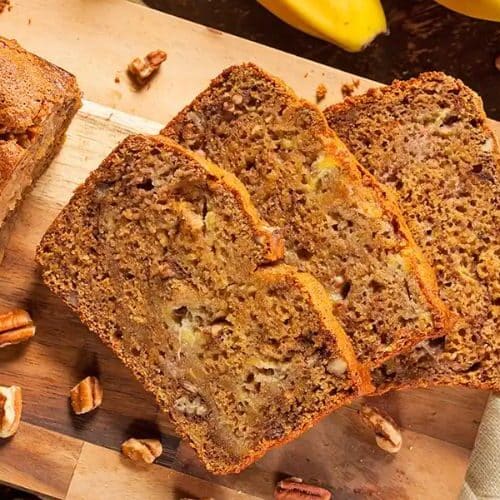
This Gluten-Free Coconut Flour Banana Bread is the perfect balance of moist, flavorful, and healthy.
By using coconut flour and ripe bananas, you get a banana bread that is rich in fiber, naturally sweetened, and completely free of gluten.
Whether you’re following a gluten-free diet or just looking for a nutritious snack, this recipe is sure to satisfy your cravings.
Don’t forget to experiment with the variations to make this recipe your own.
Share it with family and friends, or enjoy it as a wholesome breakfast or afternoon snack. Happy baking, and enjoy every bite of this guilt-free banana bread!
Frequently Asked Questions (FAQs)
1. Can I substitute coconut flour with other gluten-free flours?
While coconut flour works wonderfully in this recipe, it’s not a direct substitute for other gluten-free flours like almond flour or rice flour due to its high absorbency.
If you need to substitute, you might want to experiment with a 1:1 gluten-free flour blend, but be aware that the texture and consistency may change.
2. My batter seems too thick—what should I do?
Coconut flour absorbs a lot of liquid, so the batter may appear thicker than you’re used to.
If it feels too thick, you can add a little more liquid, such as water, almond milk, or coconut milk, until you reach a thick but spoonable consistency.
3. Can I make this banana bread without eggs?
Yes! You can use a flax egg or chia egg as an egg substitute.
For each egg, mix 1 tablespoon ground flaxseed or chia seeds with 2.5 tablespoons water and let it sit for a few minutes to form a gel-like consistency.
4. How can I store leftover banana bread?
Store the banana bread in an airtight container at room temperature for up to 3 days.
For longer storage, you can refrigerate it for up to a week or freeze slices for up to 3 months.
To freeze, wrap slices tightly in plastic wrap or parchment paper and store them in a freezer-safe bag.
5. Why does the banana bread smell so good while baking?
The sweet aroma that fills your kitchen as the bread bakes is a result of the ripe bananas and coconut flour, along with the warm, inviting smell of vanilla and the slight hint of caramelization.
The combination of ingredients creates a fragrance that makes it hard to wait for the bread to finish baking!
Gluten-Free Coconut Flour Banana Bread
Equipment
- 9×5-inch loaf pan
- Mixing bowls (2)
- Fork or potato masher (for mashing bananas)
- Measuring Cups and Spoons
- Sifter (optional, for dry ingredients)
- Spatula
- Toothpick (for testing doneness)
Ingredients
- 3 large overripe bananas
- 1/2 cup coconut flour
- 4 large eggs
- 1 teaspoon baking soda
- 1/2 teaspoon salt
- 1/4 cup honey or maple syrup
- 1/4 cup coconut oil melted
- 1 teaspoon vanilla extract
- Optional Add-ins:
- 1/4 cup chocolate chips optional
- 1/4 cup chopped nuts optional
- 1/2 teaspoon ground cinnamon optional
Instructions
Preheat the Oven and Prepare the Pan
- Preheat the oven to 350°F (175°C). Grease a 9×5-inch loaf pan or line it with parchment paper.
Mash the Bananas
- Peel and place the 3 overripe bananas into a large bowl. Use a fork or potato masher to mash them until smooth with a few small lumps.
Combine Wet Ingredients
- Add the 4 eggs, 1/4 cup honey or maple syrup, 1/4 cup melted coconut oil, and 1 teaspoon vanilla extract to the mashed bananas. Stir to combine.
Mix the Dry Ingredients
- In a separate bowl, sift together 1/2 cup coconut flour, 1 teaspoon baking soda, and 1/2 teaspoon salt.
Combine Wet and Dry Ingredients
- Gradually fold the dry ingredients into the wet mixture until fully incorporated. The batter will be thick, which is normal for coconut flour-based bread.
Pour the Batter into the Pan
- Pour the batter into the prepared loaf pan and spread it evenly with a spatula. Optionally, sprinkle chocolate chips or chopped nuts on top.
Bake the Banana Bread
- Place the loaf pan in the oven and bake for 40-50 minutes. Start checking at the 40-minute mark by inserting a toothpick in the center. If it comes out clean, the bread is done.
Cool and Serve
- Remove the bread from the oven and let it cool in the pan for about 10 minutes. Transfer it to a wire rack to cool completely before slicing.
Notes
- Consistency of Batter: If your batter is too thick, you can add a little more liquid (like water or almond milk) to help thin it out.
- Sweetener Options: You can adjust the sweetness by using more or less honey/maple syrup. If you’re looking to reduce sugar, opt for a low-carb sweetener like stevia or monk fruit.
- Storage: Store leftover banana bread in an airtight container at room temperature for up to 3 days. You can also refrigerate it for up to 1 week or freeze it for up to 3 months.
