All products are selected by our editorial team for quality. If you buy through our links, we may earn a small commission at no extra cost to you.
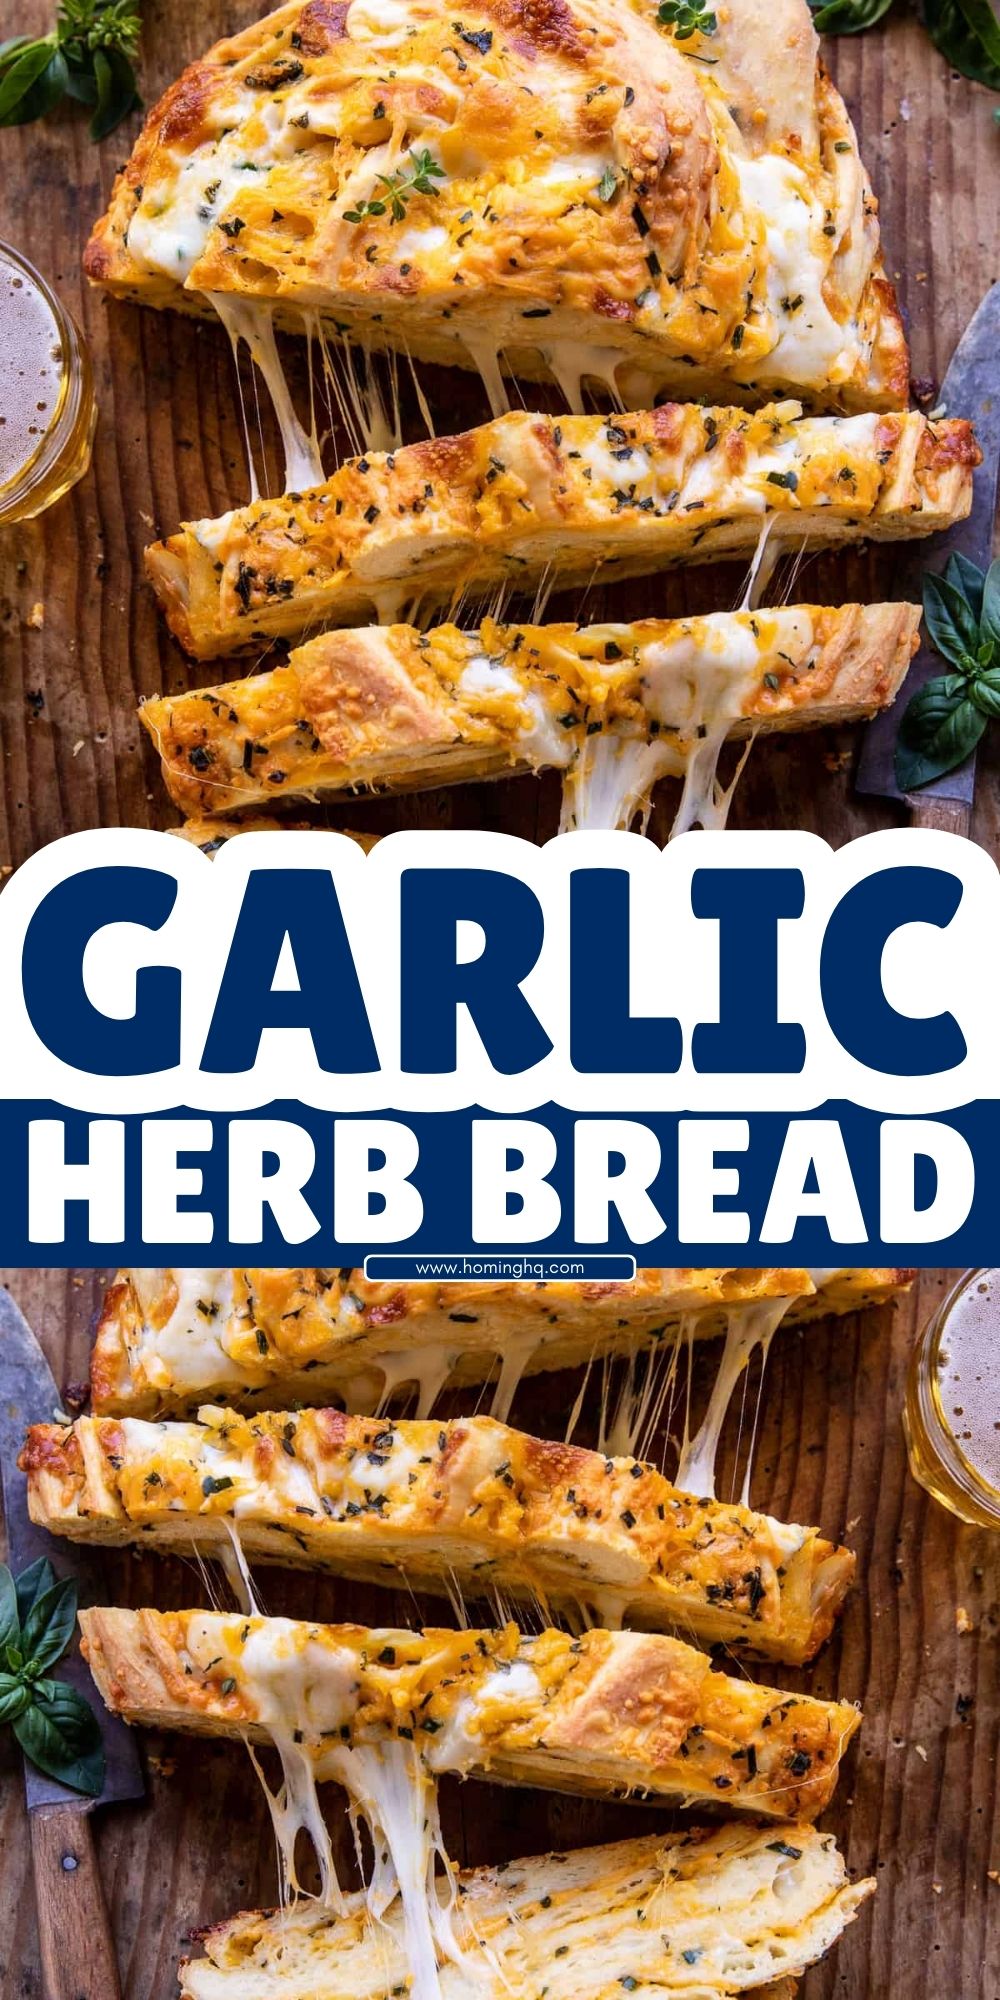
Garlic herb bread is a delightful combination of soft, fluffy bread infused with rich, buttery garlic flavor and aromatic herbs.
Whether you’re serving it as a side dish, appetizer, or snack, this bread is guaranteed to elevate any meal.
Nothing beats the aroma of freshly baked bread wafting through the kitchen, especially when it’s loaded with garlic and herbs.
While store-bought versions are convenient, making garlic herb bread from scratch ensures a fresher, more flavorful experience.
Plus, it’s surprisingly easy to prepare, even if you’re new to bread-making.
This recipe requires just a handful of simple ingredients and minimal effort.
With the right techniques, you’ll achieve a golden, crispy crust and a soft, airy interior that’s perfect for dipping into soups, pairing with pasta, or enjoying on its own.
Why You’ll Love This Garlic Herb Bread
This garlic herb bread is more than just a side dish—it’s an irresistible treat packed with flavor and texture.
Here’s why you’ll love making and eating it:
Bursting with Flavor
Each bite is infused with the rich, savory taste of garlic and fresh herbs.
The buttery topping seeps into the bread, creating a depth of flavor that’s both comforting and satisfying.
Perfect Texture
The contrast between the golden, crispy crust and the soft, pillowy interior makes this bread absolutely irresistible.
With the right balance of ingredients and proofing time, you’ll achieve the ideal texture every time.
Easy to Make
Despite its gourmet taste, this bread is incredibly simple to prepare.
With basic ingredients and straightforward steps, even beginner bakers can master it with ease.
Versatile and Customizable
Garlic herb bread pairs beautifully with a variety of meals.
Whether you’re serving it alongside pasta, soup, or salad, or using it as the base for a sandwich, the possibilities are endless.
You can also tweak the recipe to suit your taste—add cheese for a richer flavor, use different herbs for variation, or go gluten-free with alternative flour options.
Ingredients You’ll Need
The beauty of garlic herb bread lies in its simplicity. With just a few pantry staples, you can create a flavorful loaf that’s perfect for any occasion.
Bread Dough
- Flour – Bread flour provides a chewier texture, while all-purpose flour works well for a softer result.
- Yeast – Active dry yeast or instant yeast helps the dough rise and creates a light, airy texture.
- Warm water or milk – Hydrates the dough and activates the yeast for proper fermentation.
- Sugar – Feeds the yeast and enhances the bread’s flavor.
- Salt – Balances the flavors and strengthens the dough structure.
- Olive oil or butter – Adds moisture and richness to the dough.
Garlic Herb Butter
- Butter or olive oil – The base of the spread, adding richness and flavor.
- Garlic – Freshly minced or roasted garlic provides a deep, aromatic flavor.
- Fresh herbs – A mix of parsley, basil, oregano, and thyme enhances the taste.
- Salt and black pepper – Elevates the flavors and balances the richness.
- Parmesan or mozzarella cheese (optional) – Adds an extra layer of flavor and melts beautifully on top.
Step-by-Step Instructions

Step 1 – Preparing the Dough
Begin by activating the yeast. If using active dry yeast, dissolve it in warm water with a pinch of sugar and let it sit for 5–10 minutes until foamy.
Instant yeast can be mixed directly into the dry ingredients.
In a large mixing bowl, combine the flour, salt, and sugar. Slowly add the activated yeast mixture and olive oil, stirring until a rough dough forms.
Transfer it to a floured surface and knead for about 8–10 minutes until smooth and elastic.
If using a stand mixer, knead on medium speed for about 5 minutes.
Place the dough in a greased bowl, cover it with a damp cloth, and let it rise in a warm place for 1–1.5 hours or until doubled in size.
Step 2 – Making the Garlic Herb Butter
While the dough is rising, prepare the garlic herb butter.
In a small saucepan, melt the butter over low heat or use olive oil for a lighter version.
Add the minced garlic and cook for about 30 seconds until fragrant, being careful not to burn it.
Remove from heat and stir in the chopped herbs, salt, and black pepper. If using, mix in grated Parmesan for an extra savory touch.
Let the mixture cool slightly before using.
Step 3 – Shaping the Bread
Once the dough has doubled in size, punch it down gently to release excess air.
Transfer it to a floured surface and roll it into a rectangle if making a loaf or flatten it into a circle for a more rustic shape.
Brush the surface generously with the garlic herb butter, ensuring even coverage.
If you want to add cheese, sprinkle it over the buttered dough.
For a classic loaf, roll the dough tightly and place it in a greased loaf pan.
For a pull-apart style, cut the dough into strips, stack them, and arrange them in a baking dish.
Cover loosely and let it rise for another 30–45 minutes.
Step 4 – Baking to Perfection
Preheat your oven to 375°F (190°C). Once the dough has risen again, brush the top with more garlic herb butter for extra flavor.
Bake for 25–30 minutes or until golden brown and fragrant. If you want a crispier crust, bake for an additional 5 minutes.
Let the bread cool slightly before slicing, allowing the flavors to settle.
Serve warm and enjoy the irresistible aroma and taste of homemade garlic herb bread!
Would you like me to continue with the remaining sections?
Variations & Customizations
Garlic herb bread is incredibly versatile, allowing you to experiment with different flavors and ingredients to suit your taste.
Here are some delicious variations you can try:
Cheesy Garlic Herb Bread
For a richer, more indulgent version, add cheese to the mix.
Sprinkle shredded mozzarella, Parmesan, or cheddar over the dough before rolling it up or layer slices of cheese between sections for a gooey, pull-apart effect.
You can also top the bread with extra cheese before baking for a crispy, golden crust.
Vegan Garlic Herb Bread
To make a plant-based version, simply swap butter for olive oil or a dairy-free butter alternative.
Ensure the dough is made without milk, and use nutritional yeast instead of cheese for a slightly cheesy, umami flavor.
Spicy Kick
If you love a little heat, add red pepper flakes, smoked paprika, or finely chopped jalapeños to the garlic herb butter.
A touch of cayenne pepper also works well to balance the richness of the bread.
Gluten-Free Garlic Herb Bread
For a gluten-free option, use a high-quality gluten-free flour blend with xanthan gum for structure.
Keep in mind that gluten-free dough may not rise as much, so a bit of extra proofing time can help.
Herbed Focaccia Style
Instead of rolling and shaping the bread into a loaf, flatten the dough onto a baking sheet and create dimples with your fingertips.
Drizzle with the garlic herb butter and bake at a higher temperature (around 400°F/200°C) for a crispier, rustic focaccia-style bread.
Storing & Reheating Tips
Homemade garlic herb bread stays fresh for a few days, but proper storage ensures it maintains its flavor and texture. Here’s how to keep it at its best:
Storing at Room Temperature
If you plan to eat the bread within two days, store it in an airtight container or wrap it tightly in foil.
Keep it at room temperature in a dry, cool place. Avoid refrigerating, as it can dry out the bread.
Freezing for Long-Term Storage
To keep your garlic herb bread fresh for weeks, let it cool completely, then wrap it in plastic wrap followed by foil.
Store it in a freezer-safe bag for up to two months. For individual portions, slice the bread before freezing so you can thaw only what you need.
Reheating for Freshness
- Oven Method (Best for Restoring Crispness) – Preheat the oven to 350°F (175°C), wrap the bread in foil, and bake for 10–15 minutes. For extra crispness, unwrap for the last 5 minutes.
- Toaster or Air Fryer – Place slices in a toaster or air fryer at 350°F for a few minutes until warm and crispy.
- Microwave (Quickest Method) – Wrap the bread in a damp paper towel and microwave for 15–20 seconds to soften it, though this method may not restore crispness.
With these storage and reheating techniques, your garlic herb bread will taste just as delicious as when it was freshly baked!
Would you like to add any additional sections or modifications?
Final Thoughts
Garlic herb bread is a simple yet indulgent treat that can elevate any meal. It’s versatile, easy to make, and bursting with flavor—what’s not to love?
Whether you’re enjoying it fresh out of the oven with your favorite pasta or using it as a savory sandwich base, this bread is sure to become a staple in your kitchen.
Baking bread from scratch might seem intimidating at first, but with this recipe, you’ll find that it’s a rewarding and enjoyable process.
Don’t hesitate to experiment with different variations to make this bread your own—after all, there’s no one-size-fits-all recipe for delicious homemade bread.
We hope you enjoy making and sharing this garlic herb bread with family and friends.
It’s a crowd-pleaser that’s perfect for any occasion, and once you’ve mastered it, you’ll likely find yourself making it again and again.
Happy baking, and don’t forget to share your garlic herb bread creations with us!
Frequently Asked Questions
1. Can I use pre-made dough for garlic herb bread?
Yes, you can use pre-made dough like pizza dough or biscuit dough if you’re short on time.
Just roll it out and follow the same steps for applying the garlic herb butter.
However, making the dough from scratch allows for a more authentic, fresher taste and texture.
2. How do I make garlic herb bread without yeast?
If you prefer to skip the yeast, you can use a baking powder or soda-based dough instead.
This will give you a quicker result, though the texture will be denser and not as airy as yeast-based bread.
Simply replace the yeast with 1 tablespoon of baking powder for every 2 cups of flour.
3. Can I use dried herbs instead of fresh?
Yes, dried herbs can be substituted if fresh ones aren’t available.
Generally, use about one-third of the amount of dried herbs as you would fresh (for example, 1 teaspoon of dried basil for 1 tablespoon of fresh).
Keep in mind that the flavor may be slightly less vibrant, but it’ll still work well.
4. How do I prevent my bread from getting too dense?
To avoid dense bread, make sure you are using the right type of flour (bread flour is best for a light, chewy texture) and kneading the dough properly.
Also, ensure your yeast is active, and allow the dough to rise long enough to create air pockets.
If you rush any part of the process, the bread might not rise as well.
5. Can I freeze garlic herb bread for later?
Absolutely! Garlic herb bread freezes well. To freeze, let it cool completely, then wrap it tightly in plastic wrap and foil.
Store in a freezer bag for up to two months. When you’re ready to enjoy it, simply reheat as needed for fresh, warm bread.
Let me know if you’d like more questions answered or if you want to expand any part of this!

Garlic Herb Bread
Equipment
- Mixing Bowl – 1
- Stand mixer or hand mixer (optional)
- Loaf pan or baking sheet (1)
- Oven (1)
- Small saucepan (1)
- Brush for butter (1)
- Knife or bread slicer (1)
Ingredients
- 3 cups 375 g Bread flour (or all-purpose flour)
- 1 packet 2 ¼ tsp Active dry yeast
- 1 ½ cups 355 ml Warm water
- 1 tsp 5 g Sugar
- 1 tsp 5 g Salt
- 3 tbsp 45 ml Olive oil (or melted butter)
- 4 cloves Garlic minced (or 1 tbsp garlic powder)
- 1 tbsp 15 ml Fresh parsley, chopped
- 1 tbsp 15 ml Fresh basil, chopped
- 1 tsp 5 ml Fresh thyme, chopped
- ½ tsp 2.5 ml Fresh oregano, chopped
- 4 tbsp 60 g Unsalted butter, melted
- ½ cup 50 g Parmesan cheese (optional)
Instructions
Prepare the Dough
- In a small bowl, dissolve the sugar in warm water, then sprinkle in the yeast. Let sit for 5–10 minutes until bubbly.In a large bowl, combine the flour and salt. Add the yeast mixture and olive oil, stirring until a dough forms. Knead the dough on a floured surface for 8–10 minutes until smooth and elastic. Alternatively, use a stand mixer with a dough hook for about 5 minutes.
First Rise
- Place the dough in a greased bowl, cover with a damp cloth, and let rise in a warm place for 1–1.5 hours, or until it doubles in size.
Prepare Garlic Herb Butter
- In a small saucepan, melt the butter over low heat. Add the minced garlic and cook for 30 seconds until fragrant. Stir in the chopped herbs and salt. Let cool.
Shape the Dough
- Once the dough has risen, punch it down gently. Roll it out on a floured surface into a rectangle. Brush with half of the garlic herb butter, spreading evenly. Optionally, sprinkle with Parmesan cheese for extra flavor.
Second Rise
- Roll the dough into a loaf or shape it into a rustic round loaf and place it on a greased baking sheet or into a greased loaf pan. Cover it loosely and let it rise for an additional 30–45 minutes.
Bake
- Preheat your oven to 375°F (190°C). Brush the top of the dough with the remaining garlic herb butter. Bake for 25–30 minutes, or until golden brown and fragrant. For a crispier crust, leave the bread in for an additional 5 minutes.
Serve
- Let the bread cool for a few minutes, slice, and enjoy while warm.
Notes
- For a vegan version, replace butter with olive oil, and ensure no dairy cheese is used.
- Feel free to add other herbs, such as rosemary or sage, to customize the flavor.
- If you don’t have fresh herbs, you can substitute with dried herbs (just use 1/3 of the amount).
- To make this bread extra cheesy, fold shredded cheese into the dough or sprinkle it on top before baking.
