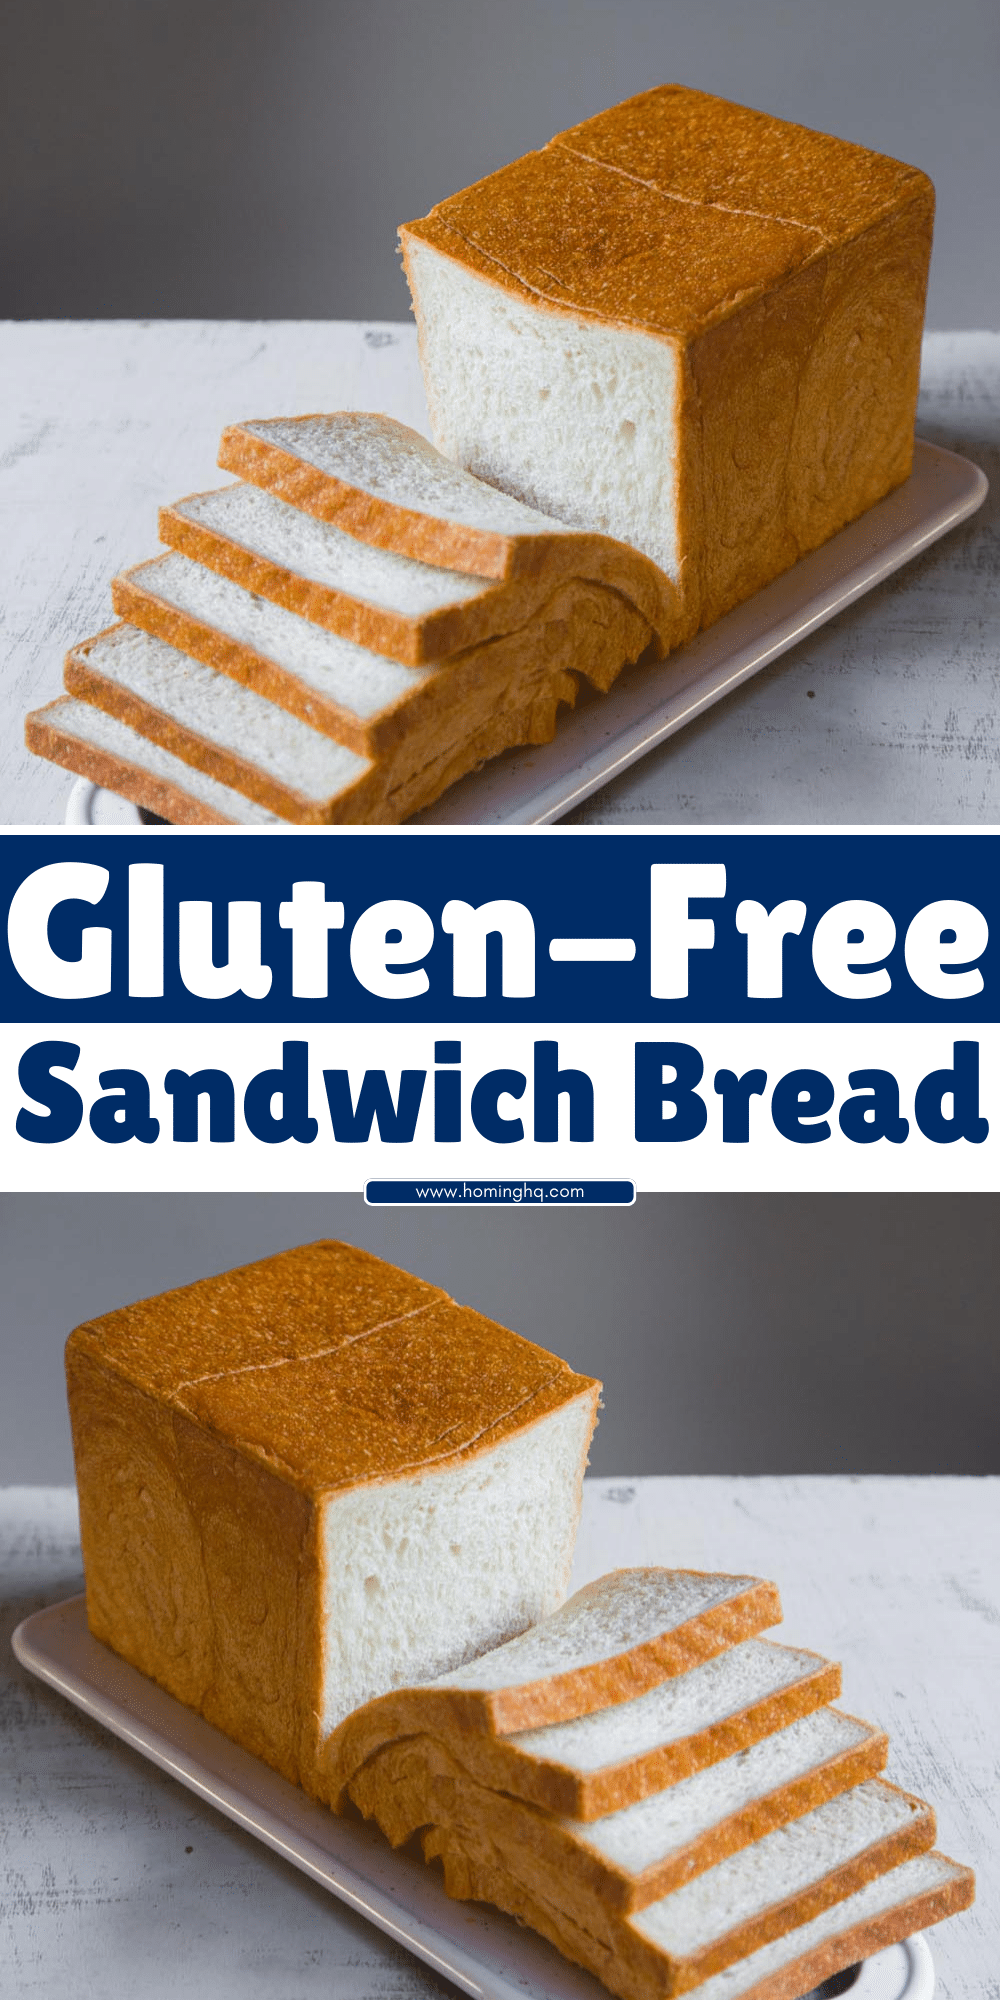
Making gluten-free bread at home can seem daunting, but with the right ingredients and a little patience, it’s easier than you might think.
Whether you have a gluten intolerance, a sensitivity, or just prefer gluten-free options, this easy gluten-free sandwich bread recipe will become a staple in your kitchen.
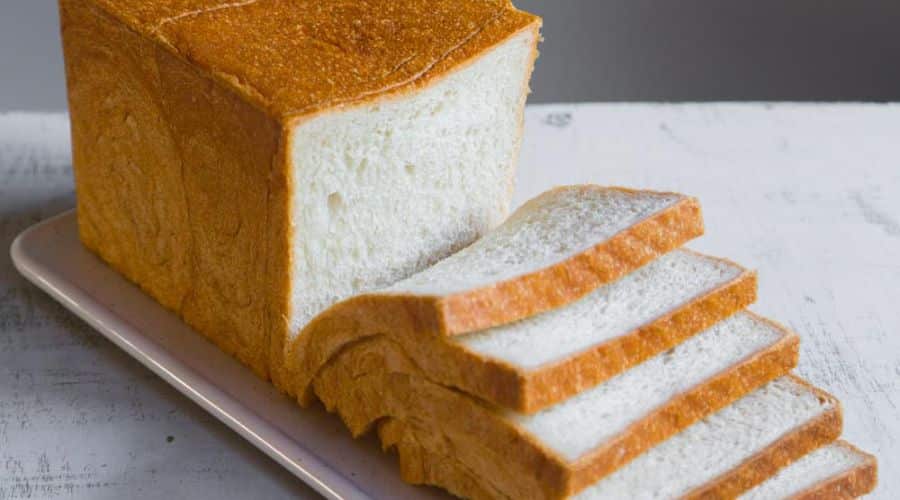
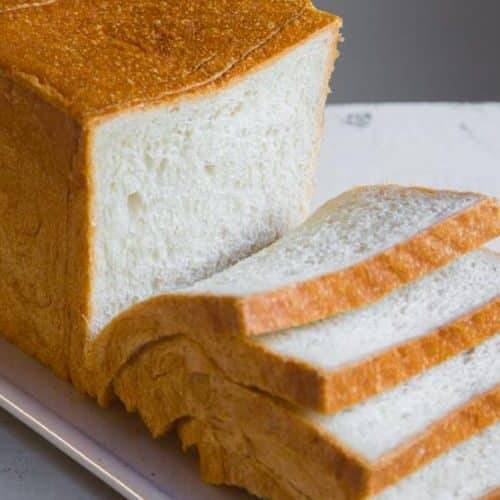
It’s soft, delicious, and perfect for making sandwiches or enjoying with a spread of butter.
In this guide, you’ll find everything you need to know to create the perfect loaf of gluten-free bread.
Why Choose Gluten-Free Bread?
Choosing gluten-free bread can be a necessity for people with celiac disease or gluten sensitivity.
However, even if you don’t have dietary restrictions, you might opt for gluten-free bread for various reasons:
- Health benefits: Many people find that a gluten-free diet helps reduce bloating, digestive discomfort, and fatigue.
- Allergy-friendly: Gluten-free bread is a great option for those with wheat allergies or sensitivities.
- Improved digestion: By cutting out gluten, some individuals notice improved digestion and better overall health.
- Variety and taste: Gluten-free breads often contain a variety of whole grains and seeds, offering unique flavors and textures that can’t be found in traditional bread.
What You’ll Need to Make Easy Gluten-Free Sandwich Bread
Before you start, make sure you have these essential ingredients and tools:
Ingredients:
- Gluten-Free Flour Blend: This is the base for your bread. Ensure it’s a high-quality, all-purpose gluten-free flour blend.
- Active Dry Yeast: To give your bread the rise it needs.
- Warm Water: Activates the yeast and helps create the right dough consistency.
- Sugar: Provides food for the yeast and helps the bread rise.
- Olive Oil: Adds moisture and a soft texture to the bread.
- Eggs: Act as binding agents, helping the dough hold together.
- Salt: For flavor.
- Vinegar: Helps the dough rise and adds to the bread’s texture.
Tools:
- Mixing Bowl: For combining ingredients.
- Stand Mixer or Hand Mixer: To thoroughly mix and knead the dough.
- Loaf Pan: To shape your bread as it bakes.
- Measuring Cups and Spoons: For accuracy.
Step-by-Step Instructions for Perfect Gluten-Free Sandwich Bread
- Activate the Yeast: In a small bowl, combine warm water (not too hot) with sugar. Sprinkle the yeast over the water and let it sit for 5-10 minutes until foamy.
- Mix Wet Ingredients: In a large bowl, whisk together the eggs, olive oil, and vinegar until well combined.
- Combine Dry Ingredients: In a separate bowl, mix your gluten-free flour blend and salt.
- Create the Dough: Slowly add the dry ingredients into the wet ingredients while mixing on low speed (or by hand). Once combined, increase the speed slightly to knead for 2-3 minutes until smooth. The dough will be slightly thicker than traditional bread dough but still soft.
- Let the Dough Rise: Transfer the dough into a greased loaf pan. Cover the pan with a clean towel and place it in a warm area to rise for about 1 hour or until it has doubled in size.
- Preheat the Oven: While the dough rises, preheat your oven to 350°F (175°C).
- Bake the Bread: Once the dough has risen, place the loaf in the oven and bake for 30-35 minutes, or until the top is golden brown and the bread sounds hollow when tapped.
- Cool the Bread: Let the bread cool in the pan for about 10 minutes, then transfer it to a wire rack to cool completely before slicing.
Tips for Success
- Use a high-quality gluten-free flour blend: The texture and rise of your bread will depend largely on the flour blend you use. Be sure to choose one that’s designed for bread baking.
- Don’t skip the rise time: Gluten-free bread needs time to rise to achieve the right texture. Be patient and allow the dough to rise fully.
- Check your yeast: If your yeast doesn’t foam after being activated, it may be expired or the water temperature may have been too hot. Start fresh with new yeast.
- Experiment with add-ins: You can mix in seeds, herbs, or even a bit of honey for a unique twist on the bread.
- Use a kitchen scale: For the most accurate results, weigh your ingredients instead of using measuring cups.
Storing and Freezing Gluten-Free Sandwich Bread
Storing:
- Room Temperature: Keep the bread in an airtight container or wrap it tightly in plastic wrap. It will stay fresh for up to 3 days.
- Refrigeration: If you plan to keep the bread for longer, store it in the fridge for up to a week. Make sure to wrap it properly to prevent it from drying out.
Freezing:
- If you want to store your bread for longer, freezing is a great option. Slice the bread before freezing, so you can take out individual pieces as needed. Place the slices in a freezer-safe bag and store them for up to 3 months. To thaw, simply let the slices come to room temperature or pop them in the toaster.
Frequently Asked Questions
- Can I use a different flour blend? Yes, you can experiment with different gluten-free flours, but ensure they are a blend that is designed for baking. Some blends may require additional ingredients like xanthan gum for proper texture.
- Can I make this recipe vegan? Yes! Replace the eggs with a flax egg (1 tablespoon ground flaxseed mixed with 3 tablespoons water) and use a non-dairy oil such as coconut oil.
- Why is my gluten-free bread too dense? There are several reasons this might happen, including using a flour blend that’s too heavy or not allowing the dough enough time to rise. Be sure to follow the instructions carefully and be patient with the rise.
- How do I know when the bread is fully baked? The bread should be golden brown on top and sound hollow when you tap it gently. You can also insert a thermometer into the center; it should read 190°F (88°C) when done.
- Can I add herbs or seeds to the dough? Yes! Feel free to add seeds, herbs, or spices to the dough after it’s fully mixed. Just be sure not to add too many or you might disrupt the bread’s rise.
Conclusion
Making your own gluten-free sandwich bread at home is a simple and rewarding experience.
With just a few basic ingredients and a bit of patience, you can create a soft, flavorful loaf perfect for all your sandwich needs.
Plus, with the added bonus of knowing exactly what goes into your bread, you can enjoy a healthier, fresher alternative to store-bought options.
Whether you’re gluten-free by necessity or by choice, this easy recipe will quickly become a favorite in your baking repertoire.
Easy Gluten-Free Sandwich Bread
Equipment
- 1 Loaf Pan (9×5-inch)
- 1 Mixing Bowl (Large)
- 1 Hand Mixer or Stand Mixer
- 1 measuring cup
- 1 Measuring Spoon
- 1 Wire rack
- 1 Small Bowl (for activating yeast)
Ingredients
- 2 ½ cups 300g Gluten-Free Flour Blend
- 1 packet 2 ¼ tsp Active Dry Yeast
- 1 cup 240 ml Warm Water
- 2 tbsp 25g Sugar
- 2 Large Eggs
- 2 tbsp 30 ml Olive Oil
- 1 tsp 5g Salt
- 1 tbsp 15 ml Vinegar
Instructions
- Activate the Yeast: In a small bowl, combine 1 cup of warm water with 2 tbsp sugar. Sprinkle the yeast over the water and stir to combine. Let it sit for 5-10 minutes until it becomes foamy.
- Mix Wet Ingredients: In a large mixing bowl, whisk together the eggs, olive oil, and vinegar until fully combined.
- Combine Dry Ingredients: In a separate bowl, whisk together the gluten-free flour blend and salt.
- Make the Dough: Slowly add the dry ingredients to the wet ingredients while mixing at a low speed (or by hand). Once the flour is incorporated, continue mixing for 2-3 minutes at medium speed until the dough is smooth.
- Let the Dough Rise: Transfer the dough into a greased 9×5-inch loaf pan. Cover with a clean towel and let it rise in a warm place for about 1 hour or until it doubles in size.
- Preheat the Oven: While the dough is rising, preheat your oven to 350°F (175°C).
- Bake the Bread: Once the dough has risen, bake it for 30-35 minutes, or until the top is golden brown and the loaf sounds hollow when tapped.
- Cool the Bread: Let the bread cool in the pan for 10 minutes, then transfer it to a wire rack to cool completely before slicing.
Notes
- Yeast: Make sure your yeast is fresh and activate it properly. If the yeast doesn’t foam, it may be expired or the water temperature may have been too high.
- Flour Blend: Different gluten-free flour blends can vary in texture. If you have a blend with xanthan gum or guar gum, you don’t need to add more for structure. If not, consider adding 1 tsp of xanthan gum to improve texture.
- Storage: Store the bread at room temperature for 3 days in an airtight container. You can refrigerate for up to 1 week or freeze for up to 3 months. Slice before freezing for easy, individual servings.
