All products are selected by our editorial team for quality. If you buy through our links, we may earn a small commission at no extra cost to you.
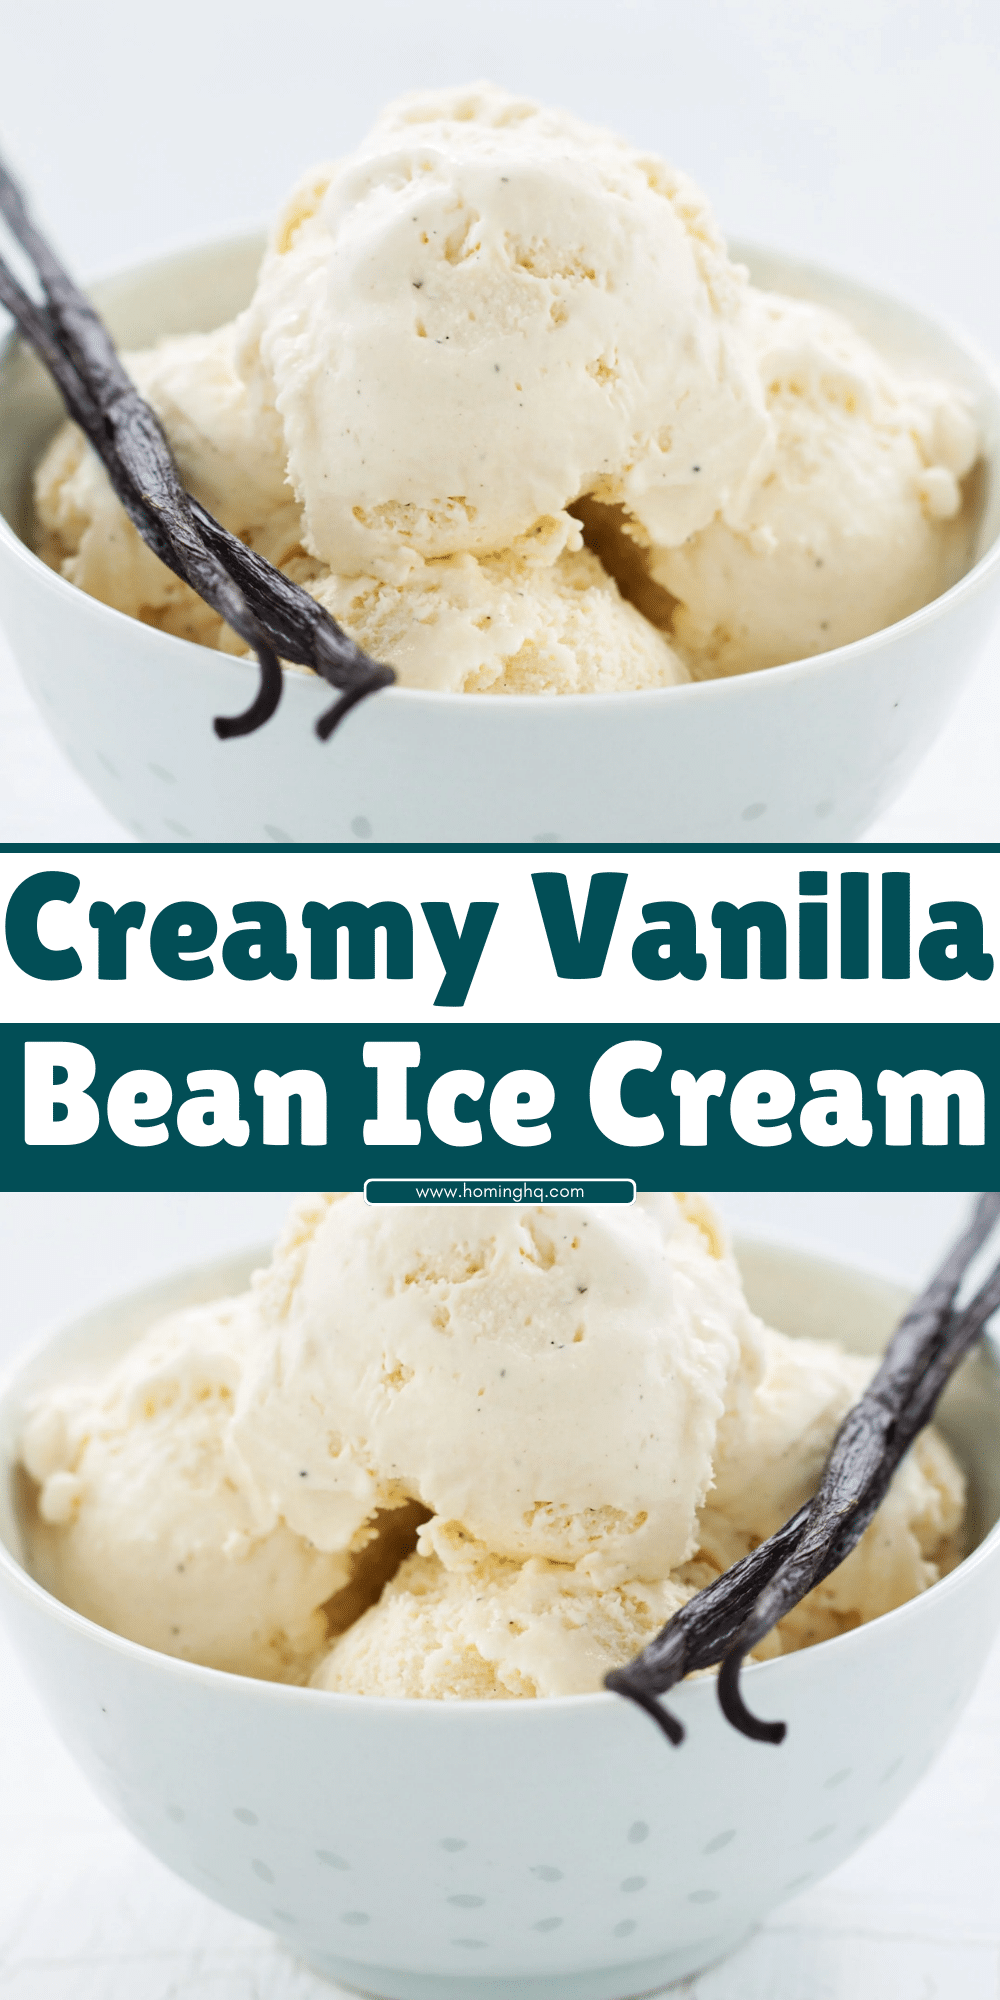
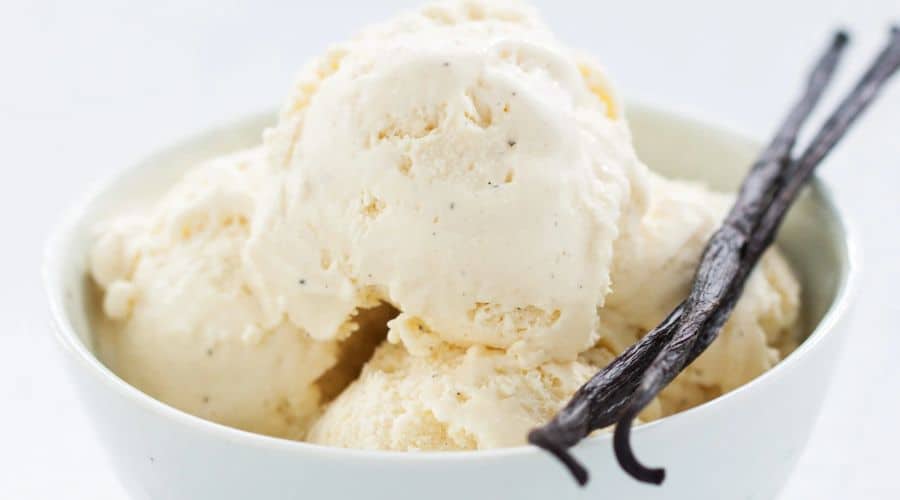
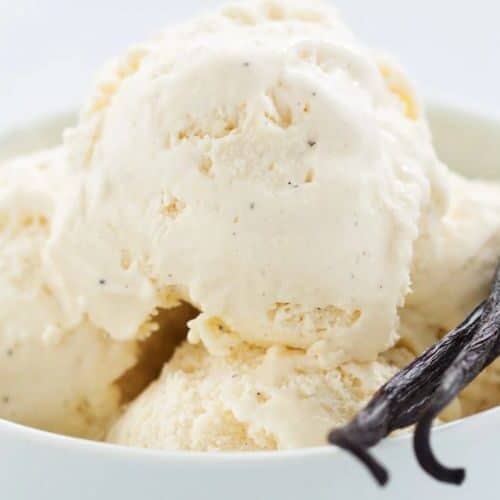
Homemade ice cream is a treat that brings joy to any occasion.
Whether it’s a hot summer day or a cozy night in, there’s nothing quite like a bowl of freshly made creamy vanilla bean ice cream.
The rich, indulgent flavor of real vanilla beans combined with a silky smooth texture makes it a classic dessert that never goes out of style.
In this recipe, we will guide you through every step to create your own creamy vanilla bean ice cream from scratch.
Why Choose Homemade Creamy Vanilla Bean Ice Cream?
Homemade ice cream offers many advantages over store-bought versions.
When you make it yourself, you have control over the quality of ingredients and the ability to customize the flavor to your liking.
Using real vanilla beans enhances the taste, giving your ice cream an authentic, natural flavor that’s hard to beat.
Plus, you get the satisfaction of knowing exactly what goes into your dessert.
Another reason to make it at home is the sheer fun of the process!
Making ice cream from scratch can be an enjoyable family activity or a relaxing solo project.
The end result is not only delicious but also incredibly rewarding.
Ingredients You’ll Need
To make creamy vanilla bean ice cream, you’ll need the following ingredients:
- 2 cups heavy cream
- 1 cup whole milk
- 3/4 cup granulated sugar
- 1 vanilla bean (or 1 tablespoon vanilla extract)
- 5 large egg yolks
- Pinch of salt
These simple, high-quality ingredients come together to create a smooth, velvety ice cream that’s both rich and refreshing.
Step-by-Step Instructions to Make Creamy Vanilla Bean Ice Cream
1. Prepare the Vanilla Bean
Start by slicing the vanilla bean down the middle using a sharp knife. Gently scrape the seeds out of the bean pod and set them aside.
You can also save the pod for future use in infusing flavors for other recipes.
2. Heat the Cream and Milk
In a medium saucepan, combine the heavy cream, whole milk, and the vanilla bean seeds (or vanilla extract if you prefer).
Heat the mixture over medium heat, stirring occasionally, until it is just about to boil.
Remove the pan from heat as soon as you see small bubbles forming around the edges.
3. Whisk the Egg Yolks and Sugar
In a separate bowl, whisk together the egg yolks and sugar until the mixture becomes pale and slightly thickened.
This step is essential for creating the smooth texture of your ice cream.
4. Temper the Egg Yolks
Gradually pour a small amount of the hot cream mixture into the egg yolks while whisking continuously.
This process, known as tempering, helps prevent the eggs from scrambling.
Once the egg yolks are warmed up, slowly add the rest of the cream mixture to the eggs, stirring constantly.
5. Cook the Custard Base
Return the combined mixture to the saucepan and cook over low heat, stirring constantly with a wooden spoon.
The custard is ready when it thickens enough to coat the back of the spoon.
Be careful not to let it boil, as that can cause the eggs to curdle.
6. Strain and Cool
Once the custard has thickened, strain it through a fine mesh sieve to remove any lumps or leftover vanilla bean pods.
Let the custard cool to room temperature before refrigerating it for at least 4 hours, or overnight for the best results.
7. Churn the Ice Cream
After the custard has chilled, pour it into your ice cream maker and churn according to the manufacturer’s instructions.
The ice cream should become thick and creamy as it churns.
8. Freeze the Ice Cream
Transfer the churned ice cream into an airtight container and freeze for at least 4 hours to firm it up.
Once it’s set, it will be ready to scoop and enjoy.
Now, you can savor a bowl of your homemade creamy vanilla bean ice cream!
Tips for Perfecting Your Creamy Vanilla Bean Ice Cream
1. Use Fresh, High-Quality Ingredients
For the best flavor, always opt for fresh, high-quality ingredients.
Real vanilla beans make a significant difference in taste compared to artificial vanilla extract, so don’t skip this step.
Additionally, using fresh cream and milk will help achieve that rich, velvety texture.
2. Don’t Rush the Chilling Process
Allowing your custard to chill for several hours (or even overnight) is crucial for developing the flavors and ensuring a smooth texture.
Be patient—rushing this step may lead to a less creamy consistency.
3. Stir the Custard Gently
When cooking the custard, use a wooden spoon and stir gently to avoid overworking the mixture.
This helps create a silky-smooth base without incorporating too much air.
4. Ensure the Ice Cream Maker is Properly Prepped
Make sure your ice cream maker’s bowl is properly frozen before use, especially if it requires pre-chilling.
A properly chilled bowl helps the ice cream set quickly during the churning process, ensuring the perfect texture.
5. Don’t Overchurn
While it’s important to churn the ice cream until it thickens, be careful not to overdo it.
Churning too long can cause the ice cream to become too icy.
Stop once it reaches a soft-serve consistency, then transfer it to a container for freezing.
How to Store and Serve Your Vanilla Bean Ice Cream
Storing Homemade Ice Cream
Homemade vanilla bean ice cream can be stored in an airtight container in the freezer for up to 1–2 weeks.
Be sure to cover the surface with plastic wrap or parchment paper before sealing the lid to prevent ice crystals from forming on the surface.
For best results, let your ice cream sit at room temperature for a few minutes before serving.
This softens the ice cream slightly, making it easier to scoop and enhancing its creamy texture.
Serving Your Vanilla Bean Ice Cream
When serving, consider pairing your homemade vanilla bean ice cream with fresh fruit, a drizzle of chocolate or caramel sauce, or a sprinkle of crushed nuts for added texture.
You can also serve it alongside warm desserts like pies, brownies, or cobblers to create a perfect balance of hot and cold.
Conclusion
Making homemade creamy vanilla bean ice cream is a rewarding and delicious experience.
With just a few simple ingredients and a little patience, you can enjoy the rich, natural flavor of vanilla bean in a smooth, indulgent dessert.
Whether you’re preparing it for a special occasion or as a treat for yourself, this homemade ice cream will always be a crowd-pleaser.
By following the steps outlined and applying the helpful tips, you can perfect your ice cream-making skills and delight in every scoop!
Frequently Asked Questions
1. Can I use vanilla extract instead of vanilla beans?
Yes, you can use vanilla extract if you prefer, but the flavor won’t be as rich and authentic as using real vanilla beans.
If you use vanilla extract, about 1 tablespoon is a good substitution for one vanilla bean.
2. Can I make this ice cream without an ice cream maker?
While an ice cream maker is ideal for achieving the right texture, you can still make ice cream without one.
After chilling the custard, pour it into a shallow container and freeze it.
Every 30 minutes, stir the mixture with a fork to break up any ice crystals until it reaches a creamy consistency.
3. How can I adjust the sweetness of the ice cream?
If you prefer a sweeter ice cream, you can increase the amount of sugar to 1 cup.
Conversely, if you like a less sweet version, you can reduce the sugar slightly.
4. Can I add mix-ins like chocolate chips or fruit?
Absolutely! After churning the ice cream, gently fold in your desired mix-ins like chocolate chips, fruit, or crushed cookies.
Just be careful not to overmix, as this can affect the ice cream’s smooth texture.
5. How do I prevent ice crystals from forming in my homemade ice cream?
To prevent ice crystals, make sure to chill your custard thoroughly before churning.
Also, store the ice cream in an airtight container and cover the surface with plastic wrap or parchment paper before sealing the lid to minimize air exposure.
Creamy Vanilla Bean Ice Cream
Equipment
- 1 Ice cream maker (churner, if available)
- 1 medium saucepan
- 1 whisk
- 1 Wooden Spoon
- 1 Fine mesh sieve
- 1 medium mixing bowl
- 1 airtight container (for storage)
Ingredients
- 2 cups Heavy cream
- 1 cup Whole milk
- 3/4 cup Granulated sugar
- 5 large Egg yolks
- 1 Vanilla bean or 1 tablespoon vanilla extract
- Pinch Salt
Instructions
- Prepare the vanilla bean: Slice the vanilla bean down the middle and scrape out the seeds. Set aside the seeds and save the pod for future use.
- Heat the cream and milk: In a medium saucepan, combine heavy cream, whole milk, vanilla seeds, and the vanilla bean pod (or use vanilla extract). Heat over medium, stirring occasionally, until the mixture is just about to boil. Remove from heat.
- Whisk the egg yolks and sugar: In a separate bowl, whisk together the egg yolks and sugar until pale and thickened.
- Temper the egg yolks: Slowly add a small amount of the hot cream mixture to the egg yolks, whisking constantly. Gradually add the rest of the cream mixture to the yolks, stirring continuously.
- Cook the custard base: Pour the combined mixture back into the saucepan and cook over low heat, stirring constantly. Cook until the custard thickens enough to coat the back of a spoon. Be careful not to boil.
- Strain and cool: Strain the custard through a fine mesh sieve to remove any lumps or vanilla pods. Let the custard cool to room temperature, then refrigerate for at least 4 hours or overnight.
- Churn the ice cream: Once chilled, pour the custard into an ice cream maker and churn according to the manufacturer’s instructions.
- Freeze the ice cream: Transfer the ice cream to an airtight container and freeze for at least 4 hours until firm.
- Serve: Scoop and enjoy your homemade creamy vanilla bean ice cream!
Notes
- Ensure the custard is fully chilled before churning to avoid an icy texture.
- If you don’t have an ice cream maker, manually freeze and stir the mixture every 30 minutes until it thickens.
- To store, place a piece of plastic wrap on the surface of the ice cream before sealing to prevent ice crystals from forming.
