All products are selected by our editorial team for quality. If you buy through our links, we may earn a small commission at no extra cost to you.
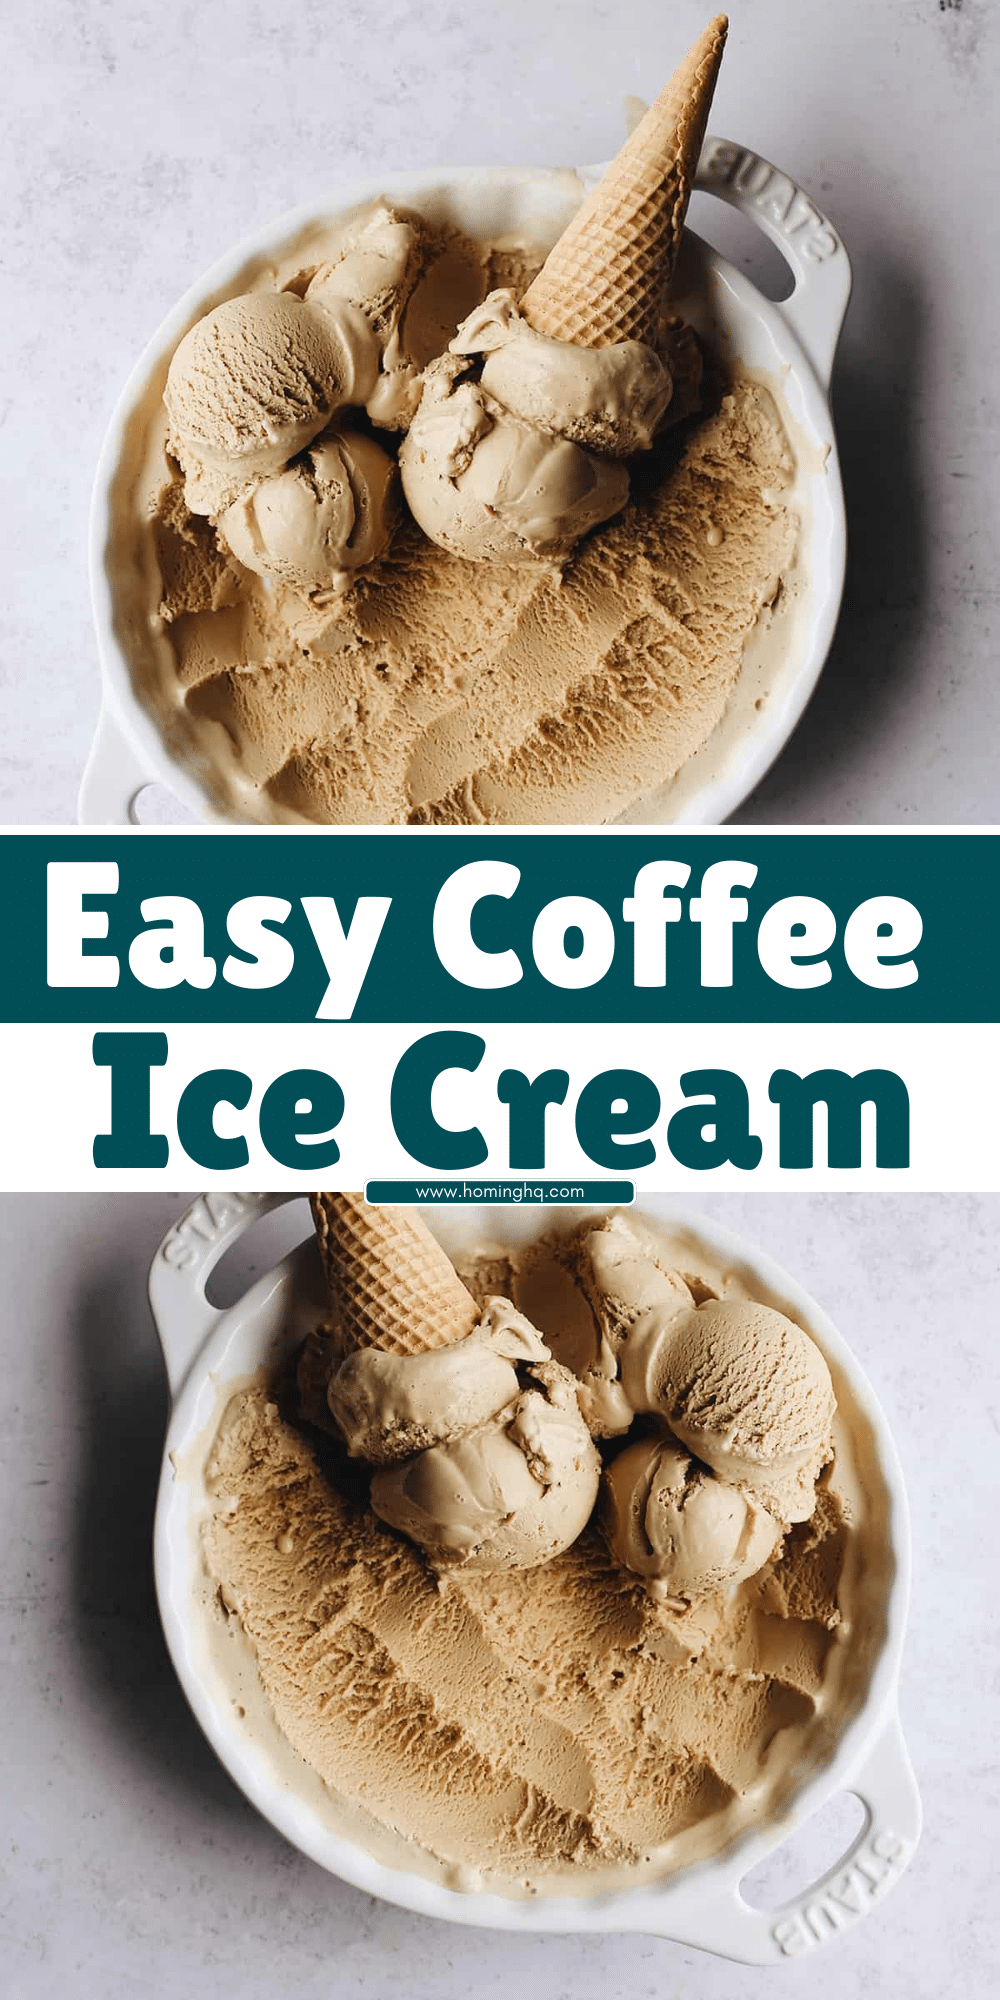
Coffee Ice Cream is a delightful treat that combines the rich, bold flavors of coffee with the creamy, smooth texture of ice cream.
This dessert is perfect for coffee lovers and those looking for a refreshing yet indulgent way to cool off.
Making homemade coffee ice cream allows you to control the sweetness and intensity of the coffee flavor, ensuring you get the perfect balance.
Whether you’re serving it on its own, as a topping, or in a sundae, this coffee ice cream is sure to satisfy your cravings.
Ingredients Needed for Coffee Ice Cream
To create this homemade coffee ice cream, you’ll need the following ingredients:
- Heavy Cream – This gives the ice cream its rich and creamy texture.
- Whole Milk – Adds a smooth consistency and helps balance the heaviness of the cream.
- Granulated Sugar – Sweetens the ice cream base.
- Coffee – A strong brewed coffee or espresso for that deep coffee flavor.
- Egg Yolks – These help thicken the ice cream base and create a smooth custard texture.
- Vanilla Extract – Adds a subtle depth of flavor to complement the coffee.
Equipment You Will Need
To prepare and churn your coffee ice cream, make sure you have the following equipment:
- Saucepan – For heating the milk, cream, and coffee to make the custard base.
- Whisk – For combining the egg yolks and sugar, ensuring a smooth mixture.
- Ice Cream Maker – Essential for churning the ice cream to get that perfect creamy texture.
- Strainer – To remove any curdled egg bits and ensure a smooth base.
- Mixing Bowls – For combining ingredients during the preparation process.
- Spatula – To stir the custard and ensure everything is evenly mixed.
With these ingredients and equipment in hand, you’ll be all set to create a rich and creamy homemade coffee ice cream.
Step-by-Step Instructions for Making Coffee Ice Cream
1. Prepare the Coffee Base
Start by brewing a strong cup of coffee or espresso.
You’ll need about 1/2 cup of coffee for the recipe. Once brewed, set it aside to cool slightly.
2. Make the Custard Base
In a saucepan, combine heavy cream and whole milk over medium heat.
Stir occasionally until the mixture is hot but not boiling. In a separate bowl, whisk together egg yolks and granulated sugar until smooth and slightly pale.
3. Temper the Eggs
Slowly pour about half of the hot cream mixture into the egg yolks while whisking constantly.
This process, known as tempering, ensures the eggs don’t cook too quickly.
Once the eggs are warmed, pour the egg mixture back into the saucepan with the remaining cream.
4. Cook the Custard
Place the saucepan back on the heat and stir constantly with a spatula.
Cook until the custard thickens and coats the back of the spatula.
This should take around 5–7 minutes.
Keep the heat low to prevent scrambling the eggs.
5. Add Coffee and Vanilla
Once the custard has thickened, remove the saucepan from the heat.
Stir in the coffee and vanilla extract. Mix until well combined.
6. Strain the Mixture
For a smooth and creamy texture, strain the custard mixture through a fine-mesh sieve into a clean bowl.
This step will remove any bits of cooked egg and ensure a velvety consistency.
7. Chill the Custard
Let the custard cool to room temperature, then cover the bowl and refrigerate for at least 4 hours or overnight.
Chilling the mixture allows it to set and develop the flavors.
8. Churn the Ice Cream
Once the custard is fully chilled, pour it into your ice cream maker. Follow the manufacturer’s instructions for your machine.
Typically, this takes about 20–25 minutes, depending on your model.
9. Freeze Until Firm
Once churned, transfer the ice cream into an airtight container and freeze for at least 4 hours or until firm.
This step is crucial for achieving the perfect texture.
Tips for the Perfect Coffee Ice Cream
1. Use Fresh, High-Quality Coffee
For the best flavor, use freshly brewed coffee or espresso.
The coffee’s richness and quality will directly influence the taste of your ice cream, so opt for your favorite blend.
2. Avoid Overheating the Custard
When making the custard, be sure not to overheat it, as this can cause the eggs to scramble.
Keep the heat low and stir constantly to achieve a smooth texture.
3. Chill the Mixture Thoroughly
For a smooth, creamy texture, make sure the custard is well chilled before churning.
If the base isn’t cold enough, the ice cream may not freeze properly.
4. Don’t Skip the Straining Step
Straining the custard removes any bits of cooked egg and ensures a silky-smooth ice cream base.
This step is essential for achieving the ideal texture.
5. Experiment with Coffee Strength
If you prefer a stronger coffee flavor, add a little extra brewed coffee or espresso.
Adjusting the amount of coffee allows you to customize the flavor intensity to your liking.
By following these instructions and tips, you’ll have a delicious homemade coffee ice cream that rivals any store-bought version. Enjoy!
Serving and Enjoying Your Homemade Coffee Ice Cream
Once your coffee ice cream is fully frozen and has reached the perfect consistency, it’s time to serve and enjoy!
Here are a few ideas for serving:
1. Classic Scoop
Scoop the ice cream into bowls or cones for a classic serving.
The rich flavor of coffee pairs wonderfully with a variety of toppings such as chocolate shavings, crushed nuts, or a drizzle of caramel.
2. Coffee Ice Cream Sundae
Create an indulgent sundae by layering the coffee ice cream with chocolate or caramel sauce, whipped cream, and a cherry on top.
You can also add crumbled cookies or brownie pieces for extra texture.
3. Pair with Desserts
Coffee ice cream complements many desserts, including warm chocolate cake, brownies, or even a slice of pie.
The combination of hot and cold is especially delightful.
4. In a Milkshake
For a creamy coffee milkshake, blend your coffee ice cream with a bit of milk and a touch of vanilla extract.
This makes for a deliciously refreshing treat.
5. As a Topping
Use your homemade coffee ice cream as a topping for other desserts like fruit tarts, crêpes, or waffles.
The coffee flavor adds depth and richness to the dish.
Conclusion
Homemade Coffee Ice Cream is a luxurious treat that combines the smooth, creamy texture of ice cream with the deep, rich flavor of coffee.
With just a few ingredients and some simple steps, you can create a dessert that’s both indulgent and customizable to your taste.
Whether served in a classic scoop, as part of a sundae, or paired with other desserts, this coffee ice cream is sure to impress.
By following the outlined steps and tips, you’ll create the perfect homemade coffee ice cream that everyone will enjoy.
It’s an ideal treat for coffee lovers, and with its creamy texture and bold flavor, it’s sure to become a favorite in your household.
Frequently Asked Questions
1. Can I make coffee ice cream without an ice cream maker?
Yes, you can! If you don’t have an ice cream maker, pour the chilled custard into a shallow container and freeze it.
Every 30 minutes, stir the mixture with a fork to break up any ice crystals until it reaches the desired consistency.
2. How can I make the coffee ice cream stronger in flavor?
To intensify the coffee flavor, use more coffee or espresso.
You can also try adding coffee extract or a little instant coffee granules for an extra boost.
3. Can I make this recipe dairy-free or vegan?
Yes! Substitute the heavy cream and whole milk with coconut milk or another plant-based milk.
For the eggs, you can use a vegan egg substitute, or try skipping them entirely and using cornstarch to thicken the mixture.
4. How long does homemade coffee ice cream last in the freezer?
Homemade coffee ice cream can last in the freezer for up to 2–3 weeks if stored properly in an airtight container.
However, for the best texture and flavor, it’s best to enjoy it within the first week.
5. Can I add mix-ins like chocolate chips or nuts?
Absolutely! If you’d like to add mix-ins like chocolate chips, crushed nuts, or even swirls of caramel, add them during the last few minutes of churning.
This ensures they are evenly distributed throughout the ice cream without disrupting the freezing process.
Coffee Ice Cream
Equipment
- Saucepan (1)
- Whisk (1)
- Ice Cream Maker (1)
- Strainer – 1
- Mixing bowls (2)
- Spatula (1)
Ingredients
- 1 1/2 cups 360 ml Heavy Cream
- 1 cup 240 ml Whole Milk
- 3/4 cup 150 g Granulated Sugar
- 4 large Egg Yolks
- 1/2 cup 120 ml Strong Brewed Coffee (or espresso)
- 1 teaspoon 5 ml Vanilla Extract
Instructions
- Prepare the Coffee Base: Brew 1/2 cup of strong coffee or espresso and set aside to cool slightly.
- Make the Custard Base: In a saucepan, combine the heavy cream and whole milk. Heat over medium heat until the mixture is hot but not boiling.
- Whisk Egg Yolks and Sugar: In a mixing bowl, whisk together the egg yolks and granulated sugar until smooth and slightly pale.
- Temper the Eggs: Gradually pour about half of the hot milk mixture into the egg yolks while whisking constantly. Then pour the egg mixture back into the saucepan with the remaining hot milk mixture.
- Cook the Custard: Stir constantly over low heat for 5–7 minutes until the custard thickens and coats the back of the spatula.
- Add Coffee and Vanilla: Remove from heat and stir in the brewed coffee and vanilla extract. Mix until well combined.
- Strain the Custard: Pour the custard through a fine mesh strainer to remove any curdled egg bits.
- Chill the Custard: Let the mixture cool to room temperature, then cover and refrigerate for at least 4 hours or overnight.
- Churn the Ice Cream: Once chilled, pour the custard into an ice cream maker and churn according to the manufacturer’s instructions (about 20–25 minutes).
- Freeze Until Firm: Transfer the churned ice cream to an airtight container and freeze for at least 4 hours or until firm.
Notes
- Coffee Strength: Adjust the strength of the coffee based on your preference for a lighter or stronger coffee flavor.
- Storage: Store your coffee ice cream in an airtight container in the freezer for up to 2–3 weeks for best texture and flavor.
- Vegan Option: To make this recipe dairy-free, substitute the heavy cream and milk with coconut milk or almond milk, and use a vegan egg substitute or cornstarch for thickening.
