All products are selected by our editorial team for quality. If you buy through our links, we may earn a small commission at no extra cost to you.
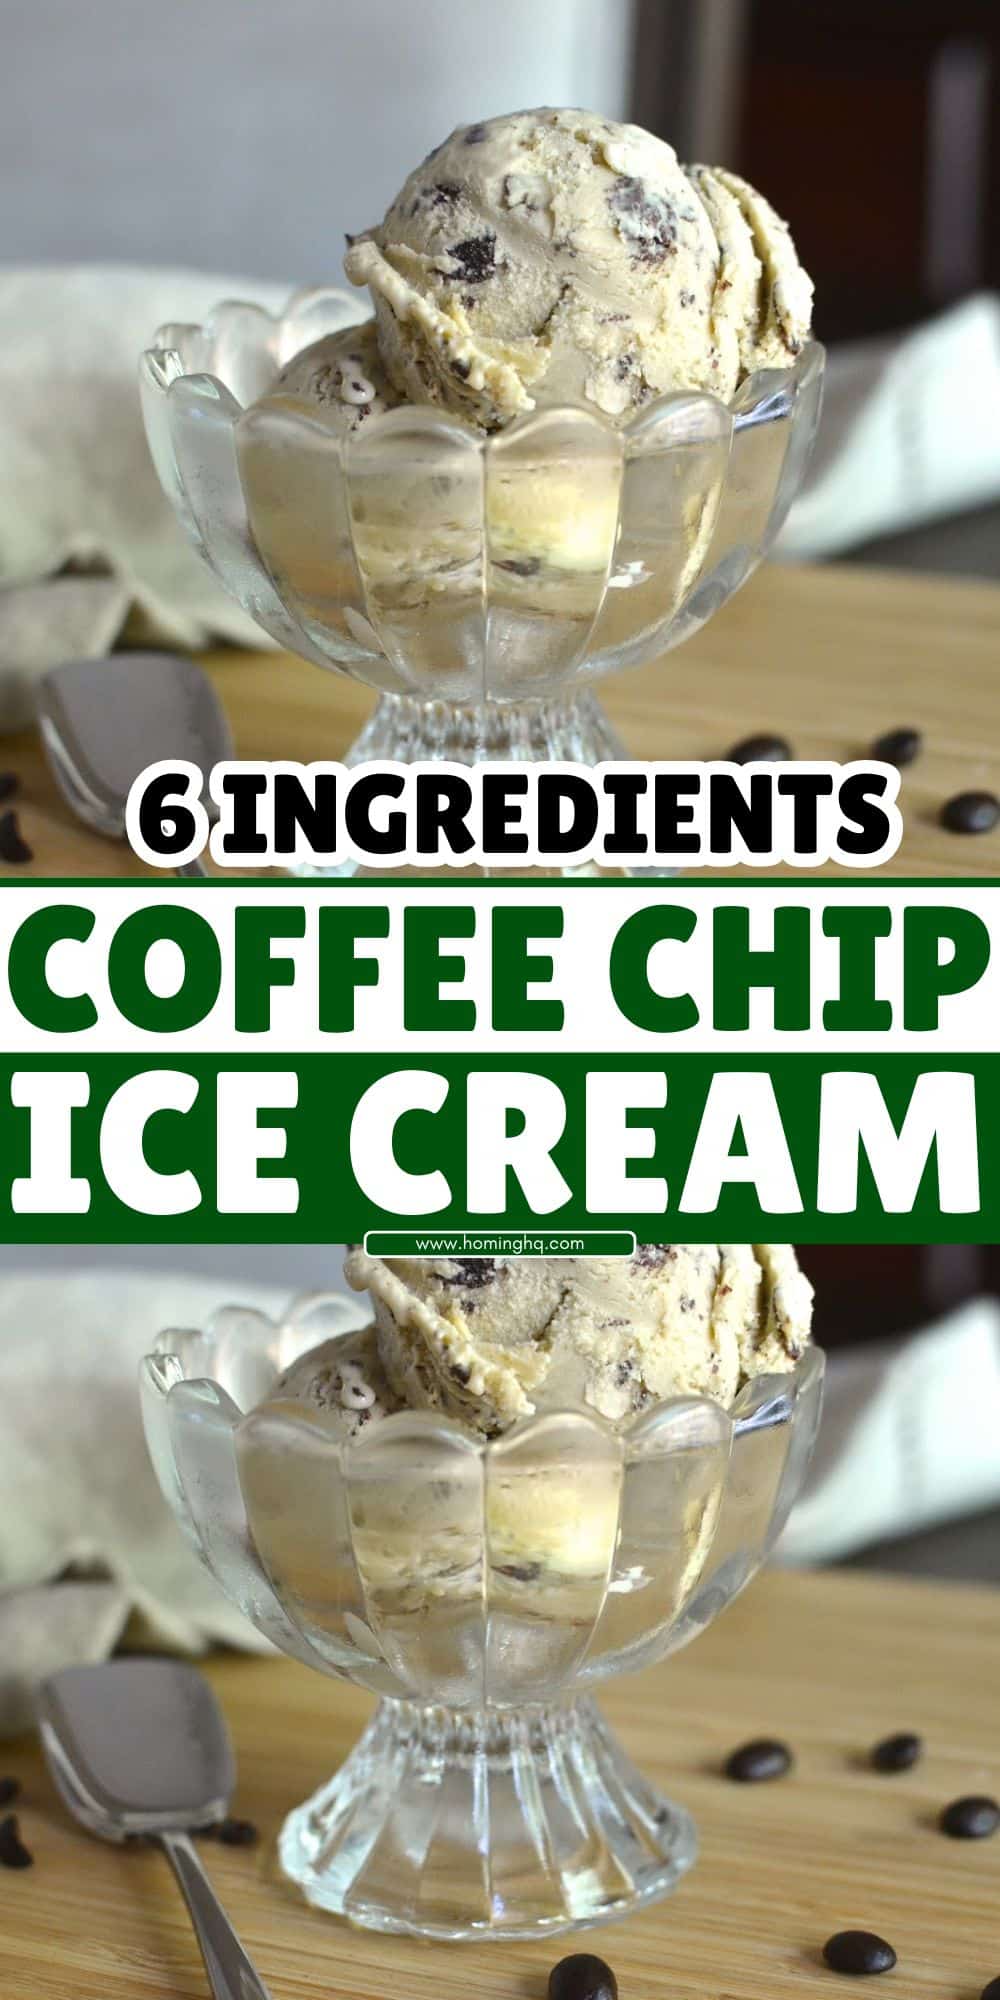
Coffee Chip Ice Cream is a delicious treat that blends the bold, rich flavor of coffee with the sweet crunch of chocolate chips.
This unique combination creates an indulgent dessert that’s perfect for coffee lovers and ice cream fans alike.
Whether you’re making it for a special occasion or simply satisfying a craving, this homemade ice cream is sure to impress.
By making it from scratch, you can customize the flavor to your liking, making it even more of a personal favorite.
Let’s dive into how you can create this flavorful dessert in the comfort of your own kitchen.
Ingredients You’ll Need
Before you start making your Coffee Chip Ice Cream, it’s important to gather all the necessary ingredients.
Here’s a list of what you’ll need for the perfect batch:
Essential Ingredients:
- Heavy cream: Adds richness and smoothness to your ice cream base.
- Whole milk: Complements the cream, balancing the richness while helping to create a creamy texture.
- Ground coffee or espresso powder: The key ingredient that infuses your ice cream with that deep, bold coffee flavor.
- Granulated sugar: Sweetens the ice cream and enhances the flavors.
- Egg yolks: Used to create a custard base that gives the ice cream its smooth and creamy consistency.
- Semi-sweet chocolate chips or coffee-flavored chocolate chunks: These provide the crunch and chocolatey goodness that pairs perfectly with coffee.
Optional Add-ins:
- Vanilla extract: For an extra layer of flavor that complements the coffee.
- Chocolate-covered coffee beans: A fun addition if you want to elevate the crunch factor.
- Coffee liqueur: If you want a grown-up version, a splash of coffee liqueur adds depth and richness.
How to Make Coffee Chip Ice Cream at Home
Making homemade Coffee Chip Ice Cream may seem like a challenge, but it’s surprisingly simple once you get the hang of it.
Follow these easy steps, and you’ll be enjoying creamy, coffee-flavored goodness in no time.
Step 1: Infusing the Coffee Flavor
Start by combining the heavy cream and whole milk in a medium saucepan.
Place the saucepan over medium heat and add your ground coffee or espresso powder.
Allow the mixture to heat until it begins to steam, but be careful not to let it come to a boil.
Stir occasionally to make sure the coffee is fully infused into the cream and milk mixture.
Once it’s steaming and aromatic, remove the saucepan from the heat.
If you used ground coffee, strain the mixture through a fine-mesh sieve to remove any coffee grounds, leaving a smooth, flavorful base.
Step 2: Making the Custard Base
In a separate bowl, whisk together the egg yolks and granulated sugar until the mixture becomes pale and thick.
This helps to create a smooth custard base that will give your ice cream its velvety texture.
Slowly pour the warm coffee-infused cream into the egg mixture, a little at a time, while whisking constantly.
This gradual process, known as tempering, prevents the eggs from scrambling.
Once all the cream is incorporated, pour the mixture back into the saucepan.
Step 3: Cooking the Custard
Place the saucepan back on the stove over low heat. Stir the custard constantly with a wooden spoon or heatproof spatula, making sure to scrape the sides and bottom of the pan.
Continue to cook the custard until it thickens slightly and coats the back of the spoon.
This usually takes about 5-7 minutes. Be careful not to overcook it or let it boil, as this can cause the eggs to curdle.
Once the custard is thickened, remove it from the heat.
Step 4: Chilling the Mixture
After cooking the custard, transfer it to a clean bowl and let it cool to room temperature.
Then, cover the bowl with plastic wrap and place it in the refrigerator.
Chill the custard for at least 4 hours or overnight for the best results.
The longer it chills, the smoother the texture will be.
Step 5: Churning the Ice Cream
Once the custard is completely chilled, it’s time to churn the ice cream.
If you have an ice cream maker, follow the manufacturer’s instructions.
Typically, you’ll pour the chilled custard into the machine, turn it on, and let it churn for about 20-25 minutes, until it reaches a soft-serve consistency.
If you don’t have an ice cream maker, you can still make this recipe! Pour the chilled custard into a shallow dish and place it in the freezer.
Every 30 minutes, use a fork to scrape and stir the mixture, breaking up any ice crystals, until the ice cream reaches a creamy, frozen consistency (this may take a few hours).
Step 6: Adding the Chocolate Chips
Once the ice cream has reached the desired texture, it’s time to add the chocolate chips.
Gently fold them into the ice cream using a spatula, ensuring that they’re evenly distributed.
If you like, you can also add any optional add-ins, like crushed chocolate-covered coffee beans or a drizzle of coffee liqueur.
Now that your ice cream is ready, it’s time to transfer it to an airtight container and freeze it for an additional 2-3 hours to firm up.
After that, your homemade Coffee Chip Ice Cream is ready to be enjoyed!
Tips for Perfect Coffee Chip Ice Cream
To make sure your Coffee Chip Ice Cream turns out perfectly, here are a few helpful tips that will elevate the texture and flavor:
Ensure a Smooth and Creamy Texture
Chilling the custard base thoroughly before churning is one of the most important steps.
If your mixture isn’t cold enough, the ice cream may end up with an icy texture.
Make sure to give it at least 4 hours (or overnight) to chill in the fridge for the best results.
This also helps the flavors meld together, giving your ice cream a more intense coffee flavor.
How to Avoid Ice Crystals
Ice crystals can form in homemade ice cream, especially when it’s stored in the freezer for long periods.
To minimize ice crystals, churn the ice cream for the full recommended time in your ice cream maker.
This ensures that the texture remains smooth and creamy.
Additionally, when you store your ice cream, make sure it’s in an airtight container to prevent ice from forming on top.
Customize Your Flavor
One of the best things about making ice cream at home is that you can personalize it.
Adjust the coffee strength to your liking by adding more or less coffee grounds, depending on how strong you want the flavor to be.
You can also experiment with different types of chocolate—dark chocolate, milk chocolate, or even white chocolate—for a fun twist.
Add-ins like crushed coffee-flavored chocolate or even a sprinkle of cinnamon can make your ice cream even more unique.
Storing and Freezing Your Coffee Chip Ice Cream
After you’ve made your delicious batch of Coffee Chip Ice Cream, proper storage is key to keeping it fresh and maintaining its creamy texture.
Best Practices for Freezing
To store your ice cream, transfer it to an airtight container, making sure to press a piece of plastic wrap or parchment paper directly on the surface of the ice cream before sealing the container.
This prevents any ice crystals from forming and helps keep the texture smooth.
Store the container in the coldest part of your freezer, which is usually the back, to ensure it stays frozen and firm.
How to Maintain Freshness
Homemade ice cream doesn’t have the preservatives that store-bought versions do, so it’s best to consume it within a few weeks for optimal flavor and texture.
If you plan on storing it longer, you can keep it frozen for up to 1-2 months, but be aware that the texture may start to change over time.
To serve your ice cream, let it sit at room temperature for a few minutes to soften slightly before scooping.
This makes it easier to scoop and enhances the creamy experience.
Conclusion
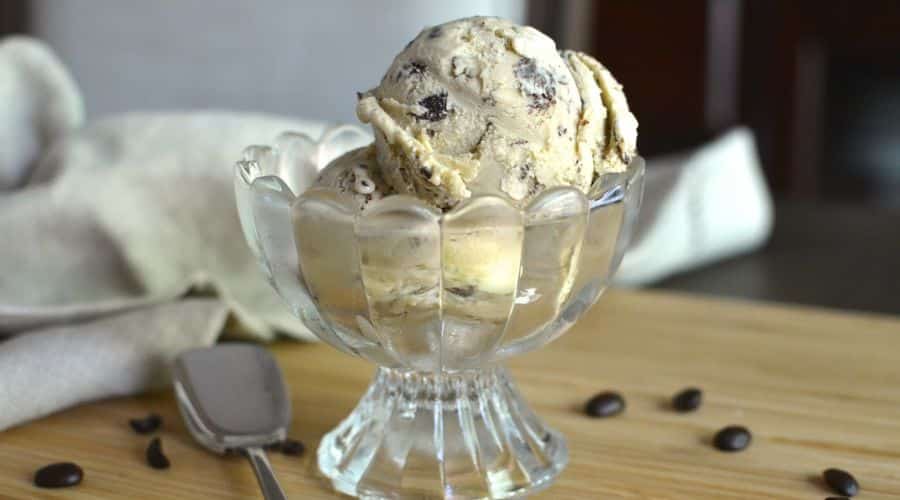
Coffee Chip Ice Cream is a delightful dessert that brings together the rich, bold flavors of coffee and the sweet crunch of chocolate in every bite.
Whether you’re an avid coffee drinker or just someone who loves indulgent treats, this homemade ice cream is sure to hit the spot.
The process may take some time, but the result is well worth the effort—a smooth, creamy ice cream that’s perfect for any occasion.
Experiment with different variations, add your own twist, and enjoy the process of creating this deliciously personalized treat.
Once you’ve made your batch, the hardest part is resisting the urge to finish it all in one sitting.
But don’t worry, even if you do, it’s so easy to make again!
Frequently Asked Questions
1. Can I make Coffee Chip Ice Cream without an ice cream maker?
Absolutely! If you don’t have an ice cream maker, you can still make this delicious treat.
Pour the chilled custard into a shallow dish and place it in the freezer.
Every 30 minutes, stir the mixture with a fork to break up any ice crystals.
Repeat this process until the ice cream reaches a creamy, firm consistency (this may take several hours).
2. How can I make it dairy-free or vegan?
To make a dairy-free or vegan version of Coffee Chip Ice Cream, simply substitute the heavy cream and whole milk with plant-based alternatives such as coconut milk, almond milk, or oat milk.
For a creamy texture, full-fat coconut milk works especially well.
Additionally, use an egg replacer or skip the eggs altogether and opt for a store-bought vegan custard base.
3. What can I use if I don’t have coffee liqueur?
If you don’t have coffee liqueur on hand but still want to add a little depth to your ice cream, you can substitute it with a small amount of brewed coffee or espresso.
For an adult twist, you can also use a splash of Kahlúa or Bailey’s Irish Cream if you have it available.
4. Can I add more coffee flavor without making it too bitter?
To enhance the coffee flavor without making it too bitter, try using high-quality espresso powder or coffee beans.
You can also balance the bitterness with a bit of extra sugar or vanilla extract.
Taste the custard base before freezing, and adjust the sweetness to your liking.
5. How long will Coffee Chip Ice Cream keep in the freezer?
Homemade ice cream is best enjoyed within a few weeks for optimal flavor and texture.
However, you can store it for up to 1-2 months in the freezer.
Make sure to keep it in an airtight container and cover the surface with plastic wrap to prevent ice crystals from forming.
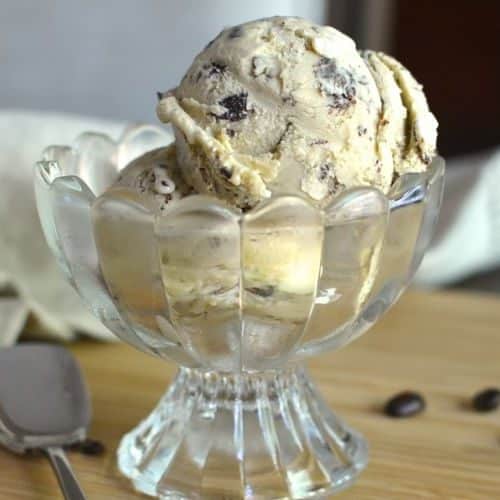
Coffee Chip Ice Cream
Equipment
- Ice Cream Maker (if available)
- Medium saucepan (for cooking the custard)
- Mixing Bowls
- whisk
- Fine-mesh sieve (for straining coffee)
- Wooden spoon or spatula (for stirring)
- Airtight container (for storing ice cream)
Ingredients
- 2 cups 480 ml Heavy cream
- 1 cup 240 ml Whole milk
- 1/4 cup 25 g Ground coffee or espresso powder
- 3/4 cup 150 g Granulated sugar
- 4 large Egg yolks
- 1/2 cup 90 g Semi-sweet chocolate chips (or coffee-flavored chocolate chunks)
- Optional 1 tsp Vanilla extract
- Optional 2 tbsp Coffee liqueur for an adult twist
Instructions
Infuse the Coffee Flavor
- In a medium saucepan, combine the heavy cream and whole milk. Heat the mixture over medium heat, then add the ground coffee or espresso powder. Stir occasionally until the mixture is steaming but not boiling. Remove from heat and strain to remove the coffee grounds.
Make the Custard Base
- In a separate bowl, whisk the egg yolks and sugar until pale and thick. Slowly pour the hot cream mixture into the egg mixture, whisking constantly to prevent the eggs from scrambling. Return the mixture to the saucepan.
Cook the Custard
- Place the saucepan over low heat, stirring constantly with a wooden spoon. Cook until the custard thickens and coats the back of the spoon (about 5–7 minutes). Be careful not to overcook it.
Chill the Custard
- Pour the custard into a clean bowl and let it cool to room temperature. Once cooled, cover and refrigerate for at least 4 hours, or overnight for best results.
Churn the Ice Cream
- Pour the chilled custard into an ice cream maker and churn according to the manufacturer's instructions (about 20–25 minutes). If you don’t have an ice cream maker, freeze the custard in a shallow dish and scrape with a fork every 30 minutes until smooth and firm.
Add Chocolate Chips
- Once the ice cream reaches a soft-serve consistency, fold in the chocolate chips (and any optional add-ins like vanilla or coffee liqueur).
Freeze to Firm
- Transfer the ice cream to an airtight container, cover with plastic wrap, and freeze for an additional 2–3 hours until firm.
Notes
- Coffee Strength: Adjust the amount of coffee depending on how strong you want the flavor. You can also use decaf coffee for a milder taste.
- No Ice Cream Maker? If you don’t have an ice cream maker, you can still make this by periodically stirring the mixture as it freezes, breaking up ice crystals for a smoother texture.
- Sweetness: Taste the custard base before freezing. If it’s not sweet enough for your liking, add a little more sugar.
- Storage: Store the ice cream in an airtight container for up to 1-2 months. Make sure to cover the surface with plastic wrap to prevent ice crystals.
