All products are selected by our editorial team for quality. If you buy through our links, we may earn a small commission at no extra cost to you.
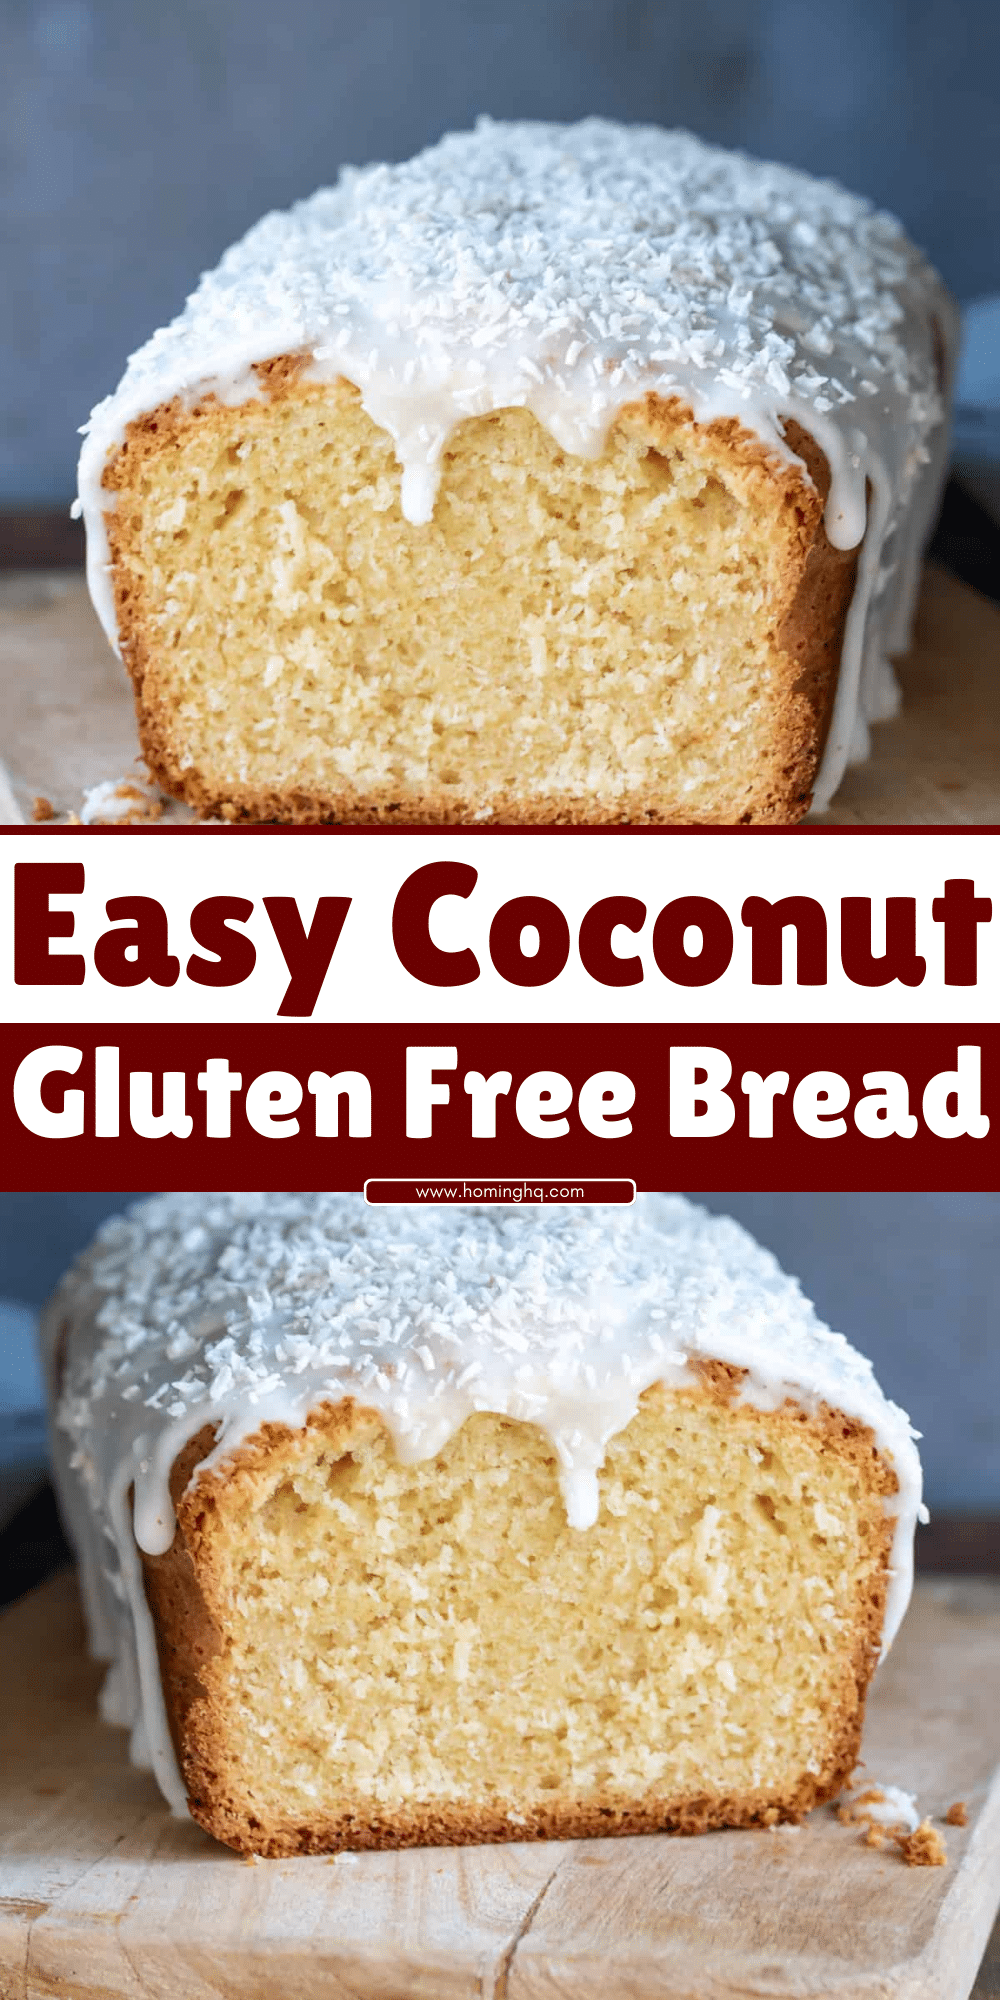
Coconut Gluten-Free Bread is a delicious and nutritious alternative to traditional wheat-based bread.
This gluten-free recipe is not only perfect for those with dietary restrictions but also offers a unique flavor and texture thanks to coconut flour.
Whether you’re following a gluten-free diet, low-carb, or paleo lifestyle, this bread will satisfy your cravings for a fresh loaf without compromising on taste.
The natural sweetness of coconut and the light, airy texture make it perfect for breakfast, snacks, or sandwiches.
Get ready to enjoy a homemade loaf that’s both wholesome and satisfying!
Benefits of Coconut Flour in Gluten-Free Baking
Coconut flour has become a popular ingredient in the world of gluten-free baking, and for good reason.
When it comes to baking without gluten, it’s important to choose flours that mimic the texture and structure of traditional wheat flour.
Coconut flour does this wonderfully and offers several additional benefits.
High Fiber Content and Low Glycemic Index
Coconut flour is naturally high in fiber, which makes it an excellent choice for promoting healthy digestion.
Its low glycemic index also helps keep blood sugar levels stable, making it a great option for those watching their carbohydrate intake or those following a diabetic-friendly diet.
Naturally Gluten-Free and Paleo-Friendly
One of the key advantages of coconut flour is that it is naturally gluten-free.
This makes it an ideal option for individuals with gluten sensitivity or celiac disease.
Additionally, coconut flour is paleo-friendly, meaning it fits perfectly into a diet that excludes grains, legumes, and processed foods.
Absorption Properties and Texture Impact
Coconut flour is highly absorbent, which means it requires more liquid than other flours in baking recipes.
While this may seem challenging at first, it helps create a moist and tender crumb in gluten-free bread.
The absorbency of coconut flour gives this bread its light and airy texture without sacrificing flavor or moisture.
Equipment You’ll Need
Before you dive into making your coconut gluten-free bread, it’s important to have the right tools to ensure everything goes smoothly.
Essential Tools for This Recipe
- Mixing Bowls: You’ll need at least two—one for the dry ingredients and one for the wet ingredients.
- Whisk: A whisk helps thoroughly mix the wet ingredients, ensuring they’re smooth and evenly combined.
- Loaf Pan: A standard 9×5-inch loaf pan works best for this recipe, providing the right size and shape for the bread.
- Measuring Cups and Spoons: Accurate measurements are crucial, especially when working with gluten-free flours like coconut flour.
- Parchment Paper or Cooking Spray: To ensure your bread doesn’t stick to the pan, line it with parchment paper or lightly grease it with cooking spray.
With these essential tools at hand, you’ll be ready to create your perfect coconut gluten-free bread.
Step-by-Step Instructions
Making Coconut Gluten-Free Bread is easy and straightforward. Just follow these clear steps to create a light, fluffy, and delicious loaf.
Preparation: Getting Everything Ready
Begin by preheating your oven to 350°F (175°C). Line your loaf pan with parchment paper or lightly grease it with coconut oil or cooking spray.
Set it aside while you prepare the batter.
Mixing the Ingredients
In one mixing bowl, combine your dry ingredients: coconut flour, baking powder, and salt. Use a whisk to ensure everything is well mixed.
In another bowl, whisk together the wet ingredients: eggs, coconut oil, honey (or sweetener), and vanilla extract.
Once the wet ingredients are well combined, gradually add them to the dry ingredients.
Use a spatula or spoon to gently fold the mixture together. Since coconut flour is highly absorbent, you might notice the batter thickening.
This is completely normal, and you can add a bit more liquid if needed to achieve the desired consistency.
Baking Process
Pour the batter into your prepared loaf pan, spreading it out evenly.
Use the back of a spoon to smooth the top of the batter for a neat finish.
Place the loaf pan in the preheated oven and bake for 35–40 minutes, or until the top is golden brown, and a toothpick inserted into the center comes out clean.
Cooling and Serving
Once baked, remove the bread from the oven and let it cool in the pan for 10 minutes.
Afterward, transfer the bread to a cooling rack to cool completely.
Once fully cooled, slice and serve. This coconut gluten-free bread can be enjoyed as is, or with your favorite spreads, toppings, or fillings.
Tips for Perfect Coconut Gluten-Free Bread
Achieving the perfect coconut gluten-free bread can be tricky, but with a few helpful tips, you’ll be able to make the best loaf every time.
Avoiding Dryness
Coconut flour is highly absorbent, which can lead to a dry loaf if not enough liquid is used.
To keep your bread moist, make sure you add enough eggs, coconut oil, or even a little extra water if the batter seems too thick.
If your bread turns out dry, next time, increase the amount of wet ingredients slightly to ensure a tender crumb.
Use Room Temperature Ingredients
To help the batter mix evenly, it’s best to use room temperature eggs and coconut oil.
Cold ingredients can cause the batter to seize up, affecting the texture and rise of the bread.
Allowing the ingredients to come to room temperature ensures a smoother batter and more consistent results.
Let the Bread Cool Completely
Coconut gluten-free bread can be a little delicate right after baking,
so allow it to cool completely on a wire rack before slicing.
This prevents the bread from becoming too crumbly or falling apart when you cut it. It also helps the flavors to settle and develop.
Check for Doneness Early
Because the baking time can vary depending on your oven, it’s a good idea to start checking for doneness a few minutes before the recommended time is up.
Insert a toothpick into the center of the bread—if it comes out clean, the bread is ready.
If there’s batter sticking to the toothpick, give it a few more minutes in the oven.
Common Mistakes to Avoid
Baking coconut gluten-free bread can be a little different from traditional wheat-based bread.
Here are some common mistakes to avoid so you can achieve the best results.
Overmixing the Batter
When it comes to mixing the ingredients, less is more. Overmixing the batter can result in a dense and heavy loaf.
Stir the mixture gently until the wet and dry ingredients are just combined.
The batter should be thick, but you want to avoid overworking it, which can lead to a tough texture.
Incorrect Substitutions
Not all gluten-free flours are interchangeable.
If you try substituting coconut flour with almond flour or another gluten-free flour, the texture and consistency of the bread will change.
Coconut flour requires more liquid than most other gluten-free flours, so substitutions can affect the moisture and rise of the loaf.
Stick to the recipe as written for the best results.
Skipping the Leavening Agent
Baking powder is a key ingredient in gluten-free bread to ensure proper rise and lightness.
Skipping it or using the wrong amount can lead to a dense loaf.
Make sure to measure the baking powder correctly and add it to the dry ingredients to ensure the bread rises properly in the oven.
Not Measuring Ingredients Accurately
Since coconut flour behaves differently than other flours, precise measurements are crucial for this recipe.
Too much coconut flour can make the bread overly dense, while too little can result in a soggy loaf.
Always measure your ingredients carefully, especially when working with gluten-free ingredients like coconut flour.
Conclusion
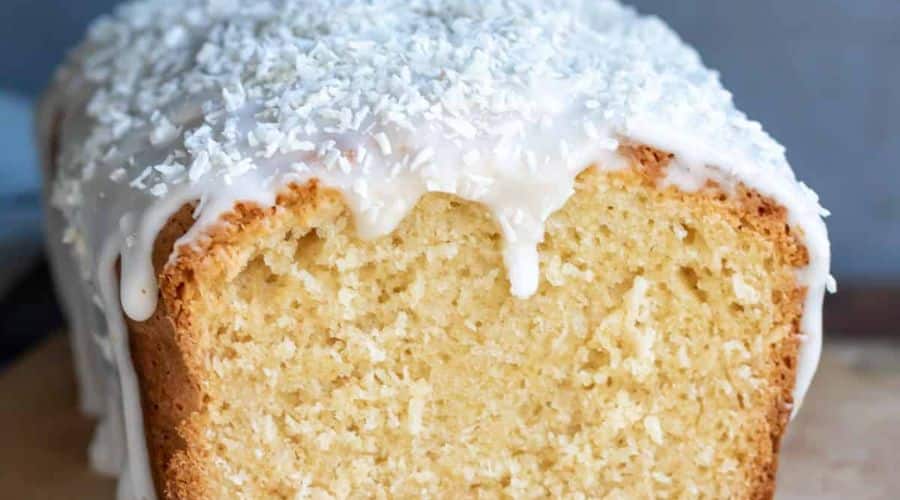
Coconut Gluten-Free Bread is a flavorful and nutritious option for anyone looking to enjoy a gluten-free loaf without sacrificing taste or texture.
Thanks to the unique properties of coconut flour, this bread offers a delightful sweetness and a light, airy crumb that’s perfect for breakfast, sandwiches, or as a healthy snack.
With the right ingredients, a bit of care, and some simple tips, you can easily make this bread at home and enjoy the benefits of a low-carb, gluten-free diet.
Don’t be afraid to experiment with different flavor variations, and be sure to store any leftovers properly for a longer shelf life.
Bake with confidence, and savor every bite of your homemade coconut gluten-free bread!
Frequently Asked Questions (FAQ)
1. Can I Substitute Coconut Flour for Other Flours?
Coconut flour behaves very differently from other gluten-free flours due to its absorbent nature.
You cannot directly substitute coconut flour with almond flour or rice flour in this recipe.
Coconut flour requires more liquid to maintain the correct texture.
If you’re looking for a similar gluten-free alternative, you may need to adjust the liquid and ingredient ratios significantly when using other flours.
2. Can I Make This Recipe Dairy-Free?
Yes, you can easily make this coconut gluten-free bread dairy-free by swapping out the coconut oil for a dairy-free butter substitute or using additional olive oil or avocado oil.
Be sure to double-check the other ingredients, such as the sweetener, to ensure they are also dairy-free.
3. How Can I Make This Bread Sweeter or Less Sweet?
If you prefer a sweeter loaf, you can increase the amount of honey or maple syrup in the recipe.
On the other hand, if you prefer less sweetness, simply reduce the sweetener to suit your taste.
Just remember that adjusting the amount of liquid might also affect the texture slightly, so make adjustments slowly.
4. How Do I Store Leftover Coconut Gluten-Free Bread?
To store leftover bread, allow it to cool completely and then wrap it tightly in plastic wrap or place it in an airtight container.
will stay fresh at room temperature for up to 2–3 days.
For longer storage, you can freeze slices of bread by wrapping them individually in plastic wrap and placing them in a freezer bag.
When ready to eat, simply toast or warm the slices.
5. Can I Add Other Ingredients Like Nuts or Dried Fruit?
Absolutely!
You can customize this coconut gluten-free bread by adding in your favorite mix-ins.
Chopped nuts like almonds, walnuts, or pecans can add crunch and flavor, while dried fruits like cranberries or raisins offer a touch of sweetness.
Just make sure not to overfill the batter with mix-ins, as it may affect the rise of the bread.
Fold them gently into the batter before baking.
Coconut Gluten-Free Bread
Equipment
- 1 Mixing bowl
- 1 whisk
- 1 9×5-inch loaf pan
- 1 Measuring Cups & Spoons
- 1 Spatula or Spoon
- 1 Parchment Paper or Cooking Spray
Ingredients
- 1 ½ cups Coconut Flour
- 1 ½ teaspoons Baking Powder
- ¼ teaspoon Salt
- 4 large Eggs
- ½ cup Coconut Oil melted
- 2 tablespoons Honey or preferred sweetener
- 1 teaspoon Vanilla Extract
- 1/3 cup Water or as needed to adjust consistency
Instructions
Preheat the Oven
- Preheat your oven to 350°F (175°C). Line a 9×5-inch loaf pan with parchment paper or grease it lightly with coconut oil or cooking spray.
Mix the Dry Ingredients
- In a large mixing bowl, combine the coconut flour, baking powder, and salt. Use a whisk to thoroughly mix the dry ingredients.
Combine the Wet Ingredients
- In another bowl, whisk together the eggs, melted coconut oil, honey, and vanilla extract until smooth.
Combine Wet and Dry Ingredients
- Slowly pour the wet ingredients into the dry ingredients and mix gently with a spatula until combined. The batter will be thick—this is normal due to the absorbent nature of coconut flour.
Adjust Consistency
- Add 1/3 cup of water to the batter and stir. If needed, add more water (a tablespoon at a time) to reach a thicker but scoopable consistency.
Pour and Bake
- Pour the batter into the prepared loaf pan and smooth the top with a spoon. Bake in the preheated oven for 35–40 minutes, or until the top is golden brown and a toothpick inserted in the center comes out clean.
Cool and Serve
- Let the bread cool in the pan for 10 minutes before transferring it to a cooling rack. Allow it to cool completely before slicing and serving.
Notes
- Adjusting Sweetness: You can modify the level of sweetness by increasing or decreasing the amount of honey or sweetener used.
- Storage: Store any leftover bread in an airtight container at room temperature for up to 2–3 days. For longer storage, freeze slices individually wrapped in plastic wrap.
- Flavor Variations: Feel free to add nuts, seeds, or dried fruits like cranberries or raisins for extra texture and flavor.
