Every product is independently reviewed and selected by our editors. If you buy something through our links, we may earn an affiliate commission at no extra cost to you.
Baking bread at home is one of life’s simplest pleasures, but when you add the warm aroma of cinnamon and the sweet chewiness of raisins, you elevate it to something truly special.
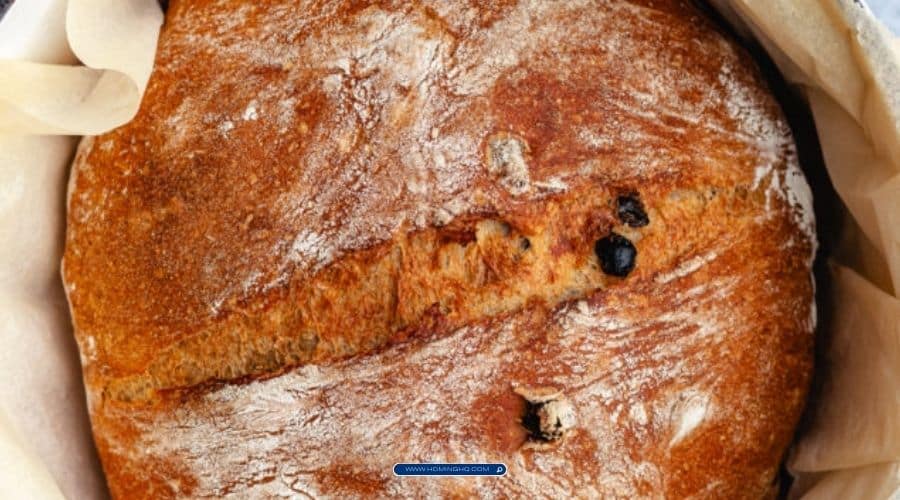
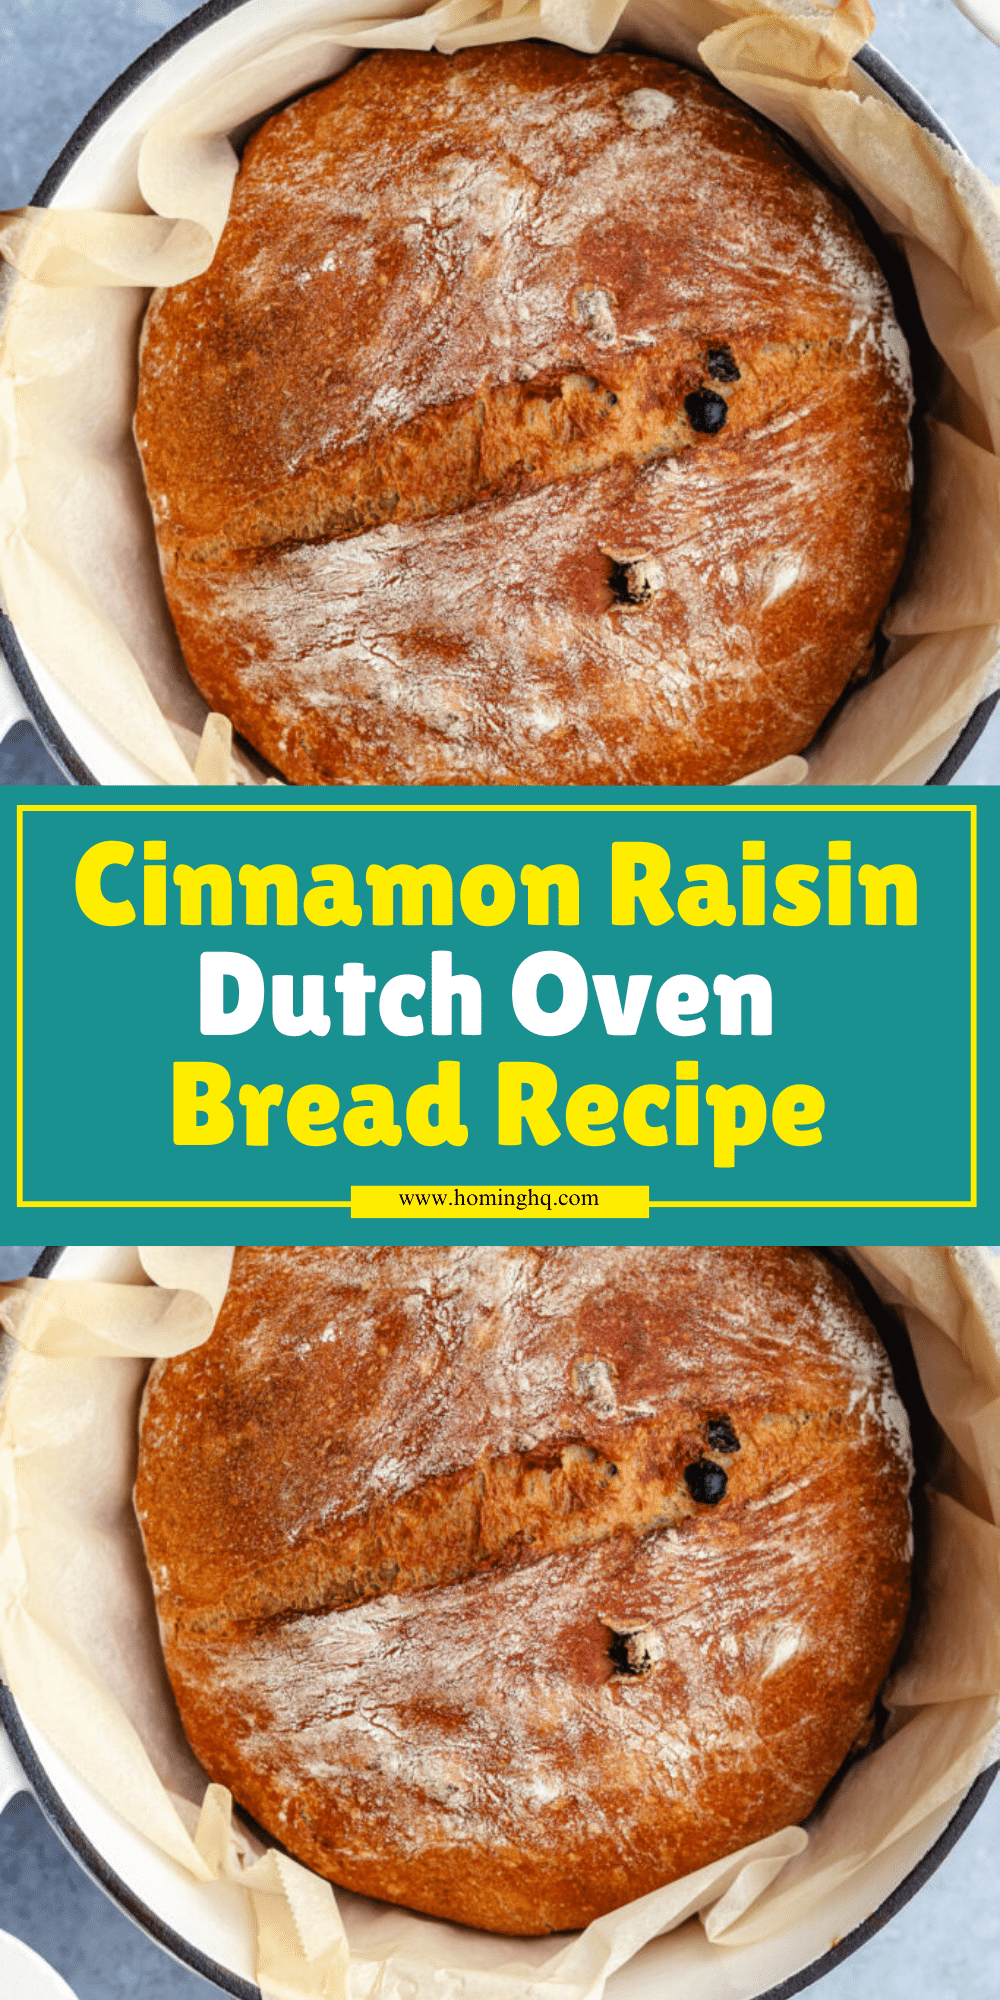
Cinnamon Raisin Dutch Oven Bread is the perfect balance of soft and fluffy interior with a perfectly crispy crust—thanks to the magic of baking in a Dutch oven.
Whether you’re looking for a cozy breakfast or a decadent treat to share with loved ones, this recipe will satisfy your cravings and leave your kitchen smelling amazing.
This bread isn’t just tasty; it’s also a fun and rewarding project for any home baker.
Using a Dutch oven mimics the effects of a brick oven, trapping heat and steam to create an extraordinary texture.
Plus, the simplicity of the ingredients makes this a go-to recipe even for novice bakers.
Get ready to impress your family and friends with a loaf that’s as beautiful as it is delicious!
Why You’ll Love Cinnamon Raisin Dutch Oven Bread
If you’re wondering why this bread stands out from the rest, it’s all about the combination of flavors and textures. Here are a few reasons why you’ll love baking—and eating—this Cinnamon Raisin Dutch Oven Bread:
A Soft, Chewy Center with a Crispy Crust
Baking this bread in a Dutch oven allows the dough to steam while baking, creating a soft and airy crumb.
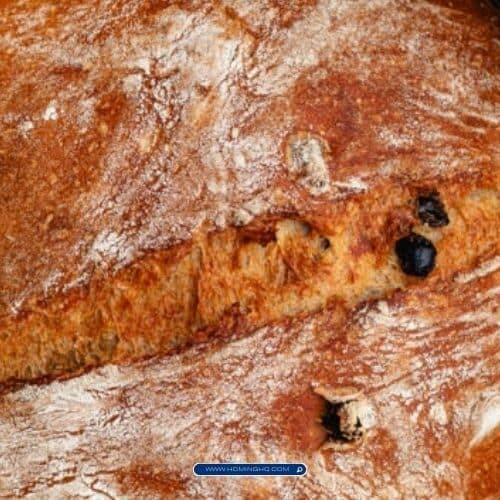
The exterior, however, is a perfect golden-brown with a satisfying crunch.
You’ll get the best of both worlds in every bite.
Sweet and Spicy Flavor
Cinnamon and raisins come together in this loaf to create a warm, comforting flavor profile.
The cinnamon’s subtle spiciness, paired with the natural sweetness of the raisins, makes this bread irresistibly good.
It’s perfect for those who enjoy a little sweetness in their baked goods without going overboard.
Easy to Make, Even for Beginners
Even if you’re not an experienced baker, you’ll find this recipe straightforward.
The dough doesn’t require any complex techniques—just mix, rise, shape, and bake.
With a little patience, you’ll be rewarded with a beautiful loaf of bread that tastes like it came from a bakery.
Versatile and Perfect for Any Occasion
Whether you serve it for breakfast with a pat of butter, toast it for a delicious snack, or pair it with soups or stews, this bread fits seamlessly into any meal.
It’s versatile enough to enjoy on its own or with your favorite spreads.
Ingredients You’ll Need
Before you start baking your Cinnamon Raisin Dutch Oven Bread, make sure you have all the necessary ingredients.
Fortunately, most of them are pantry staples that you may already have at home. Here’s what you’ll need:
Essential Ingredients for the Bread Dough
- Bread Flour: This type of flour is ideal for making hearty bread, as it has a higher protein content, helping the dough develop the right structure.
- Active Dry Yeast: This is the key ingredient for making the dough rise and become light and fluffy.
- Salt: A crucial ingredient that enhances the flavors in the bread and balances out the sweetness of the raisins.
- Water: Warm water helps activate the yeast, allowing it to properly rise.
Flavorful Add-ins
- Ground Cinnamon: The star of this recipe! Ground cinnamon adds the rich, warm spice that makes this bread so special.
- Raisins: Sweet, chewy raisins add bursts of sweetness and texture throughout the loaf.
- Honey (Optional): A touch of honey can help add extra sweetness and create a softer crumb.
- Butter (Optional for brushing): To finish off the bread, a light brush of melted butter gives the crust a nice shine and a little added richness.
Tools Required for Cinnamon Raisin Dutch Oven Bread
Having the right tools makes bread baking easier and ensures a better result. Here’s a list of the essential tools you’ll need for this recipe:
Dutch Oven
A Dutch oven is the most important tool for baking this bread.
The heavy cast-iron construction allows for even heat distribution, creating the perfect environment for baking. Its lid traps steam, which helps the dough rise beautifully and creates that perfect crust.
Mixing Bowls
You’ll need a couple of mixing bowls—one for combining your dry ingredients and another for mixing the wet ingredients.
It’s essential to use large enough bowls to accommodate the rising dough.
Kitchen Towel or Plastic Wrap
You’ll need something to cover the dough as it rises.
A clean kitchen towel or plastic wrap will help keep the dough warm and prevent it from drying out.
Baking Stone (Optional)
While not essential, using a baking stone can help with creating an even, crispier crust. If you have one, it’s a great tool to use alongside your Dutch oven.
Measuring Cups and Spoons
Accurate measurements are crucial for getting the right balance of ingredients, so having a good set of measuring cups and spoons is a must.
With these ingredients and tools, you’re well on your way to baking a delicious loaf of Cinnamon Raisin Dutch Oven Bread.
Stay tuned for the step-by-step instructions in the next section to create this bakery-worthy bread!
You have not enough Humanizer words left. Upgrade your Surfer plan.
Step-by-Step Instructions
Now that you have your ingredients and tools ready, it’s time to dive into the step-by-step process of creating your perfect Cinnamon Raisin Dutch Oven Bread.
Follow these simple instructions, and you’ll be enjoying a delicious loaf in no time!
1. Prepare the Dough
Start by activating the yeast.
In a small bowl, combine the warm water (about 110°F) with the active dry yeast and a small amount of honey (optional).
Stir it together and let it sit for about 5 minutes, or until it becomes frothy and bubbly. This step ensures that the yeast is active and ready to help your dough rise.
Next, in a large mixing bowl, combine the bread flour, salt, and ground cinnamon.
Mix these dry ingredients together so that the cinnamon is evenly distributed throughout.
Gradually add the yeast mixture to the dry ingredients, stirring with a wooden spoon or spatula. Once the mixture starts coming together, use your hands or a dough hook to knead the dough. Knead for about 8-10 minutes, until the dough is smooth, elastic, and slightly tacky but not sticky.
2. Let the Dough Rise
Place the dough in a lightly oiled bowl, turning it to coat the dough lightly with oil.
Cover the bowl with a clean kitchen towel or plastic wrap and let it rest in a warm, draft-free place for 1 to 2 hours. During this time, the dough should double in size.
After the dough has risen, gently punch it down to release any air bubbles, then fold in the raisins.
Knead the dough for another minute or two to distribute the raisins evenly throughout the dough.
3. Shape the Dough
Once the dough is ready, shape it into a round loaf by gently folding the edges of the dough inward and pinching them together.
Turn the dough over so the seam is on the bottom.
Place the shaped dough on a piece of parchment paper, which will make it easier to transfer to the Dutch oven.
4. Second Rise in the Dutch Oven
Place your Dutch oven with its lid on into the oven while it preheats to 450°F (230°C).
This preheating ensures that your Dutch oven is very hot when you bake the bread.
Once the oven is heated, carefully remove the hot Dutch oven and place the dough (with parchment paper) inside it.
Cover the pot with the lid and let the dough rise in the hot pot for about 30 minutes, or until it has puffed up slightly.
5. Bake the Bread
After the second rise, place the Dutch oven in the oven and bake the bread with the lid on for 20-25 minutes.
This allows the bread to steam, helping the loaf to rise and develop a soft texture inside.
After this time, remove the lid of the Dutch oven and continue baking the bread for another 15-20 minutes, or until the crust is golden brown and crisp.
If you tap the bottom of the loaf, it should sound hollow.
6. Cool and Enjoy
Once the bread is fully baked, remove it from the Dutch oven and place it on a wire rack to cool.
Let it cool for at least 30 minutes before slicing to allow the texture to set.
The bread is now ready to be enjoyed, warm and fresh from the oven!
How to Store Cinnamon Raisin Dutch Oven Bread
Proper storage will ensure that your homemade Cinnamon Raisin Dutch Oven Bread stays fresh and delicious for several days.
Here are the best ways to store your loaf:
Room Temperature Storage
For short-term storage, you can keep your bread at room temperature.
Simply wrap the loaf in a clean kitchen towel or place it in a paper bag to prevent it from becoming too soft or soggy.
Store it in a cool, dry place away from direct sunlight. The bread will stay fresh for about 3 days when stored this way.
Freezing Cinnamon Raisin Bread
If you want to extend the shelf life of your bread, freezing it is a great option.
After the bread has cooled completely, slice it into pieces if desired.
Wrap the slices tightly in plastic wrap or aluminum foil, and then place them in a freezer-safe bag or container.
This will keep the bread fresh for up to 3 months.
To enjoy it later, simply thaw the bread at room temperature or toast it straight from the freezer for a warm treat.
Reheating Leftovers
If you have leftover bread, you can easily refresh it by reheating it.
Simply slice the bread and toast it lightly in a toaster or in the oven at 350°F (175°C) for about 5-10 minutes until the edges are golden and crispy.
This will bring back the bread’s fresh-baked texture.
By following these storage tips, you can enjoy your Cinnamon Raisin Dutch Oven Bread for days to come—whether you’re savoring it fresh or reheated for a quick snack.
Frequently Asked Questions (FAQs)
1. Can I use regular all-purpose flour instead of bread flour?
While you can substitute all-purpose flour for bread flour, the texture may not be as chewy and the bread may not rise as well.
Bread flour has a higher protein content, which helps create the structure needed for a good rise and a chewy texture.
If you use all-purpose flour, your bread will still be delicious, but it might be slightly softer.
2. Can I substitute raisins with other dried fruits?
Yes, you can easily replace raisins with other dried fruits such as currants, cranberries, or dried apricots.
Keep in mind that different fruits will bring slightly different flavors and textures, so feel free to experiment!
3. How do I know when my dough has risen enough?
The dough is ready for the next step when it has doubled in size. To check, gently press your finger into the dough.
If the indentation remains and doesn’t spring back, your dough has risen sufficiently.
4. Can I make this bread without a Dutch oven?
While a Dutch oven helps to create a perfect crust by trapping steam, you can still bake this bread in a regular baking pan or on a baking sheet.
If you don’t have a Dutch oven, you can try covering your bread with a large bowl or using a pizza stone for a similar effect.
5. How do I prevent my bread from becoming too dense?
To avoid dense bread, make sure your yeast is active and not expired, and be patient with the rising times.
Properly kneading the dough and allowing it to rise in a warm, draft-free place will give you the light and airy loaf you’re aiming for.
Also, avoid overworking the dough when shaping it.
Conclusion
Cinnamon Raisin Dutch Oven Bread is a delightful, comforting recipe that combines rich cinnamon flavor with sweet, chewy raisins, all enclosed in a perfectly golden and crispy crust.
Whether you’re baking it for breakfast, a cozy snack, or a special treat, this bread brings warmth and joy to any occasion.
The simple process of making this bread—mix, rise, bake—is incredibly rewarding, and the Dutch oven method ensures that you get a bakery-quality loaf every time.
With just a few ingredients and a little patience, you’ll have a homemade bread that will make your kitchen smell irresistible.
So go ahead, give this recipe a try.
Whether you’re a seasoned baker or a beginner, Cinnamon Raisin Dutch Oven Bread is a fun and satisfying project that you’ll be proud to share.
Happy baking!
Cinnamon Raisin Dutch Oven Bread
Equipment
- 1 Dutch oven (4-5 quart size)
- 1 Mixing Bowl (Large)
- 1 Small bowl (for yeast activation)
- 1 Wooden spoon or spatula
- 1 Clean kitchen towel or plastic wrap (for covering dough)
- 1 Parchment paper (optional)
- 1 Baking thermometer (optional)
Ingredients
- 3 cups Bread flour
- 1 teaspoon Active dry yeast
- 1 teaspoon Salt
- 1 tablespoon Ground cinnamon
- 1 ¼ cups Warm water
- 2 tablespoons Honey optional
- 1 cup Raisins
- 1 tablespoon Butter for brushing, optional
Instructions
- Activate the Yeast: In a small bowl, mix the warm water (about 110°F) with the active dry yeast and honey. Let it sit for 5 minutes until the mixture becomes frothy.
- Mix Dry Ingredients: In a large mixing bowl, combine the bread flour, salt, and cinnamon. Stir well to ensure the cinnamon is evenly distributed.
- Combine Wet and Dry Ingredients: Slowly pour the yeast mixture into the dry ingredients, mixing with a wooden spoon or spatula until a dough begins to form.
- Knead the Dough: Turn the dough out onto a lightly floured surface and knead for 8-10 minutes, or until the dough becomes smooth and elastic.
- First Rise: Place the dough in a lightly oiled bowl and cover it with a clean kitchen towel or plastic wrap. Let the dough rise in a warm place for 1 to 2 hours, until it doubles in size.
- Add Raisins: Punch the dough down to release the air, then fold in the raisins. Knead for another minute to evenly distribute them throughout the dough.
- Shape the Dough: Shape the dough into a round loaf by folding the edges inward and pinching them together, creating a seam on the bottom.
- Second Rise: Place the dough on a piece of parchment paper and allow it to rise for 30 minutes while the Dutch oven preheats to 450°F (230°C).
- Bake the Bread: Once the Dutch oven is preheated, carefully remove it from the oven and place the dough (with parchment paper) inside. Cover the Dutch oven with its lid and bake for 20-25 minutes.
- Finish Baking: After 25 minutes, remove the lid of the Dutch oven and bake for another 15-20 minutes, until the crust is golden brown and the loaf sounds hollow when tapped on the bottom.
- Cool: Remove the bread from the Dutch oven and let it cool on a wire rack for at least 30 minutes before slicing.
- Serve and Enjoy: Slice the bread and enjoy it warm with butter, jam, or your favorite spread.
Notes
Recipe Notes
- Use Room Temperature Ingredients: For the best results, use room-temperature water, flour, and raisins. Cold ingredients can hinder the rise of the dough.
- Flavor Variations: You can add chopped nuts (like walnuts or pecans) along with the raisins for a little extra texture and flavor.
- Bread Flour Substitute: If you don’t have bread flour, you can use all-purpose flour, but the texture may not be as chewy.
- Storage: Store your bread in an airtight container or wrapped in a clean kitchen towel at room temperature for up to 3 days. You can also slice and freeze the bread for up to 3 months.
- Troubleshooting: If your dough is too sticky while kneading, sprinkle in a little more flour until it reaches the right consistency.
