All products are selected by our editorial team for quality. If you buy through our links, we may earn a small commission at no extra cost to you.
There’s something undeniably magical about the pairing of chocolate and peanut butter.
Whether it’s in a candy bar or a decadent dessert, these two flavors never fail to impress.
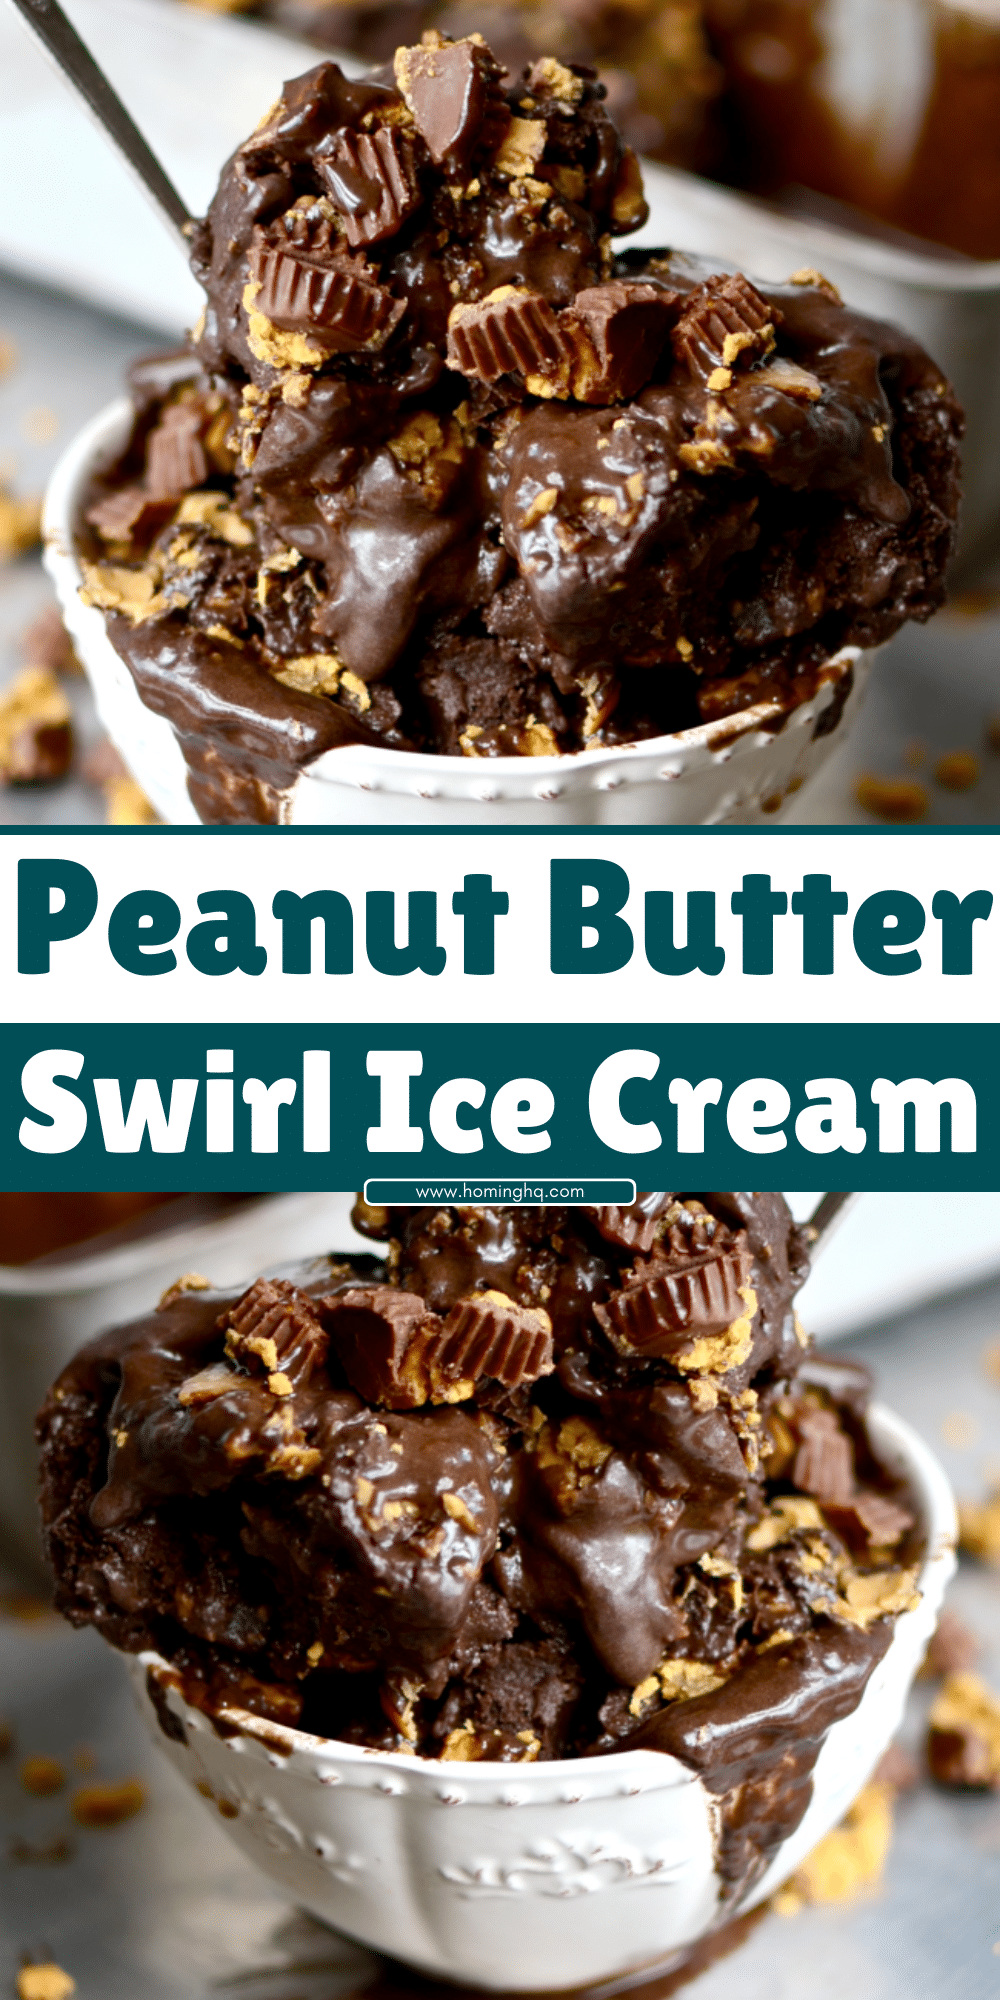
If you’re a fan of this irresistible duo, you’ll love this Chocolate Peanut Butter Swirl Ice Cream.
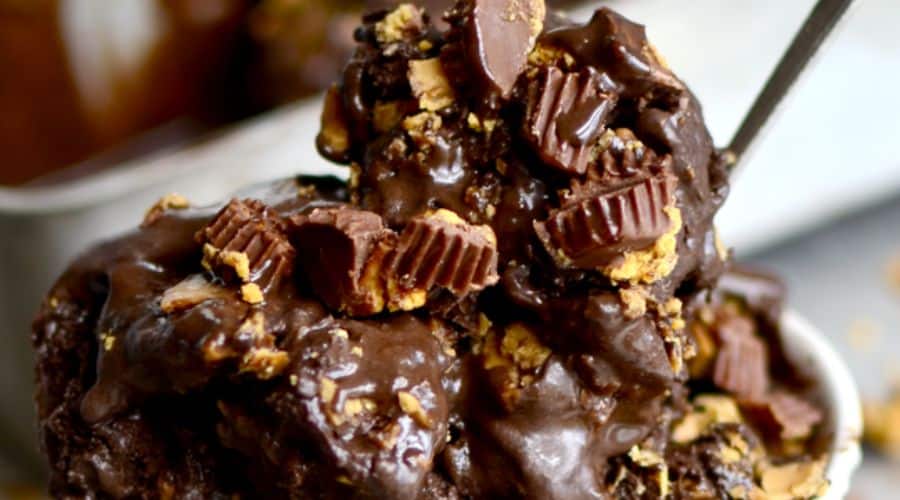
The creamy, velvety texture of the homemade ice cream is enhanced by the indulgent swirl of smooth peanut butter and rich chocolate.
Making ice cream from scratch not only gives you control over the flavor and quality of ingredients but also allows for a unique customization that store-bought versions can’t offer.
This recipe provides a deliciously creamy treat that’s perfect for summer afternoons, dinner parties, or anytime you want a sweet escape.
Trust us, once you taste the combination of silky ice cream and the perfect swirl of peanut butter and chocolate, you’ll never go back to store-bought again!

Ingredients for Chocolate Peanut Butter Swirl Ice Cream
To create this indulgent dessert, you’ll need the following ingredients to ensure the perfect balance of creaminess and flavor:
- 2 cups heavy cream – This provides the rich and creamy texture essential for making ice cream.
- 1 cup whole milk – Adds to the smooth consistency while balancing the richness of the cream.
- 3/4 cup granulated sugar – Sweetens the base without overpowering the flavors.
- 4 large egg yolks – Used to create a custard base that gives the ice cream its silky texture.
- 4 oz semi-sweet chocolate – The key ingredient for creating the decadent chocolate swirl. Choose high-quality chocolate for the best flavor.
- 1/2 cup peanut butter – Creamy peanut butter is preferred for its smoothness, though chunky can add extra texture if desired.
- 1 teaspoon vanilla extract – Enhances the overall flavor of the ice cream.
- A pinch of salt – Balances and deepens the sweetness of the ice cream.
Equipment Needed to Make Chocolate Peanut Butter Swirl Ice Cream
To make your Chocolate Peanut Butter Swirl Ice Cream at home, you’ll need a few essential tools.
While most of these are standard kitchen items, having them will ensure the process goes smoothly.
- Ice Cream Maker – An ice cream maker is ideal for achieving a creamy, smooth texture. If you don’t have one, you can still make this ice cream, but the texture might be slightly different.
- Medium Saucepan – You’ll use this to heat the cream, milk, and sugar mixture for the custard base.
- Mixing Bowls – For separating the eggs, mixing the peanut butter and chocolate, and combining ingredients.
- Whisk and Spatula – Essential for whisking the egg mixture and stirring the chocolate and peanut butter together.
- Measuring Cups and Spoons – To ensure you’re adding the correct amounts of each ingredient.
- Fine Mesh Strainer (optional) – This is used to strain the custard base to remove any bits of cooked egg, resulting in a smoother texture.
How to Make Chocolate Peanut Butter Swirl Ice Cream

Creating Chocolate Peanut Butter Swirl Ice Cream at home is a simple yet rewarding process. Follow these steps to make your very own batch of creamy goodness.
Step 1: Prepare the Custard Base
Begin by making the custard base, which is the foundation for your ice cream’s creamy texture. In a medium saucepan, combine the heavy cream, whole milk, and granulated sugar over medium heat.
Stir occasionally to dissolve the sugar and prevent the mixture from burning.
Once it begins to steam and is nearly boiling, remove the saucepan from the heat.
While the cream mixture is heating, whisk the egg yolks in a separate bowl.
Gradually temper the eggs by slowly adding a little of the hot cream mixture into the yolks, whisking constantly to avoid curdling.
Slowly pour the egg mixture back into the saucepan with the rest of the cream, stirring continuously.
Return the saucepan to the stove and cook over medium-low heat, stirring constantly, until the custard thickens and coats the back of a spoon.
This should take about 5-8 minutes.
Once thickened, pour the custard through a fine mesh strainer into a clean bowl to remove any solids.
Let it cool at room temperature, then refrigerate until chilled, at least 2 hours or overnight.
Step 2: Create the Chocolate and Peanut Butter Swirl Mixture
While your custard is chilling, it’s time to prepare the chocolate and peanut butter swirl.
In a heatproof bowl, melt the semi-sweet chocolate either over a double boiler or in the microwave in 20-second intervals, stirring after each.
Once melted, stir in the peanut butter until fully combined.
You should have a smooth, thick chocolate-peanut butter mixture.
Set this aside to cool slightly before using it to swirl into the ice cream.
Step 3: Churn the Ice Cream
Once your custard has chilled, pour it into your ice cream maker and churn according to the manufacturer’s instructions.
This usually takes about 20-25 minutes, and the mixture should thicken to a soft-serve consistency.
Step 4: Add the Chocolate Peanut Butter Swirl
Now comes the fun part! Transfer the churned ice cream to a freezer-safe container.
Drizzle the chocolate peanut butter mixture in layers across the top of the ice cream, then use a spatula or knife to gently swirl the mixture into the ice cream.
Be careful not to overmix—just a few folds should be enough to create beautiful ribbons of peanut butter and chocolate throughout the ice cream.
Cover the container with plastic wrap or a lid and freeze the ice cream for at least 4-6 hours, or until it hardens to your desired consistency.
Pro Tips for the Best Chocolate Peanut Butter Swirl Ice Cream
Making the perfect ice cream isn’t just about following the recipe—it’s also about the little details.
Here are some pro tips to ensure your homemade Chocolate Peanut Butter Swirl Ice Cream turns out absolutely delicious:
1. Use High-Quality Chocolate
The flavor of your ice cream will be heavily influenced by the quality of the chocolate you use.
Opt for a high-quality semi-sweet or bittersweet chocolate for the best taste.
Premium chocolate will melt more smoothly and give you that rich, intense chocolate flavor that perfectly complements the peanut butter.
2. Chill the Custard Before Churning
While it may be tempting to churn the custard as soon as it’s made, chilling the custard for several hours or overnight will make a noticeable difference in texture.
A colder base results in a smoother, creamier ice cream, preventing ice crystals from forming.
3. Don’t Overmix the Peanut Butter and Chocolate
When adding the chocolate peanut butter mixture to the ice cream, resist the urge to overmix.
You want to create distinct swirls, not a fully combined mixture.
Over-mixing will result in a uniform flavor, which takes away from the unique swirl effect that gives the ice cream its signature look and texture.
4. Add a Pinch of Salt
A small pinch of salt can do wonders for your ice cream.
It helps balance the sweetness and enhances the natural flavors of the peanut butter and chocolate, giving your ice cream a sophisticated depth of flavor.
5. Let It Freeze for Long Enough
After churning, allow the ice cream to freeze for several hours before serving.
This ensures the ice cream is firm and scoopable. If you try to serve it too soon, it might be too soft and difficult to scoop.
Variations and Customization Ideas
While the original Chocolate Peanut Butter Swirl Ice Cream is a perfect treat, here are a few creative variations to make the recipe even more exciting.
Feel free to experiment and find your perfect twist!
1. Add Crunch with Crushed Peanuts or Nuts
For extra texture, add crushed peanuts (or other nuts like almonds or hazelnuts) into the ice cream before freezing.
This adds a delightful crunch that contrasts beautifully with the creamy ice cream and smooth swirls of peanut butter and chocolate.
You can even toast the peanuts for added flavor.
2. Swirl in Some Caramel
Why stop at just chocolate and peanut butter?
Swirl in some caramel sauce alongside the peanut butter for a rich, sweet contrast.
The deep, buttery flavor of the caramel will complement the chocolate and peanut butter beautifully.
3. Make it Dairy-Free or Vegan
If you’re looking for a dairy-free or vegan version, it’s easy to make the swap.
Use coconut milk or almond milk in place of the whole milk, and substitute the heavy cream with coconut cream for a rich, creamy texture.
For egg-free options, you can make an eggless custard or use a pre-made vegan ice cream base.
4. Add Chocolate Chips or Chunks
For even more chocolatey goodness, fold in chocolate chips or chunks during the swirling process.
This will add some delightful bites of chocolate throughout the ice cream, giving it extra flavor and texture.
5. Use Crunchy Peanut Butter
If you love a little texture in your ice cream, use crunchy peanut butter instead of creamy.
This will give you a fun, slightly chewy bite of peanut butter throughout the creamy base, adding an extra layer of contrast to the smooth chocolate.
6. Incorporate Pretzels for a Salty-Sweet Twist
If you’re a fan of salty-sweet combinations, try adding some crushed pretzels into the mix.
The crunchy, salty pretzels will pair perfectly with the sweet ice cream and add a fun, unexpected element to each bite.
Conclusion
There’s nothing quite like the satisfaction of homemade ice cream, and Chocolate Peanut Butter Swirl Ice Cream brings together two beloved flavors in the most irresistible way.
With a rich, creamy texture and that perfect swirl of chocolate and peanut butter, this treat is bound to be a hit with family and friends.
Plus, making it from scratch allows you to control the quality of the ingredients and adjust flavors to your liking—making it an extra special indulgence.
Whether you’re enjoying it on a warm day, serving it as the finishing touch to a dinner party, or just treating yourself to something sweet, this ice cream is the perfect go-to dessert.
Give the recipe a try, and we’re sure it will become your new favorite homemade treat!
Frequently Asked Questions (FAQ)
1. Can I make this without an ice cream maker?
Yes, you can! While an ice cream maker creates the smoothest, creamiest texture, you can make this ice cream without one.
After churning the custard (by hand or with a hand mixer), place it in a container and freeze it.
Every 30 minutes or so, take it out and stir vigorously with a fork to break up ice crystals, until it reaches a soft-serve texture.
After a few hours of freezing, it should be scoopable.
2. Can I use natural peanut butter instead of creamy peanut butter?
You can, but natural peanut butter often has a more oily consistency and might affect the texture of the swirl.
If you use natural peanut butter, make sure to stir it well to mix in the oil, and consider refrigerating it for a firmer consistency before swirling into the ice cream.
Creamy peanut butter works best for a smooth, stable swirl.
3. How long does homemade ice cream last in the freezer?
Homemade ice cream can be stored in an airtight container in the freezer for up to 2-3 weeks.
However, for the best flavor and texture, it’s recommended to enjoy it within a week or two.
Over time, homemade ice cream can become slightly icy, but the flavor will still be delicious!
4. Can I use a different nut butter for this recipe?
Absolutely! If you prefer almond butter, cashew butter, or any other nut butter, feel free to experiment.
Just keep in mind that each nut butter has its own unique flavor, which may slightly change the overall taste of your ice cream.
Almond butter, for example, has a more delicate flavor than peanut butter, which will result in a different taste profile.
5. Can I add other mix-ins, like chocolate chips or marshmallows?
Yes, you can! Feel free to fold in chocolate chips, marshmallows, chopped cookies, or even swirls of fruit preserves when you’re adding the peanut butter and chocolate swirl to the churned ice cream.
Just make sure to fold in any add-ins gently so they don’t disrupt the texture of the ice cream too much.

Chocolate Peanut Butter Swirl Ice Cream
Equipment
- Ice Cream Maker – 1 unit
- Medium Saucepan – 1 unit
- Mixing Bowls – 2 units
- Whisk – 1 unit
- Spatula (1 unit)
- Measuring Cups & Spoons: 1 set
- Fine Mesh Strainer (optional) – 1 unit
- Freezer-safe Container – 1 unit
Ingredients
- 2 cups Heavy Cream
- 1 cup Whole Milk
- 3/4 cup Granulated Sugar
- 4 large Egg Yolks
- 4 oz Semi-Sweet Chocolate
- 1/2 cup Peanut Butter creamy
- 1 teaspoon Vanilla Extract
- Pinch Salt
Instructions
Make the Custard
- In a medium saucepan, combine the heavy cream, whole milk, and granulated sugar over medium heat. Stir occasionally until the sugar dissolves and the mixture begins to steam (but not boil). Remove from heat.
Temper the Egg Yolks
- Whisk the egg yolks in a separate bowl. Gradually add a small amount of the hot cream mixture to the yolks while whisking to temper them. Slowly pour the egg mixture back into the saucepan and stir constantly. Return to medium-low heat and cook, stirring, until the custard thickens and coats the back of a spoon (about 5-8 minutes).
Strain the Custard
- Pour the custard through a fine mesh strainer into a clean bowl to remove any solid bits. Let the custard cool to room temperature, then refrigerate it for at least 2 hours or overnight.
Prepare the Peanut Butter and Chocolate Swirl
- In a heatproof bowl, melt the semi-sweet chocolate over a double boiler or in the microwave. Stir in the peanut butter until smooth and combined. Let it cool slightly.
Churn the Ice Cream
- Once the custard is chilled, pour it into your ice cream maker and churn according to the manufacturer’s instructions. The ice cream should reach a soft-serve consistency.
Add the Swirl
- Transfer the churned ice cream to a freezer-safe container. Drizzle the chocolate-peanut butter mixture on top and gently swirl it into the ice cream with a spatula.
Freeze
- Cover the container with a lid or plastic wrap and freeze for at least 4-6 hours or until firm.
Serve
- Scoop and serve your homemade Chocolate Peanut Butter Swirl Ice Cream in bowls or cones. Enjoy!
Notes
- Egg-Free Option: If you want to make this ice cream without eggs, you can use a simple no-cook method or substitute the eggs with cornstarch or another egg alternative.
- Peanut Butter Variations: Feel free to experiment with crunchy peanut butter for added texture or almond butter for a different flavor profile.
- Chilling Time: Be sure to chill the custard mixture thoroughly before churning for the best texture. If you’re in a hurry, place it in the freezer for a shorter period to cool quickly.
- Storage: Keep the ice cream stored in an airtight container in the freezer for up to 2-3 weeks. For the best texture, consume within a week or two.

