All products are selected by our editorial team for quality. If you buy through our links, we may earn a small commission at no extra cost to you.
Chocolate Hazelnut Ice Cream is a rich and creamy dessert that combines the deep, indulgent flavor of chocolate with the nutty, toasted goodness of hazelnuts.
This homemade treat offers a perfect balance of sweetness and depth, and it’s easy to make in the comfort of your own kitchen.
Whether you are craving a simple scoop or looking for a special dessert for a gathering, this ice cream will delight your taste buds.
Ingredients Needed for Chocolate Hazelnut Ice Cream
To make your own chocolate hazelnut ice cream, you’ll need the following ingredients:
- 2 cups heavy cream
- 1 cup whole milk
- ¾ cup sugar
- 1 cup hazelnut paste (or finely ground hazelnuts)
- ½ cup unsweetened cocoa powder
- 1 tsp vanilla extract
- ¼ tsp salt
- 1/2 cup chocolate chips or chopped dark chocolate
These ingredients combine to create a creamy base and a rich chocolate flavor that pairs perfectly with the toasted hazelnut profile.
Tools You’ll Need
To prepare this delicious ice cream, make sure you have the following tools on hand:
- Ice Cream Maker (essential for smooth, creamy texture)
- Mixing Bowls (for blending ingredients)
- Whisk (to blend liquids thoroughly)
- Measuring Cups and Spoons
- Saucepan (for melting chocolate and combining ingredients)
- Rubber Spatula (to scrape the sides of the bowl and pan)
- Freezer-safe Container (to store the finished ice cream)
These tools will help streamline the process of making ice cream at home.
Step-by-Step Instructions for Making Chocolate Hazelnut Ice Cream
Step 1: Prepare the Hazelnut Paste
Begin by preparing the hazelnut paste. If you’re using whole hazelnuts, roast them in a 350°F (175°C) oven for about 10 minutes or until fragrant.
After they cool, rub the skins off with a towel and process the nuts in a food processor until smooth, forming a thick paste.
If you’re using pre-made hazelnut paste, simply set it aside.
Step 2: Make the Chocolate Mixture
In a saucepan over medium heat, combine the milk and heavy cream.
Add the sugar, cocoa powder, and salt.
Stir continuously until the mixture is smooth and heated, but not boiling. Once combined, remove the saucepan from heat.
Step 3: Incorporate Hazelnuts and Vanilla
Add the hazelnut paste and vanilla extract to the heated cream mixture.
Stir until the paste is fully incorporated and the mixture is uniform.
Step 4: Melt the Chocolate
In a separate bowl or small saucepan, melt the chocolate chips (or chopped dark chocolate) over low heat.
Once fully melted, stir it into the chocolate-hazelnut mixture until smooth and well combined.
Step 5: Chill the Mixture
Allow the mixture to cool to room temperature, then transfer it to the refrigerator to chill for at least 4 hours, or overnight for the best results.
This step helps the mixture solidify and prepares it for churning.
Step 6: Churn the Ice Cream
Once chilled, pour the mixture into your ice cream maker and follow the manufacturer’s instructions.
Churn the ice cream until it reaches a thick, creamy consistency.
Step 7: Freeze and Serve
Transfer the churned ice cream to a freezer-safe container and spread it out evenly.
Place it in the freezer for a minimum of 4 hours to firm up.
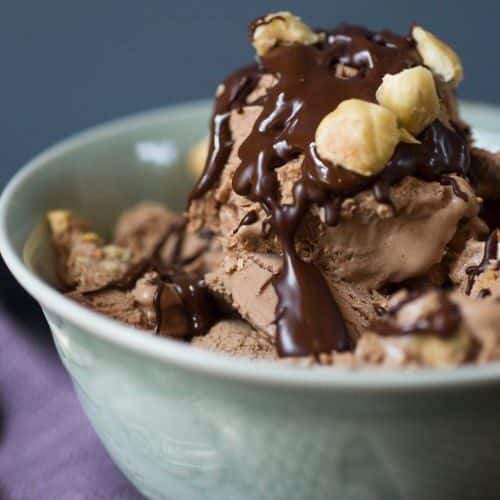
Once fully frozen, scoop and serve your homemade chocolate hazelnut ice cream!
Serving and Enjoying Your Chocolate Hazelnut Ice Cream
Once your Chocolate Hazelnut Ice Cream has frozen to perfection, it’s time to serve and enjoy this delightful treat.
Here are a few ideas to make the experience even more special:
Serving Suggestions
- Scoop and Serve: Use a warm spoon to scoop the ice cream. This will make it easier to serve, especially if the ice cream is very firm after freezing.
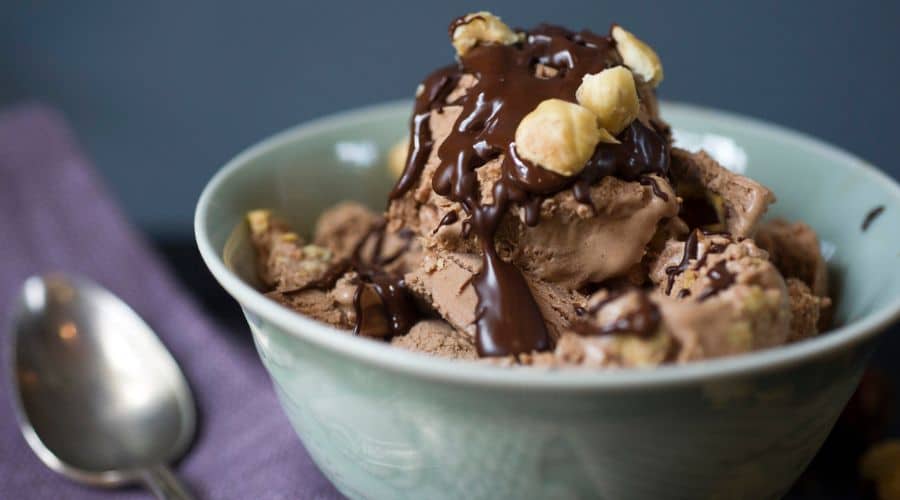
- Toppings: For an extra burst of flavor, consider adding some crushed hazelnuts, shaved chocolate, or even a drizzle of chocolate syrup over the ice cream.
- Ice Cream Sandwich: You can also use this ice cream to make delicious ice cream sandwiches with freshly baked cookies or waffle cones.
- Pair with Coffee: The deep chocolate and nutty flavors of this ice cream pair wonderfully with a cup of freshly brewed coffee or espresso.
Enjoying the Ice Cream
Sit back, relax, and savor each bite of the creamy, nutty, and chocolatey goodness.
This dessert is perfect for any occasion, whether it’s a family gathering, a special celebration, or a personal indulgence after a long day.
Tips for Perfect Chocolate Hazelnut Ice Cream
Making ice cream at home can be a bit of an art, but with these helpful tips, you’ll be sure to create the perfect Chocolate Hazelnut Ice Cream:
1. Use Fresh Ingredients
For the best flavor, use fresh cream, milk, and hazelnuts.
The quality of the ingredients will make a big difference in the final taste.
2. Don’t Skip the Chilling Step
Make sure to chill the ice cream base in the refrigerator for several hours or overnight.
This step ensures that the mixture is cold enough to churn properly and results in a smoother texture.
3. Proper Churning
Follow the instructions on your ice cream maker carefully.
Over-churning or under-churning can lead to a less-than-ideal consistency, so keep an eye on the texture as it thickens.
4. Add Texture with Mix-ins
While the ice cream is churning, you can add small chunks of hazelnuts, chocolate chips, or even a ribbon of hazelnut spread for added texture and flavor.
5. Freezing Time
Once the ice cream is churned, let it freeze for at least 4 hours to firm up.
If you’re planning to serve it the next day, cover the ice cream tightly with plastic wrap before freezing to prevent ice crystals from forming on the surface.
By following these tips, you’ll ensure your Chocolate Hazelnut Ice Cream turns out perfectly every time!
Conclusion
Chocolate Hazelnut Ice Cream is a luxurious, indulgent treat that combines the richness of chocolate with the warmth and texture of roasted hazelnuts.
Whether you’re making it for a special occasion or as a sweet reward for yourself, this homemade ice cream is sure to delight.
With a few simple ingredients and the right techniques, you can create a creamy, delicious dessert that rivals any store-bought version.
Now that you have the steps, ingredients, and tips, it’s time to get started and enjoy this decadent dessert.
Don’t forget to serve it with your favorite toppings or as part of a larger dessert spread.
Frequently Asked Questions
1. Can I make this recipe without an ice cream maker?
Yes! If you don’t have an ice cream maker, you can freeze the mixture in a shallow dish, stirring every 30 minutes for the first 2-3 hours to break up ice crystals and create a smoother texture.
2. How can I make the hazelnut paste at home?
To make hazelnut paste, simply roast whole hazelnuts in the oven for 10 minutes, then rub off the skins.
Process the nuts in a food processor until they form a smooth, thick paste. You can also use a store-bought hazelnut paste if preferred.
3. Can I substitute the heavy cream with a lighter option?
While heavy cream provides the best texture and richness, you can substitute it with half-and-half or whole milk.
However, the ice cream may be slightly less creamy and rich.
4. How long does homemade chocolate hazelnut ice cream last?
Homemade ice cream can last up to 2 weeks in the freezer if stored in an airtight container.
For the best taste and texture, try to consume it within a week.
5. Can I make this recipe vegan?
Yes, you can make a vegan version by substituting the heavy cream with coconut cream, the whole milk with almond milk (or another plant-based milk), and using a plant-based sweetener like maple syrup.
Make sure to use dairy-free chocolate for the best results.
Chocolate Hazelnut Ice Cream
Equipment
- Ice Cream Maker (1)
- Mixing bowls (2)
- Saucepan (1)
- Whisk (1)
- Measuring cups and spoons (1 set)
- Rubber Spatula (1)
- Freezer-Safe Container (1)
Ingredients
- 2 cups 480 ml Heavy Cream
- 1 cup 240 ml Whole Milk
- ¾ cup 150 g Sugar
- 1 cup 240 g Hazelnut Paste or finely ground hazelnuts
- ½ cup 45 g Unsweetened Cocoa Powder
- 1 tsp 5 ml Vanilla Extract
- ¼ tsp 1.25 g Salt
- ½ cup 90 g Chocolate Chips or chopped dark chocolate
Instructions
Prepare the Hazelnut Paste
- Roast hazelnuts at 350°F (175°C) for 10 minutes, rub off the skins, and process into a smooth paste using a food processor. Alternatively, use store-bought hazelnut paste.
Make the Chocolate Mixture
- In a saucepan, heat the milk and cream over medium heat. Add the sugar, cocoa powder, and salt, stirring until smooth and hot. Remove from heat.
Add Hazelnuts and Vanilla
- Stir the hazelnut paste and vanilla extract into the hot cream mixture, blending well.
Melt the Chocolate
- Melt the chocolate chips in a separate bowl and then incorporate them into the mixture until smooth.
Chill the Mixture
- Let the mixture cool to room temperature, then refrigerate for at least 4 hours (or overnight).
Churn the Ice Cream
- Pour the chilled mixture into an ice cream maker and churn according to the manufacturer’s instructions.
Freeze and Serve
- Transfer the churned ice cream to a freezer-safe container and freeze for at least 4 hours to firm up. Serve and enjoy!
Notes
- Consistency Tip: For smoother ice cream, stir the mixture every 30 minutes for the first 2-3 hours of freezing if you’re not using an ice cream maker.
- Make Ahead: This ice cream can be made ahead and stored in the freezer for up to two weeks. Make sure it’s stored in an airtight container to prevent ice crystals from forming.
- Vegan Option: To make this recipe vegan, substitute heavy cream with coconut cream and milk with almond or oat milk. Use dairy-free chocolate and sweeteners like maple syrup for a vegan version.
