All products are selected by our editorial team for quality. If you buy through our links, we may earn a small commission at no extra cost to you.
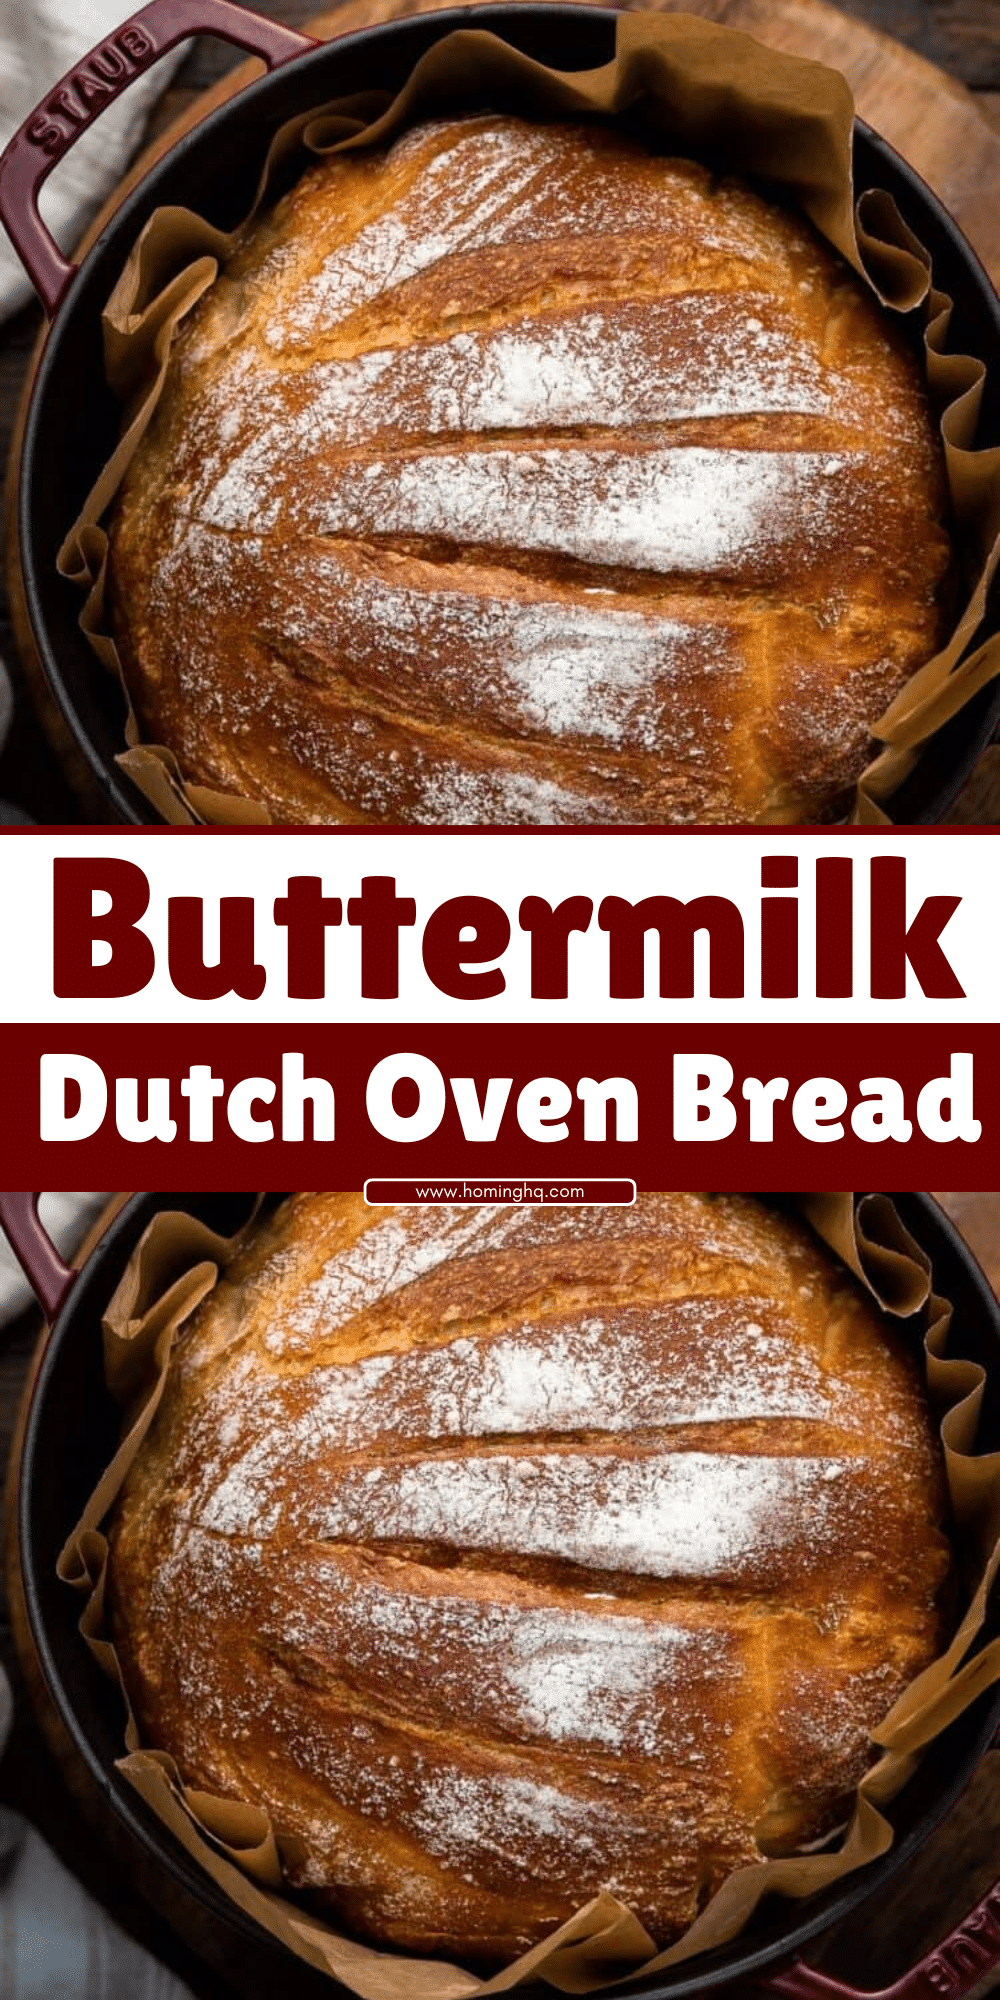
If you’re a fan of homemade bread with a golden, crisp crust and soft, airy interior, Buttermilk Dutch Oven Bread is a must-try recipe.
This bread combines the tangy richness of buttermilk with the simplicity of a few staple ingredients, making it perfect for both beginner and seasoned bakers.
The Dutch oven method ensures that the bread bakes evenly, resulting in a beautiful round loaf with an irresistible texture.
In this guide, we’ll walk you through every step of making Buttermilk Dutch Oven Bread, from gathering ingredients to pulling out a freshly baked loaf.
What is Buttermilk Dutch Oven Bread?
Buttermilk Dutch Oven Bread is a rustic, no-knead bread that’s made with buttermilk, which gives it a slightly tangy flavor.
The dough is simple yet effective, relying on time to develop its texture rather than extensive kneading.
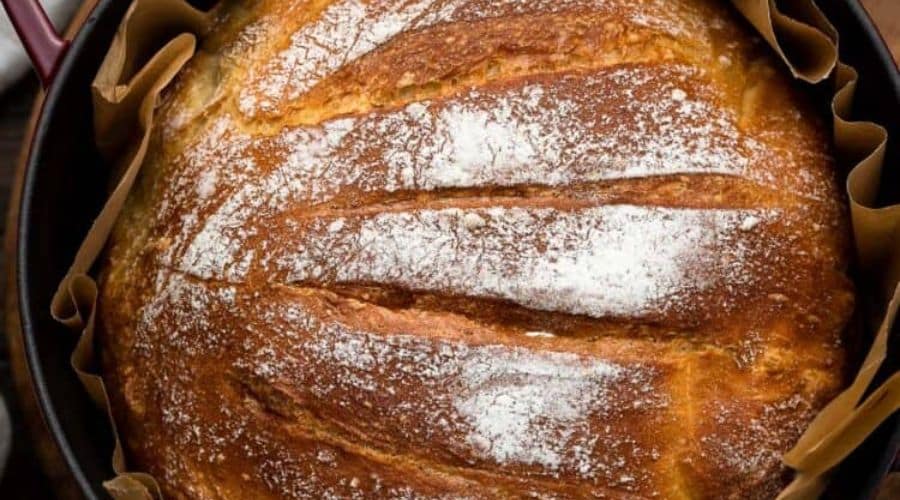
It’s baked in a Dutch oven, which creates a sealed, steamy environment that helps the bread rise beautifully and develop a crispy, golden crust.
The use of buttermilk in the recipe also gives the bread a subtle richness and softness that pairs wonderfully with both savory and sweet toppings.
Ingredients for Buttermilk Dutch Oven Bread
To make Buttermilk Dutch Oven Bread, you’ll need just a few basic ingredients.
Here’s what to gather:
- All-purpose flour: This is the main base of the dough, giving the bread its structure.
- Buttermilk: Provides a tangy flavor and softens the bread.
- Salt: Enhances the flavor and controls the yeast fermentation.
- Baking soda: Works with the buttermilk to help the dough rise.
- Active dry yeast: Helps the dough rise and gives the bread its light texture.
- Honey or sugar: Adds a touch of sweetness and helps activate the yeast.
Step-by-Step Instructions for Buttermilk Dutch Oven Bread
Making Buttermilk Dutch Oven Bread is a straightforward process that yields delicious results.
Follow these steps to create your perfect loaf:
1. Prepare the Dough
In a large bowl, combine the all-purpose flour, salt, and baking soda.
Mix them together to evenly distribute the dry ingredients.
Then, add the active dry yeast and stir it in.
Next, pour in the buttermilk and honey (or sugar), and stir with a wooden spoon until the dough begins to come together.
The dough will be slightly sticky, which is completely normal.
2. Let the Dough Rest
Cover the bowl with a damp towel or plastic wrap and let the dough rest for at least 8 hours or overnight.
This resting period allows the yeast to work its magic, developing the dough’s flavor and texture without requiring any kneading.
3. Preheat the Dutch Oven
When you’re ready to bake, preheat your oven to 450°F (230°C).
Place a Dutch oven with its lid inside the oven while it heats up.
Preheating the Dutch oven ensures the bread will bake evenly and develop a crispy crust.
4. Shape the Dough
Once the dough has rested, lightly flour your countertop.
Gently remove the dough from the bowl, being careful not to deflate it too much.
Shape it into a round loaf, folding the edges underneath to create a smooth top.
5. Transfer the Dough to the Dutch Oven
Carefully remove the hot Dutch oven from the oven and place a piece of parchment paper inside.
Transfer your shaped dough onto the parchment paper and place it in the Dutch oven.
Score the top of the dough with a sharp knife to help it expand as it bakes.
6. Bake the Bread
Cover the Dutch oven with its lid and bake the bread for 30 minutes.
After 30 minutes, remove the lid and continue baking for another 15-20 minutes, or until the bread is golden brown and sounds hollow when tapped on the bottom.
7. Cool and Serve
Once the bread is baked, remove it from the Dutch oven and let it cool on a wire rack for at least 30 minutes before slicing.
This resting time allows the bread’s texture to set, making it easier to slice and enjoy.
Tips for Success with Buttermilk Dutch Oven Bread
While this bread is simple to make, a few tips can help ensure your loaf turns out perfect every time:
1. Don’t Skip the Resting Time
The key to getting a light and airy loaf is allowing the dough to rest.
The long fermentation helps develop flavor and texture, so don’t rush this step!
2. Use Room Temperature Buttermilk
If your buttermilk is cold, let it come to room temperature before adding it to the dough.
This will help the yeast activate more effectively.
3. Keep the Dough Sticky
The dough should be somewhat sticky when mixing; if it feels too dry, add a splash of buttermilk to adjust.
A slightly sticky dough leads to a softer crumb.
4. Preheat the Dutch Oven
Preheating the Dutch oven is crucial for creating that perfect crust.
Don’t skip this step as it helps the bread rise quickly and evenly.
5. Don’t Overbake
Once the bread is golden brown, check it by tapping on the bottom. If it sounds hollow, it’s done.
Overbaking can result in a dry loaf, so keep an eye on the bread towards the end of the baking time.
How to Use Leftover Buttermilk Dutch Oven Bread
If you find yourself with leftover Buttermilk Dutch Oven Bread, don’t worry! There are plenty of ways to repurpose it so nothing goes to waste. Here are a few ideas:
1. Make Croutons
Cut the leftover bread into cubes and toss them with olive oil, garlic, and your favorite seasonings.
Bake them at 350°F (175°C) for about 10-15 minutes until golden and crispy.
They’re perfect for adding to soups or salads.
2. Turn it into Bread Pudding
Leftover bread makes a great base for a rich, custardy bread pudding.
Tear the bread into pieces and soak it in a mixture of eggs, milk, sugar, and spices before baking.
It’s a delicious way to enjoy the bread in a dessert form.
3. Make Toast
Simple but effective! Slice the leftover bread and toast it.
You can top it with butter, jam, cheese, or even make a savory sandwich.
The slight tang of the buttermilk adds a unique flavor.
4. Use it for Sandwiches
Stale bread makes an excellent choice for sandwiches, especially hearty fillings like roasted meats, cheese, and veggies.
The slightly chewy texture adds extra satisfaction to every bite.
5. Create a Savory Bread Crumb Coating
Grind up the leftover bread into crumbs and use them as a coating for fried or baked dishes, like chicken or fish.
You’ll get a crunchy texture with a hint of tang from the buttermilk.
Conclusion
Buttermilk Dutch Oven Bread is a fantastic, easy-to-make bread that combines the rich flavor of buttermilk with a simple, no-knead technique.
The result is a rustic, golden loaf with a tender interior and crispy crust, perfect for any occasion.
Whether you enjoy it fresh from the oven, toasted with butter, or transformed into croutons or bread pudding, this bread is sure to impress.
By following the straightforward steps and tips in this guide, you can easily create a loaf of Buttermilk Dutch Oven Bread that rivals bakery quality.
Don’t forget to try using your leftover bread creatively to make the most of every slice!
Frequently Asked Questions
1. Can I use regular milk instead of buttermilk?
Yes, you can substitute regular milk mixed with a little vinegar or lemon juice (about 1 tablespoon per cup) to create a buttermilk substitute.
Just let it sit for 5 minutes before adding it to the dough.
2. How do I store Buttermilk Dutch Oven Bread?
Store your bread in a bread box or an airtight bag at room temperature for up to 3 days.
For longer storage, you can freeze the bread and toast slices as needed.
3. Can I freeze the dough before baking?
Yes, you can freeze the dough before baking. Shape it into a loaf, wrap it tightly, and freeze.
When ready to bake, thaw it overnight in the fridge and follow the usual baking instructions.
4. Can I add herbs or other flavorings to the bread?
Absolutely! Feel free to add herbs like rosemary, thyme, or garlic to the dough for extra flavor.
Just mix them in with the dry ingredients before adding the wet ingredients.
5. Why did my bread turn out too dense?
If your bread turned out dense, it could be due to insufficient rising time or overworking the dough.
‘Make sure to let the dough rest for the recommended time and handle it gently when shaping.
Buttermilk Dutch Oven Bread
Equipment
- 1 Dutch Oven (5-6 quart)
- 1 large mixing bowl
- 1 Wooden Spoon
- 1 Sharp Knife (for scoring the bread)
- 1 Parchment paper (optional)
- 1 Kitchen Towel or Plastic Wrap
Ingredients
- 3 cups 360g All-purpose flour
- 1 ½ teaspoons 9g Salt
- 1 teaspoon 5g Baking soda
- 1 packet 2 ¼ teaspoons Active dry yeast
- 1 ½ cups 360ml Buttermilk (room temperature)
- 1 tablespoon 15g Honey (or sugar)
Instructions
- Mix the Dry Ingredients: In a large bowl, combine the all-purpose flour, salt, baking soda, and yeast. Stir to evenly distribute.
- Add Wet Ingredients: Pour in the buttermilk and honey, mixing with a wooden spoon until the dough starts to come together. The dough will be slightly sticky.
- Let the Dough Rest: Cover the bowl with a damp towel or plastic wrap and let it sit at room temperature for 8 hours or overnight.
- Preheat the Dutch Oven: Preheat your oven to 450°F (230°C). Place a Dutch oven with its lid inside the oven to heat up.
- Shape the Dough: Once rested, flour your countertop lightly and gently shape the dough into a round loaf. Handle the dough gently to preserve the air bubbles.
- Transfer to the Dutch Oven: Remove the hot Dutch oven from the oven and line it with parchment paper. Carefully place the shaped dough into the Dutch oven. Score the top with a sharp knife to allow the bread to expand as it bakes.
- Bake: Cover the Dutch oven and bake for 30 minutes. After 30 minutes, remove the lid and bake for an additional 15-20 minutes, until golden brown and hollow-sounding when tapped on the bottom.
- Cool and Serve: Allow the bread to cool on a wire rack for at least 30 minutes before slicing.
Notes
- Resting Time: Be sure to allow the dough to rest for the full 8 hours or overnight. This is essential for developing flavor and texture without any kneading.
- Buttermilk Substitute: If you don’t have buttermilk, you can make a substitute by mixing 1 tablespoon of vinegar or lemon juice into 1 ½ cups of milk. Let it sit for 5 minutes before using.
- Storage: Store leftover bread in an airtight bag or container for up to 3 days. For longer storage, slice the bread and freeze it. Reheat slices in the toaster or oven for best results.
- Crust Variation: For an even crispier crust, you can place a small oven-safe bowl of water in the oven while baking to create steam.
