All products are selected by our editorial team for quality. If you buy through our links, we may earn a small commission at no extra cost to you.
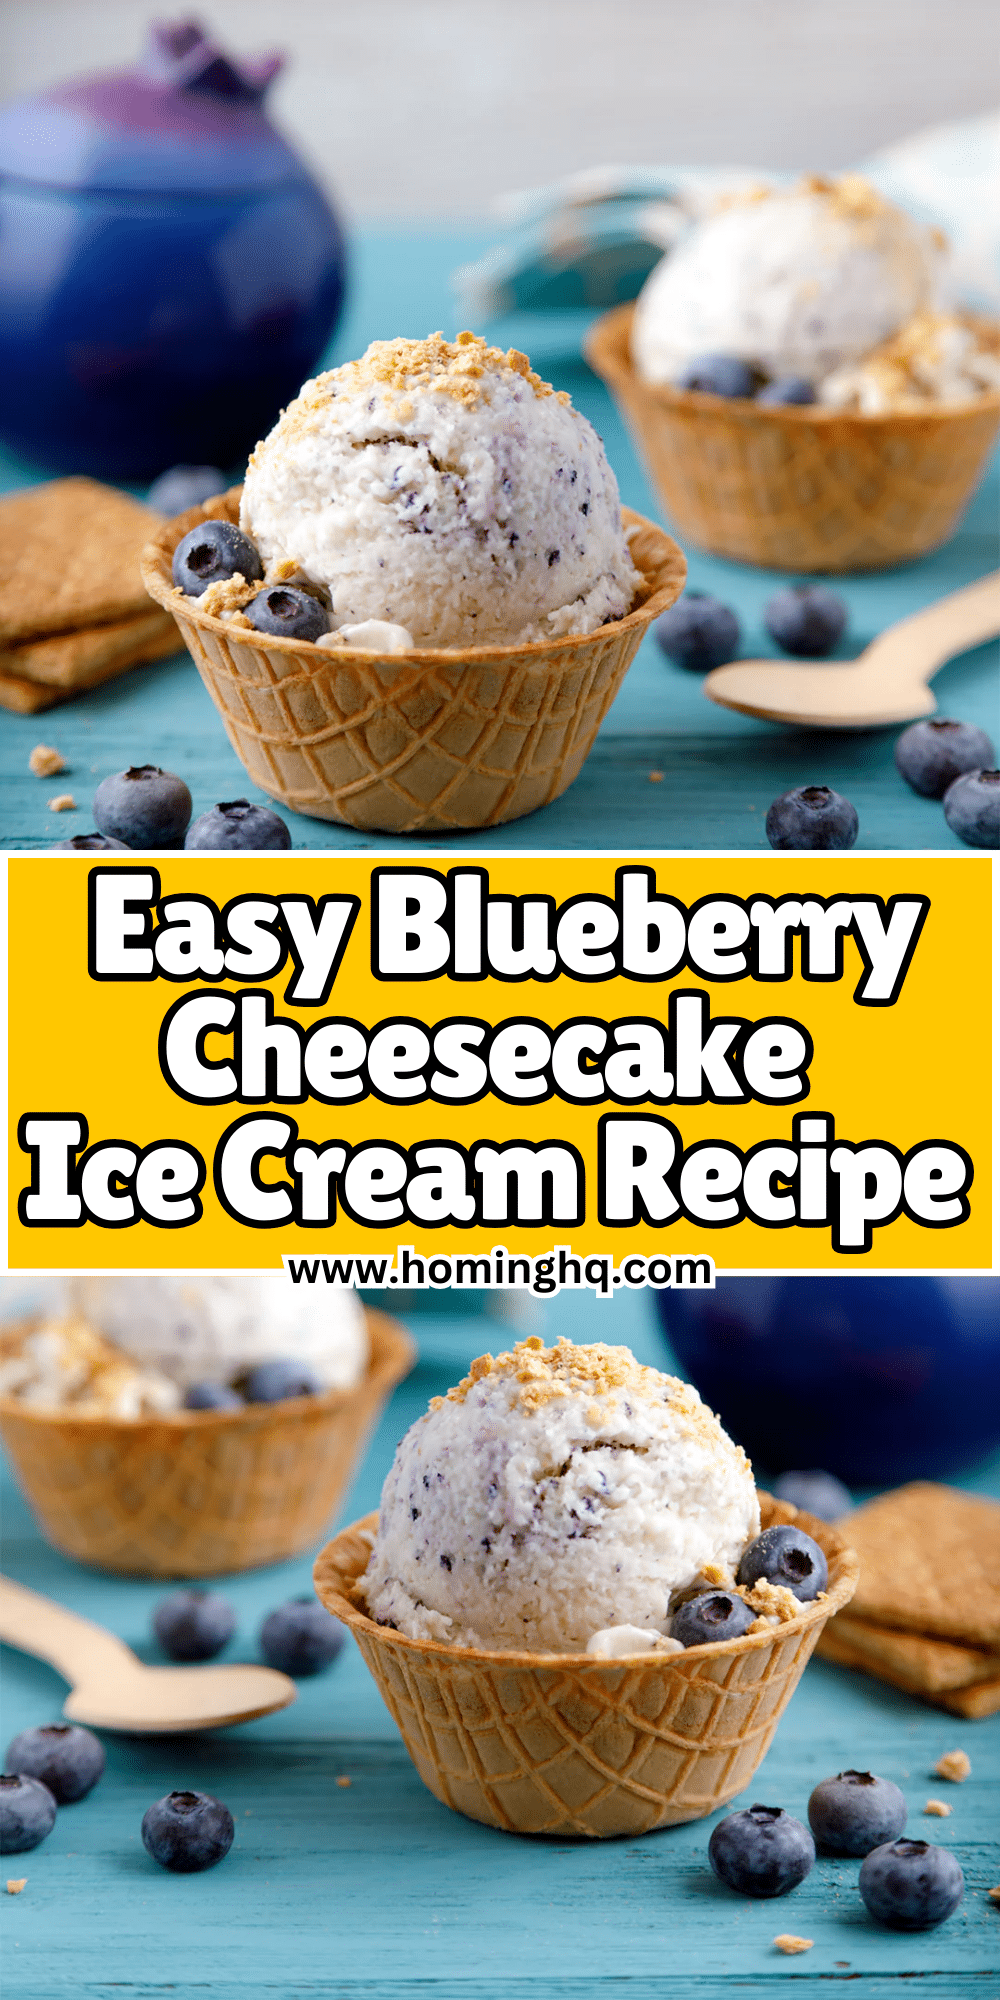
Blueberry Cheesecake Ice Cream is the ultimate dessert for those who crave the rich and creamy texture of cheesecake with the bright, tangy flavor of blueberries.
This indulgent treat combines the best of both worlds—smooth cheesecake with a swirl of fresh blueberry sauce, creating a perfect balance of sweetness and tartness.
Whether you’re cooling off in the summer heat or looking for a decadent dessert to impress guests, this homemade ice cream will surely delight.
Plus, it’s easy to make, and the creamy, velvety texture will have everyone coming back for more.
Get ready to dive into a refreshing, irresistible flavor that’s as satisfying as it is delicious!
Ingredients You’ll Need
To make your own Blueberry Cheesecake Ice Cream at home, gather the following ingredients.
You’ll need some basic kitchen staples to create the perfect cheesecake base and the sweet, fruity blueberry swirl that will elevate this ice cream.
For the Cheesecake Base:
- 8 oz cream cheese (softened) – This will give the ice cream a smooth, rich, and tangy cheesecake flavor.
- 1 cup heavy cream – Adds the creamy texture and luxurious mouthfeel to the ice cream.
- ¾ cup granulated sugar – For the right level of sweetness to complement the cheesecake flavor.
- 1 tsp vanilla extract – Adds a touch of aromatic flavor that enhances the cheesecake base.
- 1 tbsp lemon zest (optional) – For a hint of citrus brightness that balances the richness of the cream cheese.
For the Blueberry Sauce:
- 2 cups fresh or frozen blueberries – These are the star of the ice cream’s fruit swirl.
- ½ cup granulated sugar – Sweetens the blueberries and helps create a syrup-like consistency when cooking.
- 1 tbsp lemon juice – Brightens the blueberry flavor and helps prevent the sauce from being too sweet.
- 1 tsp cornstarch (optional) – If you prefer a thicker sauce, this helps give the blueberry swirl some structure.
How to Make Blueberry Cheesecake Ice Cream

Making Blueberry Cheesecake Ice Cream is a straightforward process that requires just a few steps to achieve a velvety texture and delicious flavor.
Follow the instructions below to create your perfect homemade ice cream.
Step 1: Prepare the Blueberry Sauce
To create the sweet blueberry swirl, start by cooking the blueberries.
In a medium saucepan, combine the blueberries, sugar, and lemon juice.
Heat over medium heat and stir occasionally.
Once the blueberries begin to release their juices, use a spoon or potato masher to gently mash some of the berries, creating a chunky sauce.
Let the mixture simmer for about 5-7 minutes, until it thickens slightly.
If you prefer a thicker sauce, mix 1 teaspoon of cornstarch with 1 tablespoon of water and stir it into the blueberry mixture.
Continue to cook for another 2 minutes until it thickens.
Remove from heat and set aside to cool. Once the sauce has cooled to room temperature, it will be ready to swirl into the cheesecake base.
Step 2: Create the Cheesecake Ice Cream Base
In a large mixing bowl, beat the softened cream cheese and sugar together until smooth.
The cream cheese should be fully incorporated with the sugar, creating a creamy, smooth mixture.
Add the heavy cream, vanilla extract, and lemon zest (if using) to the bowl and continue to mix until well combined.
Use an electric mixer or whisk to ensure the mixture is smooth and creamy.
The consistency should be thick and rich, similar to a traditional cheesecake filling.
This forms the base of your ice cream.
Step 3: Combine the Cheesecake Base with the Blueberry Sauce
Once your cheesecake base is ready and the blueberry sauce has cooled, it’s time to combine them.
Pour the cheesecake base into a large mixing bowl or a shallow dish.
Then, spoon in the blueberry sauce in small dollops throughout the base.
Using a butter knife or spoon, gently swirl the blueberry sauce into the cheesecake mixture.
Be sure not to overmix; you want to achieve a marbled effect, with streaks of blueberry throughout the creamy cheesecake base.
At this point, you can taste the mixture to adjust the sweetness if needed.
If you want a stronger blueberry flavor, you can add a bit more sauce to the mixture, swirling it in to create a more pronounced fruity taste.
Serving and Enjoying Blueberry Cheesecake Ice Cream
Now that your Blueberry Cheesecake Ice Cream is ready, it’s time to serve and indulge in this delicious homemade dessert.
Here are some tips on how to present it beautifully and enjoy every bite:
Scoop and Serve
Once your ice cream has frozen to the perfect consistency, it’s time to scoop and serve.
Use a warm ice cream scoop to make it easier to scoop the creamy ice cream.
If your ice cream is too hard to scoop straight from the freezer, allow it to sit at room temperature for 5-10 minutes before serving.
This will soften the texture just enough to create those beautiful, smooth scoops.
Toppings and Garnishes
While Blueberry Cheesecake Ice Cream is delightful on its own, adding a few extra touches can elevate the experience.
Here are some delicious options:
- Fresh blueberries: Add a handful of plump, juicy blueberries on top to enhance the fruity flavor.
- Crushed graham crackers: Sprinkle a bit of crushed graham crackers for that cheesecake crust-like crunch.
- More blueberry sauce: Drizzle additional blueberry sauce over the top for an extra burst of flavor.
- Whipped cream: A dollop of freshly whipped cream complements the creamy richness of the ice cream.
Pairing Suggestions
For an extra special treat, try pairing your Blueberry Cheesecake Ice Cream with other desserts such as a slice of lemon pound cake or a delicate shortbread cookie.
It also makes a fantastic accompaniment to fresh fruit tarts or as a topping for a warm piece of pie.
Tips and Tricks for Perfecting Blueberry Cheesecake Ice Cream
While making this ice cream is fairly simple, a few key tips and tricks can help you achieve the creamiest, most flavorful Blueberry Cheesecake Ice Cream every time.
1. Use Full-Fat Ingredients
To achieve the smoothest, creamiest texture, be sure to use full-fat cream cheese and heavy cream.
These ingredients create the rich, velvety base that mimics the richness of cheesecake.
Low-fat or non-fat substitutes can result in a less creamy texture.
2. Prevent Ice Crystals
Ice crystals can sometimes form in homemade ice cream, leading to a less-than-ideal texture. To minimize this:
- Churn thoroughly: If you’re using an ice cream maker, ensure the mixture is churned for the recommended time to incorporate air and prevent ice crystals.
- Store properly: When storing the ice cream, cover it with plastic wrap or wax paper before sealing the container to avoid air exposure, which can cause ice crystals to form on the surface.
- Use a no-churn method: If you don’t have an ice cream maker, simply freeze the mixture in a shallow dish, stirring it every 30 minutes for the first 3 hours to prevent crystals from forming.
3. Adjust the Sweetness
The sweetness of the ice cream can be adjusted to your taste.
If you prefer a less sweet treat, reduce the sugar in both the cheesecake base and the blueberry sauce.
Conversely, if you like your ice cream on the sweeter side, feel free to add a little more sugar to the base or sauce to suit your preference.
4. Make the Blueberry Sauce Ahead of Time
To save time on the day you plan to make your ice cream, prepare the blueberry sauce in advance.
The sauce can be stored in an airtight container in the fridge for up to a week.
This will also allow the flavors to deepen, resulting in a more intense blueberry taste when swirled into the cheesecake base.
5. Customize the Flavor
While blueberry is the star in this recipe, feel free to experiment with other fruit flavors.
Swirl in raspberries, strawberries, or even mixed berries for a different fruity twist.
You can also add a touch of cinnamon or nutmeg to the cheesecake base for a subtle, spiced flavor.
6. Use the Right Equipment
A high-quality ice cream maker can make all the difference in texture, as it churns the mixture to perfection.
However, if you don’t have one, don’t worry!
Simply follow the no-churn method and stir the mixture every 30 minutes during the freezing process to achieve a creamy texture.
Conclusion
Blueberry Cheesecake Ice Cream is the perfect dessert for anyone who loves the rich, creamy goodness of cheesecake and the fresh, vibrant flavors of blueberries.
Whether you’re making it for a special occasion or simply indulging in a sweet treat on a warm day, this ice cream is sure to impress. With a smooth cheesecake base and a delicious blueberry swirl, it’s a combination of textures and flavors that will leave everyone asking for more.
Plus, it’s customizable to suit your personal taste, whether you prefer it sweeter, tangier, or with different fruit combinations.
Making your own ice cream at home allows you to enjoy this decadent dessert in its freshest, most flavorful form.
So, gather your ingredients, follow the simple steps, and treat yourself to the joy of homemade Blueberry Cheesecake Ice Cream!
Frequently Asked Questions
1. Can I make Blueberry Cheesecake Ice Cream without an ice cream maker?
Yes! If you don’t have an ice cream maker, you can still make this ice cream using the no-churn method.
Simply combine the cheesecake base and blueberry sauce, then freeze the mixture in a shallow dish.
Stir every 30 minutes for the first few hours to ensure a smooth texture and prevent ice crystals from forming.
2. How long does Blueberry Cheesecake Ice Cream last in the freezer?
Homemade ice cream typically lasts about 2 to 3 weeks in the freezer.
Be sure to store it in an airtight container to keep it fresh and prevent ice crystals from forming on top.
If the ice cream becomes too hard, let it sit at room temperature for a few minutes before serving.
3. Can I use other fruits instead of blueberries?
Absolutely! You can substitute blueberries with other fruits like raspberries, strawberries, or even a mix of tropical fruits such as mango and pineapple.
Simply cook the fruit down into a sauce and swirl it into the cheesecake base the same way you would with blueberries.
4. Can I make this recipe dairy-free or vegan?
Yes, you can make a dairy-free or vegan version of this ice cream by substituting the cream cheese with a plant-based cream cheese alternative and using full-fat coconut milk or almond milk in place of the heavy cream.
Ensure that the sugar is also vegan-friendly if needed.
5. How can I make the blueberry sauce thicker?
If you prefer a thicker blueberry sauce, you can add a teaspoon of cornstarch or arrowroot powder.
Simply dissolve the cornstarch in a little water and stir it into the cooking blueberry mixture.
This will help thicken the sauce as it simmers. Be sure to let it cool completely before swirling it into the cheesecake base.
Blueberry Cheesecake Ice Cream
Equipment
- Ice Cream Maker (if available) – 1 unit
- Saucepan – 1 unit (for blueberry sauce)
- Mixing bowl (1, large)
- Electric Mixer – 1 unit (optional)
- Rubber Spatula – 1 unit
- Rubber Spatula – 1 unit
Ingredients
For the Cheesecake Base:
- 8 oz 226g cream cheese (softened)
- 1 cup 240ml heavy cream
- ¾ cup 150g granulated sugar
- 1 tsp vanilla extract
- 1 tbsp lemon zest optional
For the Blueberry Sauce:
- 2 cups 300g fresh or frozen blueberries
- ½ cup 100g granulated sugar
- 1 tbsp lemon juice
- 1 tsp cornstarch optional
Instructions
Make the Blueberry Sauce:
- In a medium saucepan, combine the blueberries, sugar, and lemon juice. Cook over medium heat, stirring occasionally. Once the berries release their juice, mash them slightly with a spoon.Let the mixture simmer for 5-7 minutes until it thickens. If you prefer a thicker sauce, mix cornstarch with water and stir it into the sauce, cooking for an additional 2 minutes. Remove from heat and let cool completely.
Prepare the Cheesecake Base:
- In a large mixing bowl, beat the softened cream cheese and sugar until smooth. Add in the heavy cream, vanilla extract, and lemon zest (if using), mixing until fully combined and smooth.
Combine the Blueberry Sauce with the Cheesecake Base:
- Pour the cheesecake base into a large dish or mixing bowl. Spoon the cooled blueberry sauce into the base in dollops, then gently swirl with a spatula to create a marbled effect. Don’t overmix—just swirl until you see the blueberry sauce throughout the base.
Churn the Ice Cream:
- If using an ice cream maker, follow the manufacturer’s instructions for churning the ice cream.If you don't have an ice cream maker, freeze the mixture in a shallow dish, stirring every 30 minutes for the first 3 hours to achieve a creamy texture.
Freeze:
- Once the ice cream has reached the desired consistency, transfer it into an airtight container and freeze for at least 4 hours, or until firm.
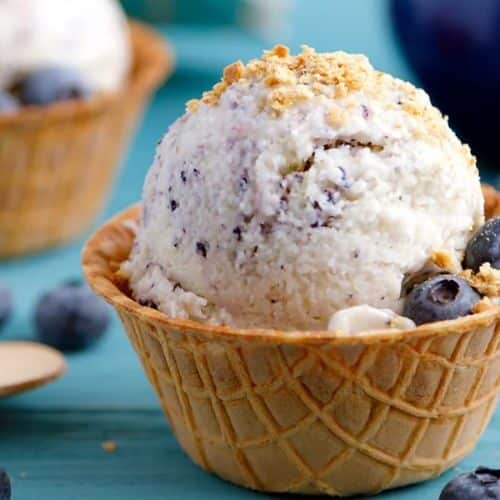
Serve:
- Scoop the Blueberry Cheesecake Ice Cream into bowls or cones and enjoy! You can top it with fresh blueberries, crushed graham crackers, or a drizzle of extra blueberry sauce for added flavor.
Notes
- Make Ahead: The blueberry sauce can be made ahead of time and stored in the refrigerator for up to 5 days.
- Fruit Variations: You can swap out the blueberries for other fruits like strawberries, raspberries, or blackberries for a different fruity twist.
- Sweetness Adjustment: Adjust the sweetness of both the cheesecake base and blueberry sauce to your preference by adding more or less sugar.
- Vegan Option: Use dairy-free cream cheese and coconut cream as substitutes for a vegan version of this ice cream.
