There’s nothing quite like the aroma of freshly baked bread filling your kitchen. But for those who follow a gluten-free diet, finding the perfect loaf that’s both delicious and nutritious can be a challenge.
That’s where this Gluten-Free Multigrain Bread recipe comes in—offering a wholesome, hearty alternative to store-bought options that often lack flavor and texture.
This bread is packed with nutrient-rich whole grains, fiber, and healthy fats, making it a great choice for anyone looking to enjoy a slice of homemade goodness.
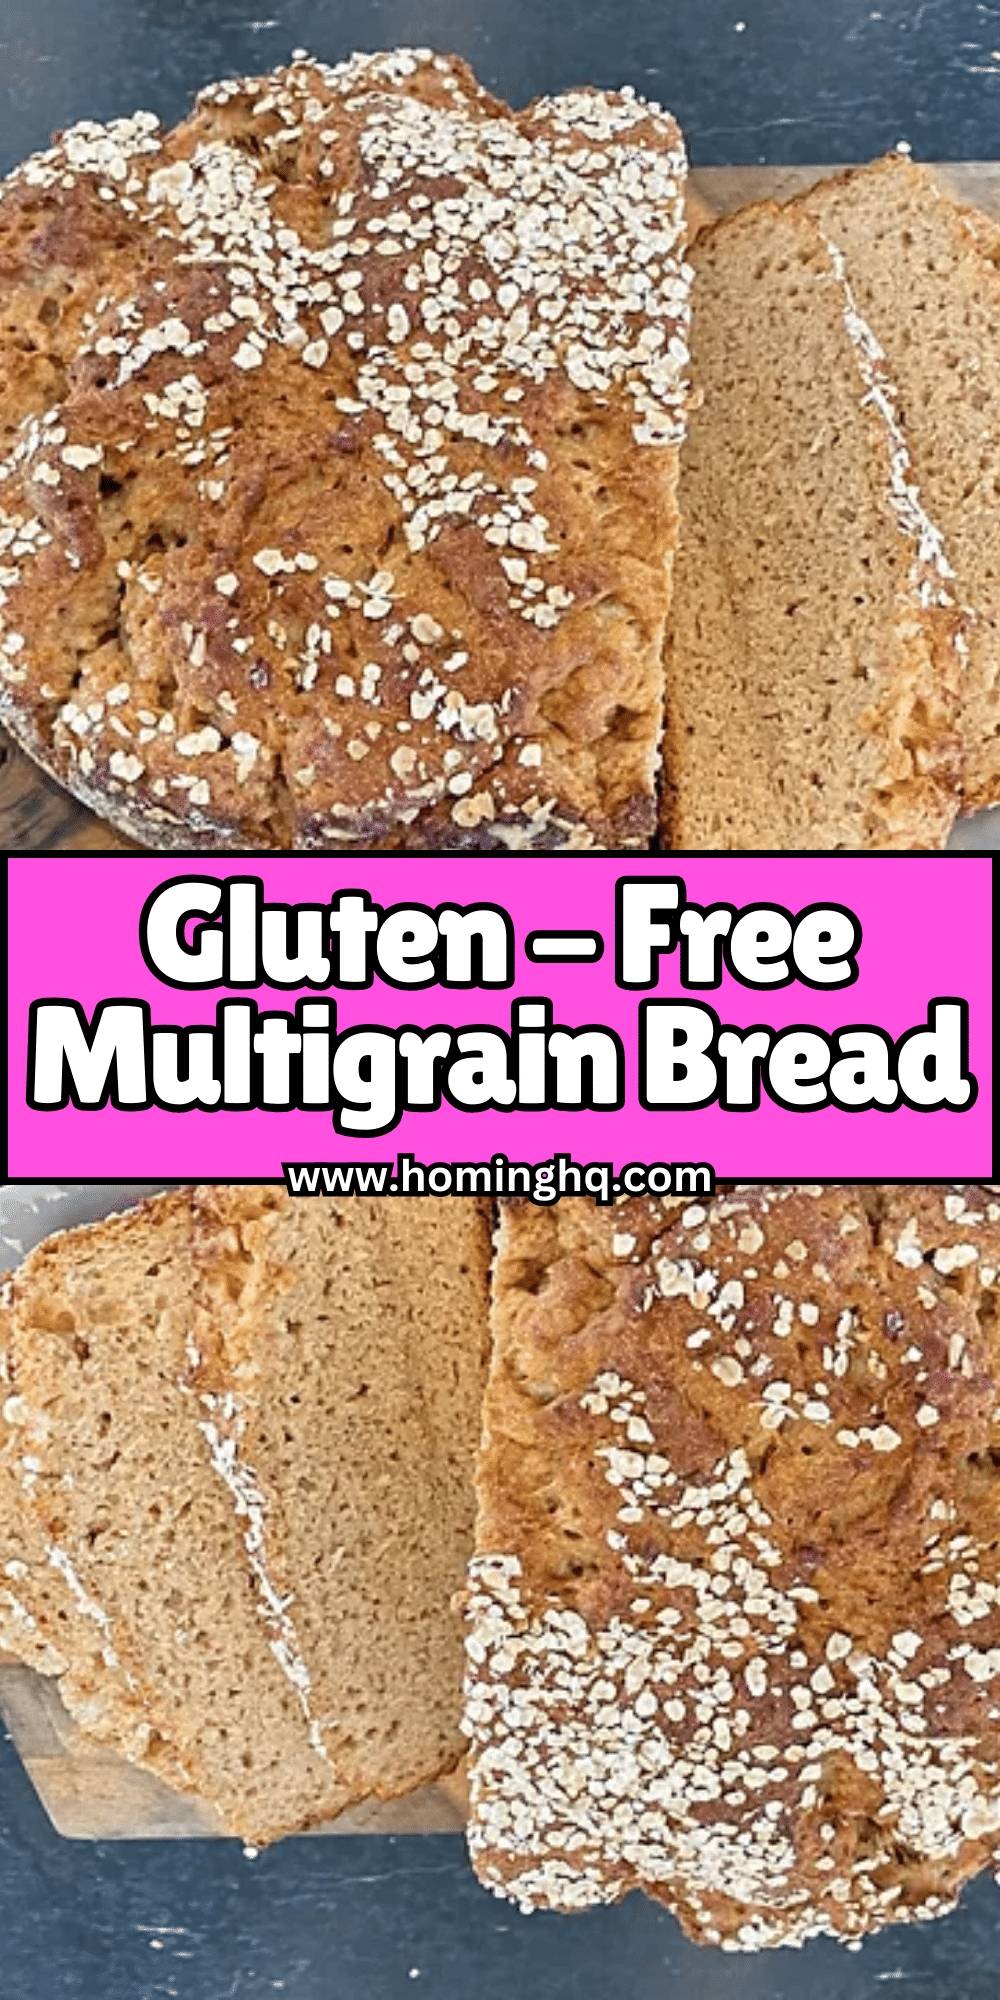
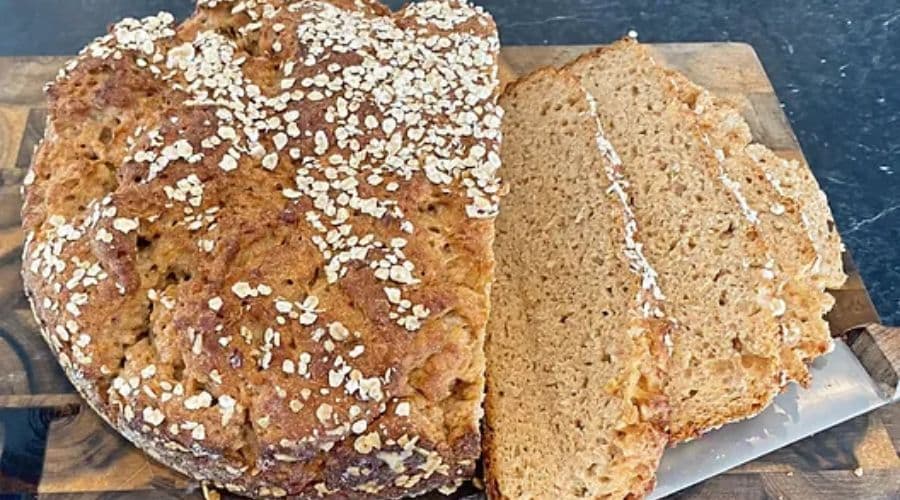
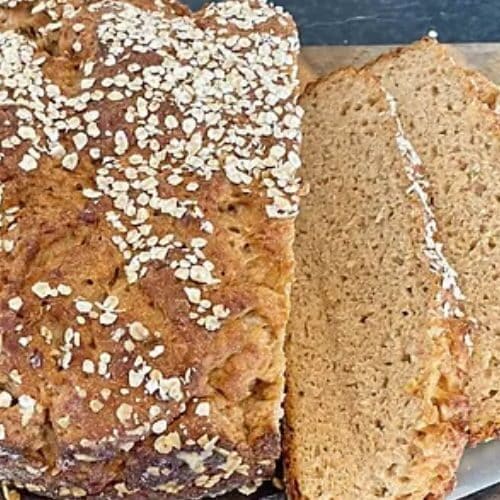
It has a soft, slightly chewy texture with a golden crust that makes it ideal for sandwiches, toast, or simply enjoying with a bit of butter. Whether you’re new to gluten-free baking or a seasoned pro, this easy-to-follow recipe will help you create a loaf that’s both satisfying and nourishing.

Why You’ll Love This Gluten-Free Multigrain Bread
Hearty and Flavorful
Unlike some gluten-free breads that can be dry or crumbly, this loaf has a wonderful balance of softness and density, giving it a satisfying bite with every slice. The combination of grains provides a nutty, slightly earthy flavor that pairs well with both sweet and savory toppings.
Nutrient-Dense and Gut-Friendly
This bread isn’t just about being gluten-free—it’s about maximizing nutrition. Made with whole grain flours, seeds, and fiber-rich ingredients, it supports digestive health and keeps you feeling full longer.
No Preservatives or Additives
Many store-bought gluten-free breads contain unnecessary fillers, gums, and preservatives to improve texture and shelf life. By baking your own, you control every ingredient—ensuring a wholesome, natural loaf every time.
Versatile and Easy to Make
Whether you enjoy it fresh, toasted, or as a sandwich base, this bread holds up beautifully. Plus, it’s a beginner-friendly recipe with simple steps and customizable ingredients to suit your dietary needs.
The Key Ingredients for the Perfect Loaf
A great gluten-free multigrain bread starts with the right combination of flours, grains, and binders. Each ingredient plays a crucial role in achieving the perfect texture and flavor.
Gluten-Free Flours & Whole Grains
- Brown Rice Flour: Adds a mild flavor and light texture.
- Sorghum Flour: Provides a slightly sweet, hearty taste.
- Oat Flour (Certified Gluten-Free): Enhances softness and chewiness.
- Flaxseeds or Chia Seeds: Help with moisture retention and add omega-3s.
- Sunflower or Pumpkin Seeds: Add texture and a nutty crunch.
Binding Agents & Leavening
- Xanthan Gum or Psyllium Husk: Essential for structure and elasticity, preventing a crumbly texture.
- Baking Powder or Yeast: Helps the bread rise, making it airy rather than dense.
Moisture & Flavor Enhancers
- Olive Oil or Melted Butter: Adds richness and prevents dryness.
- Honey or Maple Syrup: Balances flavors and helps with browning.
- Apple Cider Vinegar: Enhances the dough’s ability to rise and creates a softer crumb.
Each of these ingredients works together to create a well-balanced, hearty, and flavorful gluten-free multigrain bread that you’ll love baking and eating.
Step-by-Step Instructions for Baking Gluten-Free Multigrain Bread

Baking gluten-free bread is slightly different from traditional wheat-based bread, but with these clear and easy steps, you’ll get a perfectly soft and flavorful loaf every time.
Step 1: Prepare the Dry Ingredients
In a large mixing bowl, whisk together the brown rice flour, sorghum flour, oat flour, flaxseeds, and any seeds you’re using. Add the xanthan gum (or psyllium husk), baking powder, and salt to ensure even distribution of ingredients.
Step 2: Activate the Yeast (If Using a Yeast-Based Recipe)
- In a small bowl, combine warm water (about 110°F), yeast, and a teaspoon of honey or sugar.
- Let it sit for 5-10 minutes until it becomes frothy—this means the yeast is active and ready to help your bread rise.
Step 3: Mix the Wet Ingredients
In another bowl, whisk together eggs (or egg substitute), olive oil, honey (or maple syrup), and apple cider vinegar. These ingredients add moisture, help with binding, and contribute to a well-balanced flavor.
Step 4: Combine Everything and Let the Dough Rest
- Slowly add the wet ingredients to the dry mixture while stirring. If you’re using yeast, add it in at this stage.
- The dough should be thicker than cake batter but softer than traditional bread dough—sticky but manageable.
- Cover the bowl with a clean kitchen towel and let the dough rest for about 30 minutes. This allows the flours to absorb moisture, resulting in a better texture.
Step 5: Shape and Bake
- Preheat your oven to 375°F (190°C) and grease a loaf pan.
- Transfer the dough into the pan, smoothing the top with a spatula. You can sprinkle additional seeds on top for extra texture.
- Bake for 40-50 minutes until the top is golden brown and a toothpick inserted in the center comes out clean.
Step 6: Cool and Enjoy
- Remove the bread from the oven and let it cool in the pan for 10 minutes.
- Transfer to a wire rack and allow it to cool completely before slicing—this helps set the texture and prevents crumbling.
With these steps, you’ll have a homemade gluten-free multigrain bread that’s fresh, flavorful, and perfect for any meal!
Tips for Making the Best Gluten-Free Multigrain Bread
Baking gluten-free bread can be tricky, but with the right techniques, you’ll get a soft, well-structured, and flavorful loaf every time. Here are some key tips to help you perfect your gluten-free multigrain bread.
Hydration is Key
Gluten-free flours absorb more liquid than traditional wheat flours. If your dough feels too dry, don’t be afraid to add a little more liquid (water, milk, or even a dairy-free alternative). The dough should be thicker than cake batter but not as firm as regular bread dough.
Don’t Skip the Binding Agents
Since gluten provides elasticity in traditional bread, you need a replacement like xanthan gum, guar gum, or psyllium husk to keep your loaf from crumbling. Psyllium husk is particularly great for creating a more wheat-like texture.
Allow the Dough to Rest
Letting your dough rest before baking allows the flours to fully absorb the moisture, which improves texture and prevents a gritty feel. A 30-minute resting period before baking is ideal.
Use a Loaf Pan for Structure
Unlike regular bread dough that can hold its shape, gluten-free dough is softer and needs support while baking. A 9×5-inch loaf pan helps the dough rise properly and maintain a structured shape.
Check for Doneness Properly
Gluten-free bread can sometimes look done on the outside but still be undercooked inside. To ensure your loaf is fully baked:
- Tap the top; it should sound hollow.
- Insert a thermometer into the center. The bread is done when the internal temperature reaches 200–210°F (93–99°C).
Let It Cool Completely
One of the biggest mistakes is slicing gluten-free bread too soon. Cooling allows the crumb to set and prevents a gummy texture. Wait at least one hour before cutting into your loaf.
Storage and Freezing Instructions
Gluten-free bread tends to dry out faster than traditional bread, so proper storage is key to maintaining its freshness and texture.
Storing at Room Temperature
- Wrap the cooled loaf in plastic wrap or a clean kitchen towel to retain moisture.
- Store in an airtight container at room temperature for up to two days.
- If your kitchen is humid, store it in the refrigerator to prevent mold, but keep in mind that refrigeration can make gluten-free bread firmer.
Freezing for Long-Term Storage
- Slice the bread before freezing so you can easily take out individual slices as needed.
- Wrap slices or the whole loaf tightly in plastic wrap, then place in a freezer-safe bag.
- Label the bag with the date, and store in the freezer for up to three months.
Reheating Instructions
- For best results, toast frozen slices directly in a toaster or oven to restore texture.
- If reheating a whole loaf, wrap it in foil and bake at 300°F (150°C) for 10–15 minutes until warmed through.
With proper storage, you can enjoy homemade gluten-free multigrain bread that tastes just as fresh as the day you baked it. Would you like any variations or substitutions included?
Serving Ideas & Pairings
Gluten-free multigrain bread is incredibly versatile, making it perfect for a variety of meals and snacks. Whether you enjoy it plain or with flavorful toppings, here are some great ways to serve it.
For Breakfast
- Toasted with butter and honey for a simple, comforting start to the day.
- Spread with nut butter and sliced bananas for a protein-packed option.
- Served with avocado, a sprinkle of sea salt, and red pepper flakes for a savory kick.
For Lunch & Dinner
- Used for sandwiches with fresh vegetables, cheese, and proteins like grilled chicken or turkey.
- Served alongside soups or stews, where its hearty texture complements warm, comforting dishes.
- As a base for open-faced sandwiches with hummus, smoked salmon, or egg salad.
For Snacks & Entertaining
- Sliced and toasted as crackers for dips like guacamole, hummus, or spinach-artichoke dip.
- Cut into cubes and baked into gluten-free croutons for salads.
- Drizzled with olive oil and herbs, then toasted for a savory bread option.
This bread is not only delicious fresh but also works well with a variety of toppings and meal combinations.
Frequently Asked Questions
1. Can I make this bread vegan?
Yes, you can make this recipe vegan by using flax eggs (1 tablespoon ground flaxseed + 3 tablespoons water per egg) as an egg substitute. Also, replace honey with maple syrup and use a dairy-free milk alternative.
2. Can I substitute different gluten-free flours?
Yes, but keep in mind that different gluten-free flours have different textures and absorption rates. For best results, try replacing sorghum flour with millet flour or oat flour with almond flour, but always keep a mix of whole-grain and starchy flours for balance.
3. How do I prevent my bread from being too dry or too wet?
If your bread is too dry, try increasing the liquid content slightly or adding an extra tablespoon of oil. If it’s too wet, ensure you measure flours correctly and avoid overmixing. Letting the dough rest before baking also helps improve texture.
4. Can I bake this in a bread machine?
Yes, many bread machines have a gluten-free setting that works well for this recipe. Follow your machine’s instructions and ensure the ingredients are well-mixed before starting the cycle.
5. How do I get a crispier crust?
To achieve a crispier crust, bake the bread for an extra 5–10 minutes, then allow it to cool in the oven with the door slightly open. You can also brush the crust with olive oil before baking for added crunch.
Final Thoughts
Baking your own gluten-free multigrain bread is a rewarding experience that allows you to enjoy a fresh, flavorful, and nutritious loaf without preservatives or artificial additives. With its hearty texture, rich flavor, and endless serving possibilities, this bread is a must-try for anyone on a gluten-free diet.
Whether you enjoy it fresh, toasted, or as part of a delicious meal, this homemade bread will quickly become a staple in your kitchen. Experiment with different grains and seeds to find your perfect combination, and don’t hesitate to customize the recipe to fit your preferences.
If you try this recipe, let me know how it turned out! I’d love to hear your feedback and any creative variations you come up with. Happy baking!

Gluten-Free Multigrain Bread
Equipment
- 1 large mixing bowl
- 1 loaf pan (9×5 inches)
- 1 whisk
- 1 Spatula
- 1 Small bowl (for proofing yeast)
- 1 kitchen towel (for covering dough)
- 1 oven
Ingredients
- 1 cup 120g brown rice flour
- 1/2 cup 60g sorghum flour
- 1/2 cup 50g oat flour (certified gluten-free)
- 2 tbsp 20g ground flaxseeds
- 2 tbsp 20g sunflower seeds (optional)
- 1 tsp xanthan gum or psyllium husk
- 1 tsp baking powder
- 1 tsp salt
- 1 packet 7g active dry yeast
- 1 cup 240ml warm water (110°F/43°C)
- 1 tbsp honey or maple syrup for vegan option
- 2 large eggs or flax eggs for vegan option
- 2 tbsp 30ml olive oil (or melted butter)
- 1 tbsp 15ml apple cider vinegar
Instructions
Prepare the Dry Ingredients
- In a large bowl, whisk together the brown rice flour, sorghum flour, oat flour, flaxseeds, sunflower seeds, xanthan gum, baking powder, and salt. Set aside.
Activate the Yeast
- In a small bowl, combine warm water, yeast, and honey. Stir and let sit for 5–10 minutes until the mixture becomes frothy, signaling that the yeast is active.
Mix the Wet Ingredients
- In another bowl, whisk together the eggs, olive oil, and apple cider vinegar.
Combine Wet and Dry Ingredients
- Pour the activated yeast mixture and wet ingredients into the dry ingredients. Stir until the dough is thick, but soft and sticky. The dough should resemble a thick cake batter rather than traditional bread dough.
Rest the Dough
- Cover the bowl with a clean kitchen towel and let the dough rest for 30 minutes. This allows the flour to absorb moisture, improving the texture of the bread.
Shape the Dough and Bake
- Preheat the oven to 375°F (190°C). Grease a 9×5-inch loaf pan. Transfer the dough into the pan and smooth the top with a spatula.
- Bake the bread for 40–50 minutes until the top is golden brown and a toothpick inserted in the center comes out clean.
Cool and Slice
- Remove from the oven and let cool in the pan for about 10 minutes. Then, transfer the bread to a wire rack and allow it to cool completely before slicing.
Notes
- For a vegan version, use flax eggs (1 tbsp ground flaxseed + 3 tbsp water per egg) and replace honey with maple syrup.
- The bread will keep well at room temperature for up to 2 days. To extend shelf life, wrap in plastic or store in an airtight container.
- If you want a crispier crust, brush the top with olive oil before baking or bake it for a few extra minutes.
- For added flavor and texture, feel free to mix in other seeds like pumpkin, sesame, or chia.

