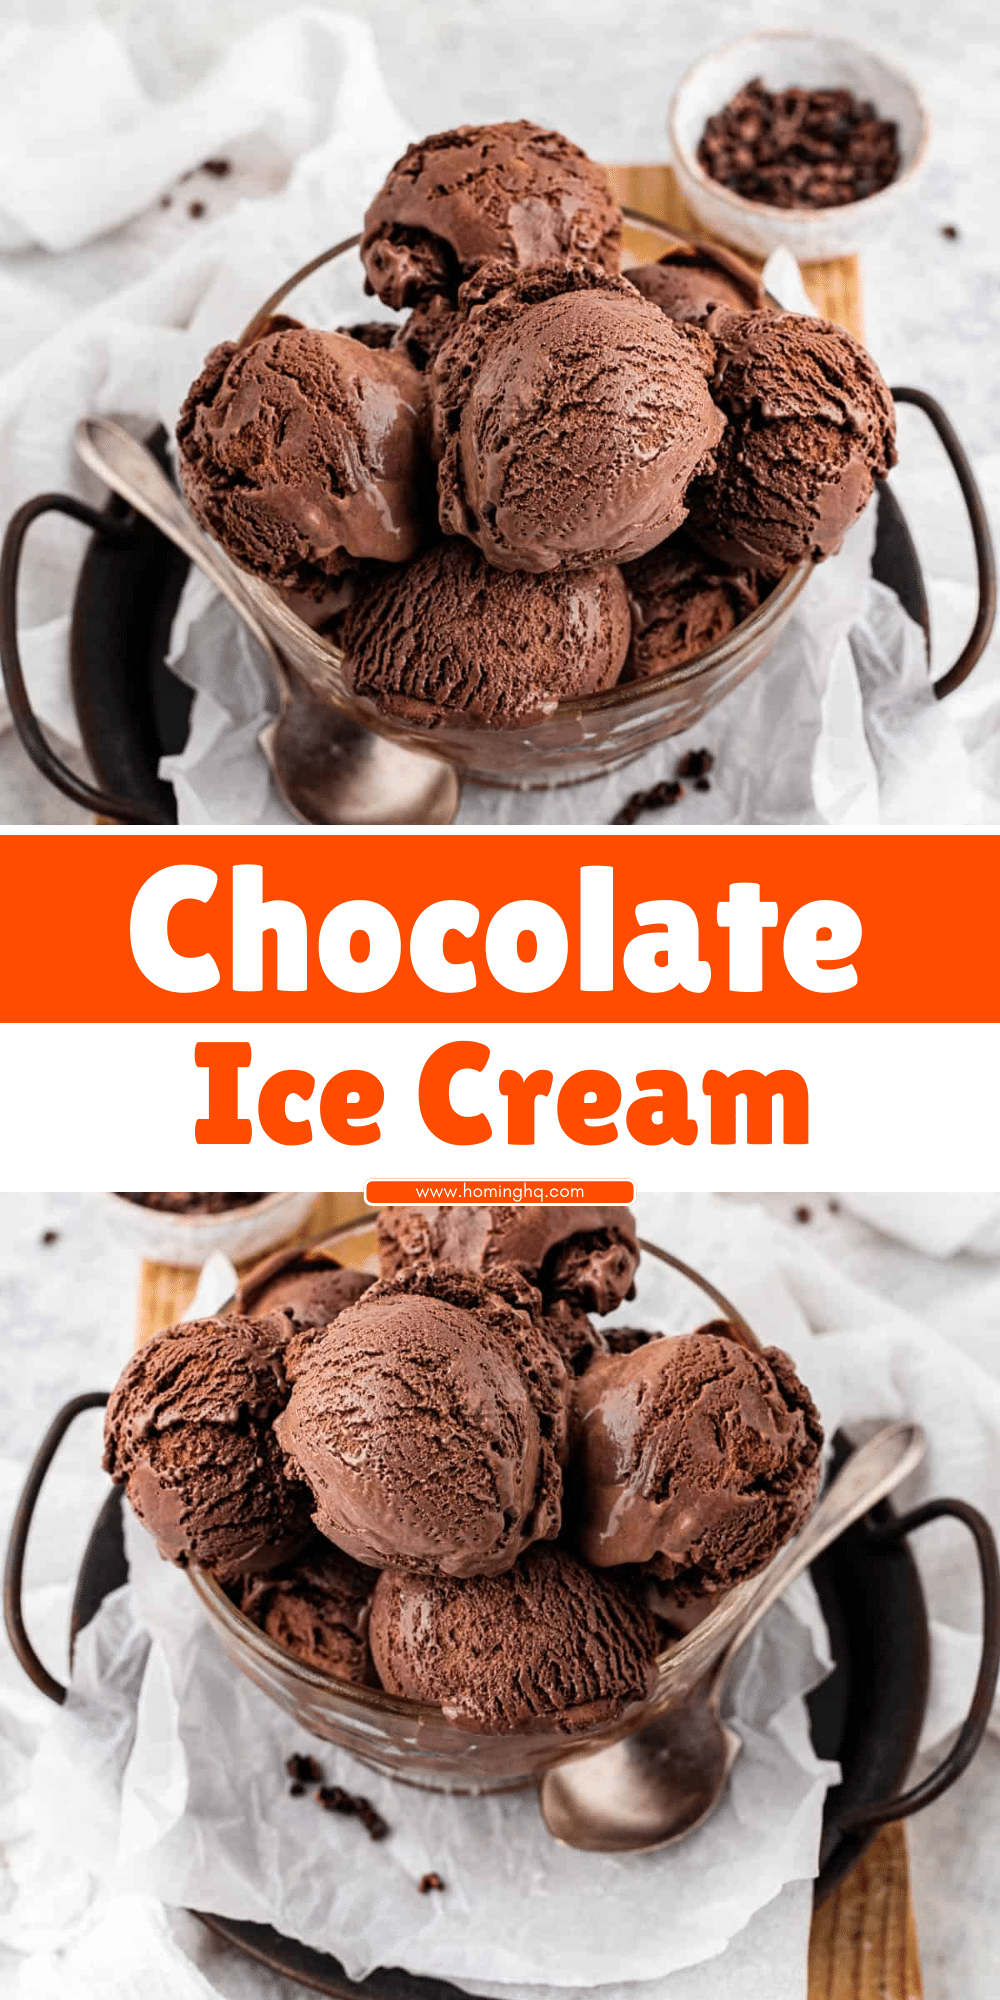
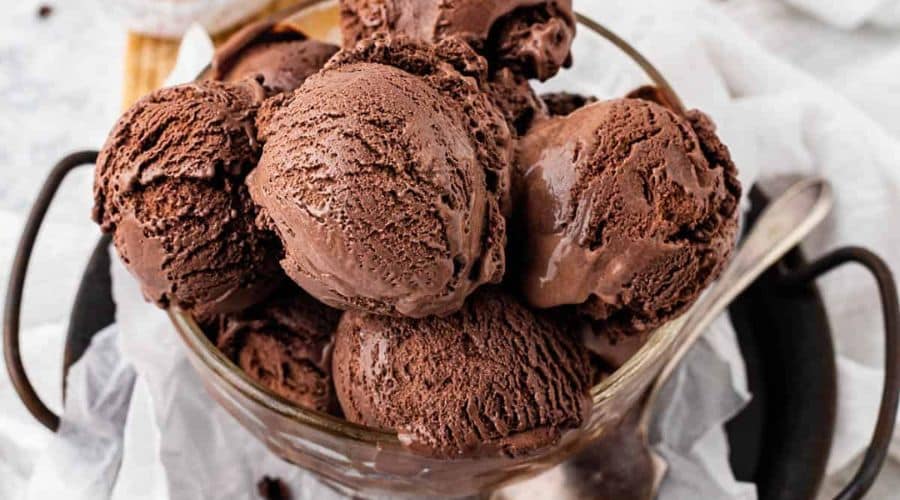
Chocolate ice cream is a classic favorite that never goes out of style. Whether it’s a warm summer day or you’re simply craving a sweet, creamy treat, homemade chocolate ice cream brings an irresistible richness and depth of flavor that store-bought options often lack.
The beauty of making it from scratch lies not only in the quality of ingredients but also in the ability to customize the flavor and texture to your liking.
By making chocolate ice cream at home, you can achieve the perfect balance of smoothness, sweetness, and chocolatey goodness, creating a dessert that will impress both family and friends.
In this post, we’ll guide you through each step of the process to create your own velvety chocolate ice cream, from the ingredients to the tools needed for success.

Ingredients Needed for Homemade Chocolate Ice Cream
To create the best chocolate ice cream, it’s essential to start with high-quality ingredients. Here’s everything you need:
- Heavy Cream: This provides the rich, velvety texture that makes ice cream so indulgent. You’ll need a generous amount to achieve the perfect creaminess.
- Whole Milk: Milk adds the necessary body and consistency. Whole milk works best, as it provides a balance between creaminess and lightness.
- Cocoa Powder: For that rich, deep chocolate flavor, unsweetened cocoa powder is key. Choose a high-quality cocoa for the best results.
- Dark Chocolate: The deep flavor of dark chocolate intensifies the chocolatey taste in your ice cream. It also contributes to the smoothness of the texture.
- Sugar: Granulated sugar sweetens the mixture. Be careful not to use too much—just enough to balance out the bitterness of the cocoa and chocolate.
- Vanilla Extract: A touch of vanilla extract enhances the chocolate flavor and adds a layer of warmth to the overall taste.
- Egg Yolks (Optional for Custard Base): If you want to make a custard-style ice cream, egg yolks are essential for thickening the base and creating a smooth texture.
Each of these ingredients comes together to create the perfect base for your homemade chocolate ice cream. You can also customize the recipe with additional mix-ins, but these basic ingredients will ensure that your ice cream has the perfect foundation.
Tools You’ll Need to Make Chocolate Ice Cream
To make your chocolate ice cream, you’ll need a few essential tools to ensure the process goes smoothly and results in a creamy, smooth treat. Here’s a list of what you’ll need:
- Ice Cream Maker (Manual or Electric): The star of the show! An ice cream maker helps churn the mixture to create the smooth texture that’s characteristic of good ice cream. If you don’t have an ice cream maker, you can still make it by hand, but using one will give you the best results.
- Mixing Bowls: You’ll need a large bowl for combining the ingredients and a smaller one for the custard if you’re making a custard base.
- Whisk and Spatula: A whisk is crucial for beating eggs and stirring the mixture, while a spatula helps scrape down the sides of bowls or the ice cream maker.
- Saucepan: A medium-sized saucepan is required to heat the cream, sugar, and egg yolks if you’re making a custard-style ice cream. It’s also used to melt the chocolate for your base.
- Fine Sieve or Strainer: If you want a perfectly smooth texture without any clumps, a fine sieve or strainer is essential to filter the mixture after cooking or before churning.
- Thermometer (Optional): A thermometer helps you ensure the custard reaches the right temperature without overcooking, ensuring a smooth and safe-to-eat result.
With these tools at hand, you’ll be able to craft your homemade chocolate ice cream efficiently and with precision. Whether you’re making a custard base or a simpler version, having the right tools makes the process easier and more enjoyable.
Step-by-Step Instructions for Making Chocolate Ice Cream

Making homemade chocolate ice cream is a rewarding process, and following these clear steps will ensure a creamy, rich result. Here’s how to make your own decadent chocolate ice cream from scratch:
Step 1: Prepare the Chocolate Base
Start by melting the dark chocolate in a saucepan over low heat, stirring constantly until smooth. Once melted, add the cocoa powder to the chocolate and mix thoroughly to form a smooth paste. In a separate saucepan, combine whole milk and a portion of heavy cream (save some cream for later). Heat the mixture over medium heat until it’s warm but not boiling. Add the chocolate mixture to this milk and cream base, stirring to combine completely. Remove from heat and set aside to cool slightly.
Step 2: Make the Custard (If Using Egg Yolks)
If you’re making a custard-style chocolate ice cream, whisk egg yolks in a mixing bowl with sugar until the mixture becomes thick and pale. Gradually pour a small amount of the warm chocolate mixture into the egg yolks while whisking constantly to temper the eggs. Once tempered, slowly add the egg mixture back into the saucepan with the remaining chocolate mixture, stirring to combine.
Heat the mixture over low heat, stirring continuously until it thickens slightly and reaches a temperature of about 170°F (77°C), or until it coats the back of a spoon. This step creates the rich custard base that will give your ice cream a luxurious texture. Be careful not to let it boil, as this could cause the eggs to curdle.
Step 3: Chill the Mixture
Once the custard or chocolate base is prepared, remove it from heat and let it cool to room temperature. Afterward, transfer it to the refrigerator and chill for at least 2-3 hours, or overnight if possible. Chilling the mixture helps prevent the formation of ice crystals and ensures a smooth consistency when churning.
Step 4: Churn the Ice Cream
Once the base is chilled, pour it into your ice cream maker. Follow the manufacturer’s instructions for your specific model, but generally, you’ll churn the mixture for about 20-25 minutes, or until it reaches a soft-serve consistency. The ice cream will thicken as it churns and turn into a creamy base.
Step 5: Freeze the Ice Cream
Once the ice cream has finished churning, transfer it to a storage container. Use a spatula to smooth the top, and press a piece of plastic wrap or parchment paper directly onto the surface of the ice cream to prevent ice crystals from forming. Place the container in the freezer and allow it to harden for at least 4-6 hours, or until it reaches a firm consistency.
Tips for the Perfect Chocolate Ice Cream
To ensure your chocolate ice cream turns out just right, consider the following helpful tips:
1. Prevent Ice Crystals for a Smooth Texture
Ice crystals can form during the freezing process, resulting in a less-than-smooth texture. To prevent this, make sure your ice cream mixture is properly chilled before churning. Additionally, use an ice cream maker that’s been pre-chilled, and churn your ice cream until it reaches a soft-serve consistency before freezing it.
2. Chill the Base Thoroughly
Chilling your chocolate mixture is crucial for achieving a smooth texture. The colder the mixture is before it’s churned, the faster it will freeze and the smoother the final product will be. If you’re in a hurry, consider placing the mixture in an ice bath for a quicker cool-down before refrigerating.
3. Use High-Quality Chocolate and Cocoa Powder
The quality of the chocolate and cocoa powder you use will directly impact the flavor of your ice cream. Choose a rich, high-quality dark chocolate and unsweetened cocoa powder for the best chocolatey taste. This will help create a deep, satisfying flavor that’s superior to lower-quality options.
4. Avoid Over-Churning
It’s important to stop churning once the ice cream reaches a soft-serve consistency. Over-churning can lead to a grainy texture, as the ice cream will begin to become too firm and hard to work with. Pay close attention to the ice cream during the churning process to ensure you don’t overdo it.
5. Customize Your Flavors
If you’re feeling creative, consider adding flavor variations to your chocolate ice cream. A splash of vanilla extract, a pinch of cinnamon, or even a tablespoon of instant coffee can enhance the chocolate flavor and create a unique twist. Don’t be afraid to experiment with your favorite flavors!
By following these tips and taking your time with each step, you’ll ensure that your homemade chocolate ice cream is perfectly smooth, creamy, and packed with rich flavor. Enjoy the process, and savor the results!
Conclusion
Homemade chocolate ice cream is a delightful treat that brings the perfect combination of rich, velvety chocolate flavor and a creamy, smooth texture. By following the simple steps in this recipe, you can enjoy the satisfaction of crafting your own ice cream from scratch. Whether you’re treating yourself on a quiet evening or impressing guests at a dinner party, this homemade chocolate ice cream will certainly be a crowd-pleaser. Don’t hesitate to experiment with your own twists on the recipe, adding mix-ins or flavor variations to create the ultimate dessert. So, gather your ingredients, get your ice cream maker ready, and indulge in the sweet, creamy goodness of homemade chocolate ice cream.
Frequently Asked Questions (FAQ)
1. Can I make chocolate ice cream without an ice cream maker?
Yes, you can! If you don’t have an ice cream maker, you can still make chocolate ice cream by placing the chilled mixture in a shallow pan. Every 30 minutes, use a fork to stir the mixture vigorously until it firms up. Repeat this process for about 2-3 hours until you achieve the desired texture.
2. How long does homemade chocolate ice cream last in the freezer?
Homemade chocolate ice cream typically lasts for about 1-2 weeks in the freezer when stored in an airtight container. However, it’s best enjoyed within the first week for the freshest taste and smoothest texture.
3. Can I make chocolate ice cream without egg yolks?
Yes, you can. While egg yolks are used in some recipes to create a custard-like texture, they are not absolutely necessary. You can make a simpler version of chocolate ice cream by skipping the eggs and using just cream, milk, sugar, and chocolate for a slightly lighter texture.
4. How can I make dairy-free chocolate ice cream?
To make a dairy-free version, you can substitute the dairy ingredients with plant-based alternatives. Use coconut milk or almond milk in place of whole milk and heavy cream. For the chocolate, make sure it’s dairy-free or use a non-dairy chocolate option.
5. Can I add mix-ins like chocolate chips or fruit to the ice cream?
Absolutely! You can stir in your favorite mix-ins, such as chocolate chips, crushed cookies, or even fruits like raspberries or bananas, during the last few minutes of churning. This will incorporate them evenly into the ice cream and add extra flavor and texture to your creation.

Chocolate Ice Cream
Equipment
- Ice Cream Maker – 1 unit (manual or electric)
- Saucepan – 1 unit (medium size)
- Mixing Bowls – 2 units (one large, one medium)
- Whisk – 1 unit
- Spatula (1 unit)
- Fine Sieve/Strainer – 1 unit (optional for smooth texture)
- Fine Sieve/Strainer – 1 unit (optional for smooth texture)
- Storage Container – 1 unit (for freezing the ice cream)
Ingredients
- Heavy cream – 2 cups 480 ml
- Whole milk – 1 cup 240 ml
- Cocoa powder – 1/2 cup 40 g
- Dark chocolate chopped – 4 oz (115 g)
- Granulated sugar – 3/4 cup 150 g
- Vanilla extract – 1 tsp 5 ml
- Egg yolks – 4 large eggs optional for custard base
Instructions
- Prepare the Chocolate Base: In a saucepan, melt the dark chocolate over low heat, stirring constantly until smooth. In a separate saucepan, combine milk and half of the cream (reserve the rest for later). Heat until warm but not boiling. Stir in the cocoa powder and the melted chocolate mixture, mixing until fully incorporated. Set aside to cool slightly.
- Make the Custard (Optional): In a separate bowl, whisk the egg yolks and sugar until the mixture becomes pale and thick. Gradually add the warm chocolate mixture to the egg yolk mixture while whisking constantly to prevent curdling. Pour the egg mixture back into the saucepan and cook over low heat, stirring constantly until the custard thickens and reaches about 170°F (77°C). Remove from heat.
- Chill the Mixture: Allow the chocolate base (custard or non-custard) to cool to room temperature, then transfer to the refrigerator. Chill for at least 2-3 hours, or overnight for best results.
- Churn the Ice Cream: Pour the chilled mixture into your ice cream maker. Churn according to the manufacturer’s instructions for about 20-25 minutes, or until it reaches a soft-serve consistency.
- Freeze the Ice Cream: Transfer the churned ice cream into a storage container. Smooth the top with a spatula and cover it with plastic wrap. Freeze for 4-6 hours or until firm.
- Serve and Enjoy: Scoop and serve your homemade chocolate ice cream. Enjoy it as is or with your favorite toppings like chocolate chips, nuts, or fruit!
Notes
- Chill time is important: The longer you chill the base, the smoother and creamier the final ice cream will be.
- Egg yolks are optional: Using them creates a custard-based ice cream that’s richer and smoother, but you can skip them for a lighter texture.
- Flavor variations: Add in chocolate chips, crushed cookies, or nuts during the last few minutes of churning to create a fun mix-in. You can also try adding a pinch of cinnamon or a splash of coffee for a richer flavor profile.
- Storage: Store leftover ice cream in an airtight container to prevent freezer burn. It’s best consumed within 1-2 weeks.

