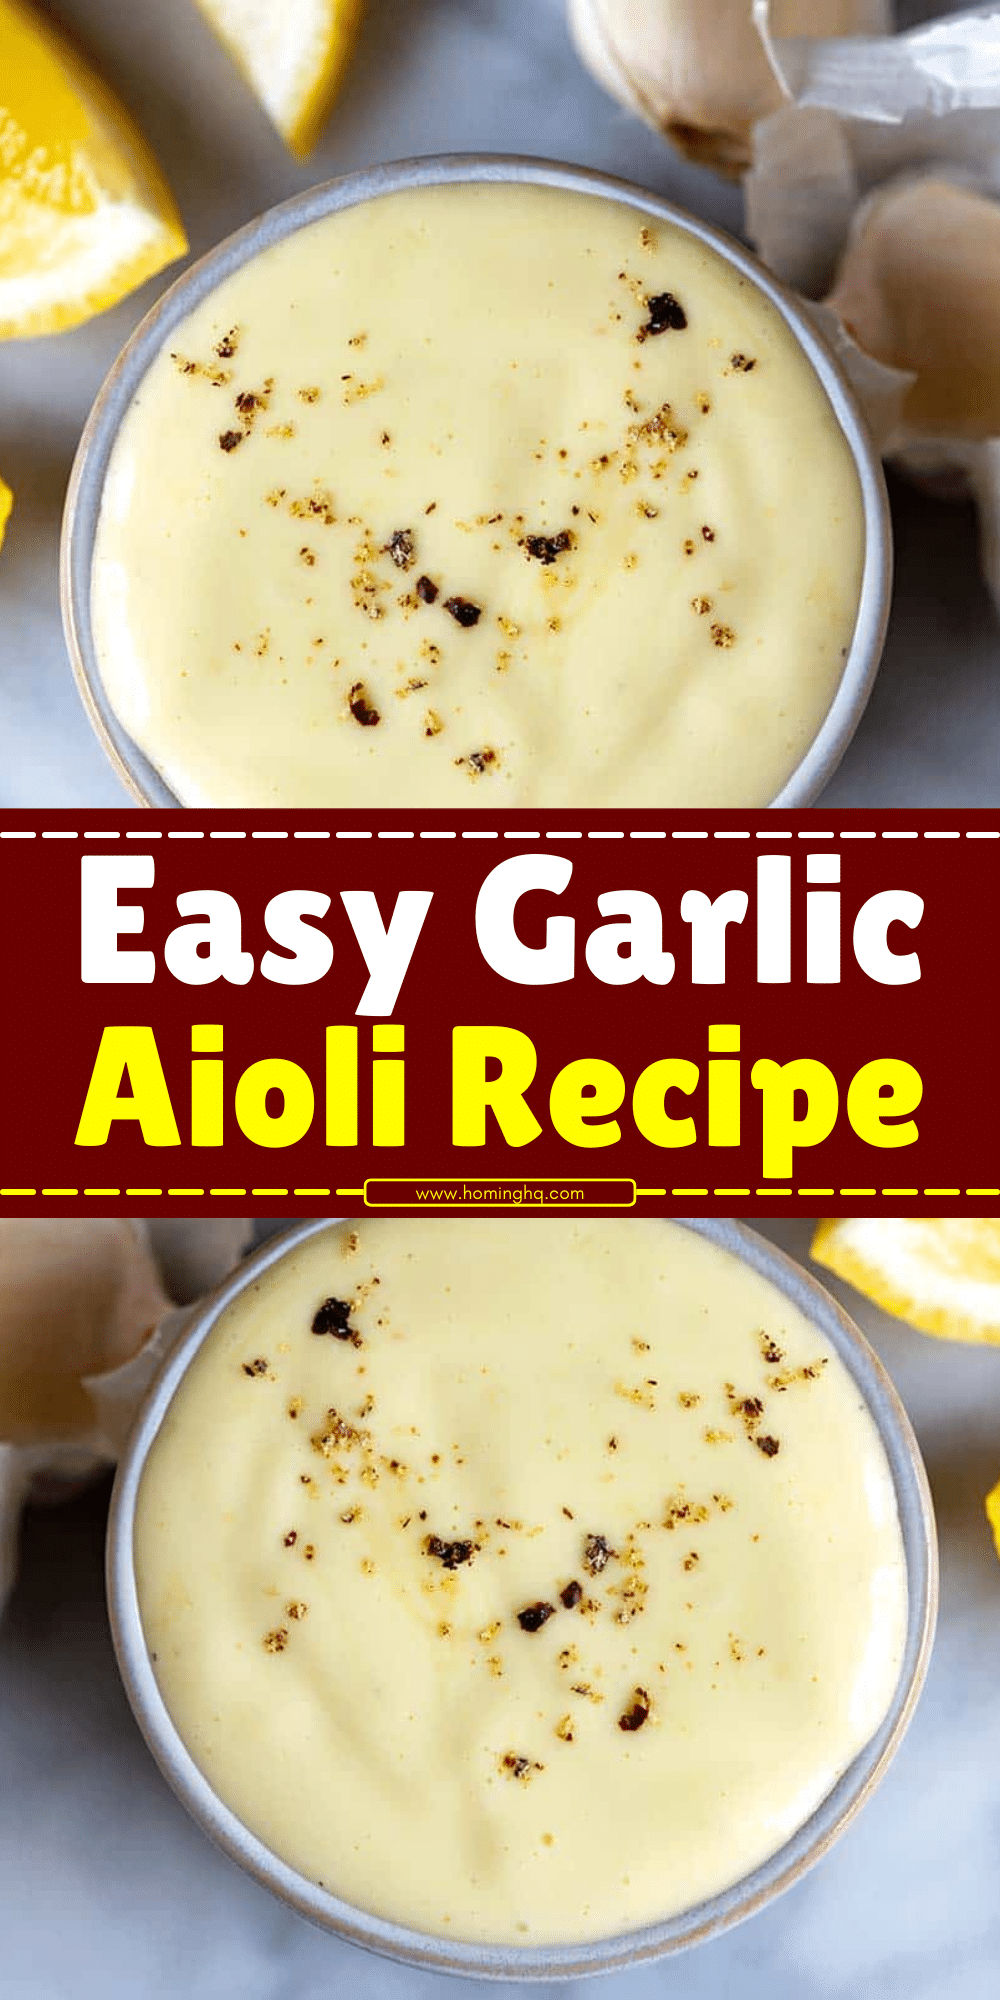
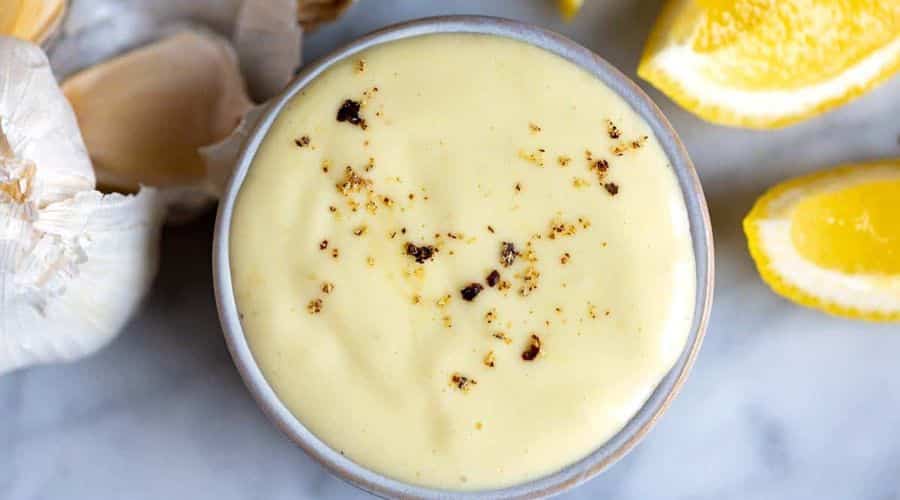
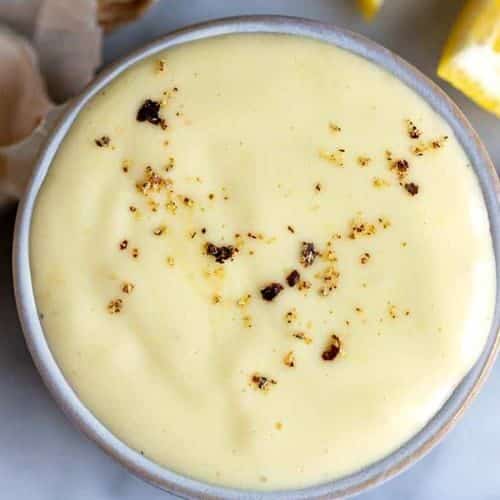
Garlic aioli is a rich and flavorful condiment that has gained popularity in many kitchens around the world.
Originating from the Mediterranean region, particularly in Spain and Provence, garlic aioli is a simple yet sophisticated sauce made primarily with garlic, olive oil, and egg yolk.
While many people confuse aioli with mayonnaise, there’s a distinct difference: traditional aioli is made with garlic and oil, while mayonnaise includes additional ingredients like vinegar or lemon juice.
This creamy sauce adds an irresistible depth of flavor to a wide variety of dishes, from roasted vegetables to sandwiches and fries.
Its versatility as a dip, spread, or topping makes it a must-have in your culinary repertoire.
Whether you’re looking for a quick snack or aiming to elevate a meal, garlic aioli will always deliver that punch of flavor you crave.

Ingredients You’ll Need for Garlic Aioli
To create the perfect garlic aioli, you’ll need the following ingredients, which are commonly found in most kitchens:
Main Ingredients
- Garlic: Fresh garlic cloves are essential for creating that bold, savory flavor that aioli is known for.
- Egg Yolk: This helps emulsify the ingredients and creates the rich, creamy texture.
- Lemon Juice: Adds brightness and balances the strong flavors of garlic and oil.
- Olive Oil: A good quality extra virgin olive oil gives the aioli its smoothness and subtle fruity flavor.
Optional Ingredients for Variations
- Dijon Mustard: Adds a mild tanginess and helps with emulsification.
- Salt: Enhances the overall flavor, so use it to taste.
- Fresh Herbs: For additional flavor, you can include herbs like parsley, basil, or thyme.
Tools You’ll Need
- A whisk or hand blender
- A bowl (if whisking by hand) or a blender/food processor
- A garlic press or knife to mince the garlic
Step-by-Step Instructions to Make Garlic Aioli

1. Prepare the Garlic
The first step is to prepare the garlic. You can either use raw garlic or roast it for a milder, sweeter flavor. For raw garlic, peel the cloves and finely mince or crush them using a garlic press. For roasted garlic, cut off the top of a bulb of garlic, drizzle it with olive oil, and bake it until soft and caramelized. Then, squeeze out the soft garlic from the cloves.
2. Emulsify the Aioli
In a bowl, combine the minced garlic with the egg yolk and lemon juice. Begin whisking vigorously to create an emulsion. This is where the magic happens – slowly drizzle in olive oil, a little at a time, while continuing to whisk constantly. The oil should be incorporated slowly, so the mixture thickens and turns into a creamy consistency.
If you’re using a blender or food processor, the process will be quicker. Simply combine all the ingredients (garlic, egg yolk, lemon juice) and blend. While the blender is running, slowly add the olive oil until the mixture thickens and becomes smooth.
3. Adjust Seasoning
Once the aioli has reached the desired consistency, taste it and adjust the seasoning. Add salt to taste and, if necessary, more lemon juice to achieve the right balance of flavors. You can also add a small amount of Dijon mustard at this point for extra tang.
4. Chill and Serve
Once your aioli is ready, transfer it to a jar or airtight container. Chill in the refrigerator for at least an hour before serving to allow the flavors to meld.
Tips for Perfect Garlic Aioli Every Time
Use Fresh, High-Quality Ingredients
For the best results, always use fresh garlic and good-quality olive oil. These ingredients form the base of your aioli, so their quality will directly impact the flavor of the finished product.
Emulsify Slowly and Steadily
One of the most important techniques for making aioli is emulsification. When incorporating the olive oil, be patient and add it slowly, especially if you’re whisking by hand. Rushing this step can cause the mixture to break, leaving you with a thin and separated sauce.
Adjust the Flavor to Your Liking
Feel free to experiment with the flavors. Add more garlic for a stronger punch, or increase the lemon juice for a tangier aioli. Taste as you go and make adjustments to suit your preferences.
Use Room Temperature Ingredients
Ensure that your egg yolk and olive oil are at room temperature before you start. Cold ingredients can make it more difficult for the emulsion to form properly.
By following these tips, you’ll ensure that your garlic aioli comes out perfectly every time, with a silky smooth texture and robust flavor.
How to Store Garlic Aioli
Proper Storage for Freshness
Garlic aioli is best stored in an airtight container in the refrigerator. Be sure to keep it covered tightly to maintain its creamy texture and prevent any odors from affecting its flavor. Homemade aioli typically lasts for up to 4-5 days when stored properly in the fridge.
Reviving Separated Aioli
Sometimes, aioli can thicken or separate slightly after refrigeration. If this happens, simply whisk the aioli again to reincorporate the ingredients. If it’s too thick, add a teaspoon of water or olive oil to adjust the consistency.
Avoid Freezing Aioli
It’s not recommended to freeze garlic aioli because the texture may become grainy once thawed. The oil and egg yolk may separate, causing the aioli to lose its smooth, creamy consistency.
Variations of Garlic Aioli
Spicy Garlic Aioli
For those who love a little heat, you can easily turn your classic garlic aioli into a spicy version. Add a dash of cayenne pepper or chili flakes for a subtle kick, or incorporate a tablespoon of sriracha or your favorite hot sauce to bring up the heat.
Herbed Garlic Aioli
Take your garlic aioli to the next level by incorporating fresh herbs. Add finely chopped parsley, basil, thyme, or rosemary to infuse the aioli with bright, aromatic flavors. Fresh herbs can elevate the aioli and make it a perfect complement to grilled meats or roasted vegetables.
Vegan Garlic Aioli
If you’re following a plant-based diet, you can make a vegan version of garlic aioli by replacing the egg yolk with aquafaba (the liquid from canned chickpeas) or another egg substitute. The aquafaba will help create a similar creamy texture, allowing you to enjoy all the flavors of garlic aioli without the eggs.
Lemon Garlic Aioli
For a zesty twist, add extra lemon juice to your garlic aioli. This variation adds a bright, citrusy note that pairs wonderfully with seafood, chicken, or grilled vegetables. You can also zest the lemon for added intensity.
Smoked Garlic Aioli
For a smoky flavor, try using smoked garlic or adding smoked paprika to your aioli. This creates a unique depth that’s perfect for pairing with barbecued meats or roasted root vegetables.
Conclusion
Garlic aioli is a simple yet incredibly versatile condiment that brings bold flavor to just about any dish. Whether you’re using it as a dip, a spread, or a topping, this creamy sauce adds an irresistible depth of taste that can transform your meals. The beauty of making garlic aioli from scratch lies in the ability to customize it to suit your flavor preferences, whether you want a spicier, herby, or vegan variation.
With just a handful of ingredients, you can elevate everyday dishes like fries, roasted vegetables, or sandwiches. Its creamy texture and rich garlic flavor will surely become a staple in your kitchen, and once you learn the basic technique, you’ll be able to create endless variations to keep things exciting.
Frequently Asked Questions
1. Can I make garlic aioli without an egg?
Yes, you can make garlic aioli without an egg! A vegan version can be made using aquafaba (the liquid from canned chickpeas) as a substitute for egg yolk. It will help create the same creamy texture and flavor.
2. How do I prevent my garlic aioli from separating?
The key to preventing separation is slow emulsification. Add the oil very gradually while whisking constantly, especially if you’re making it by hand. If you’re using a blender or food processor, ensure that all ingredients are at room temperature for the best results.
3. Can I store garlic aioli for more than 5 days?
It’s best to use garlic aioli within 4-5 days for optimal freshness and flavor. While it may still be safe to eat after that, the texture and taste might degrade over time.
4. How do I make garlic aioli less garlicky?
If you find the garlic flavor too strong, you can reduce the amount of garlic in the recipe or use roasted garlic instead of raw garlic for a milder, sweeter flavor. Adding more lemon juice or a small amount of Dijon mustard can also help balance the flavor.
5. What can I serve garlic aioli with?
Garlic aioli is perfect with a variety of dishes! Use it as a dip for fries, roasted vegetables, or shrimp. It also makes a great spread for sandwiches, burgers, and wraps, or a topping for grilled meats and fish. The possibilities are endless!

Garlic Aioli
Equipment
- 1 small bowl (for mixing)
- 1 Whisk or Blender/Food Processor (for emulsifying)
- 1 garlic press or knife (for mincing garlic)
- 1 Airtight Container (for storing aioli)
Ingredients
- 2 cloves garlic minced or crushed
- 1 large egg yolk
- 1 tablespoon lemon juice
- 1 cup extra virgin olive oil
- 1/2 teaspoon salt to taste
- 1/2 teaspoon Dijon mustard optional, for extra flavor
Instructions
- Prepare the Garlic: Peel and finely mince the garlic cloves. For a smoother flavor, you can roast the garlic beforehand.
- Combine Egg Yolk, Lemon Juice, and Garlic: In a small bowl, whisk together the egg yolk, lemon juice, and minced garlic until well combined.
- Emulsify with Olive Oil: Slowly drizzle in the olive oil, a few drops at a time, while whisking continuously. The mixture should start to thicken as you whisk. Continue to add the oil slowly, allowing the aioli to emulsify into a smooth and creamy consistency.
- Season the Aioli: Once all the oil is incorporated, taste the aioli and adjust seasoning with salt and optional Dijon mustard.
- Chill and Serve: Transfer the aioli to an airtight container and refrigerate for at least an hour before serving to allow the flavors to meld.
Notes
- For a milder aioli, use roasted garlic instead of raw garlic.
- To make a vegan version, replace the egg yolk with aquafaba (chickpea liquid).
- If the aioli becomes too thick after refrigeration, simply whisk in a small amount of olive oil or water to adjust the consistency.
- Store aioli in an airtight container in the fridge for up to 4-5 days.

