Every product is independently reviewed and selected by our editors. If you buy something through our links, we may earn an affiliate commission at no extra cost to you.
Rye bread has a distinct flavor and texture that sets it apart from traditional wheat breads.
Its hearty, earthy taste comes from rye flour, which adds a depth of flavor and a denser, slightly chewier crumb.
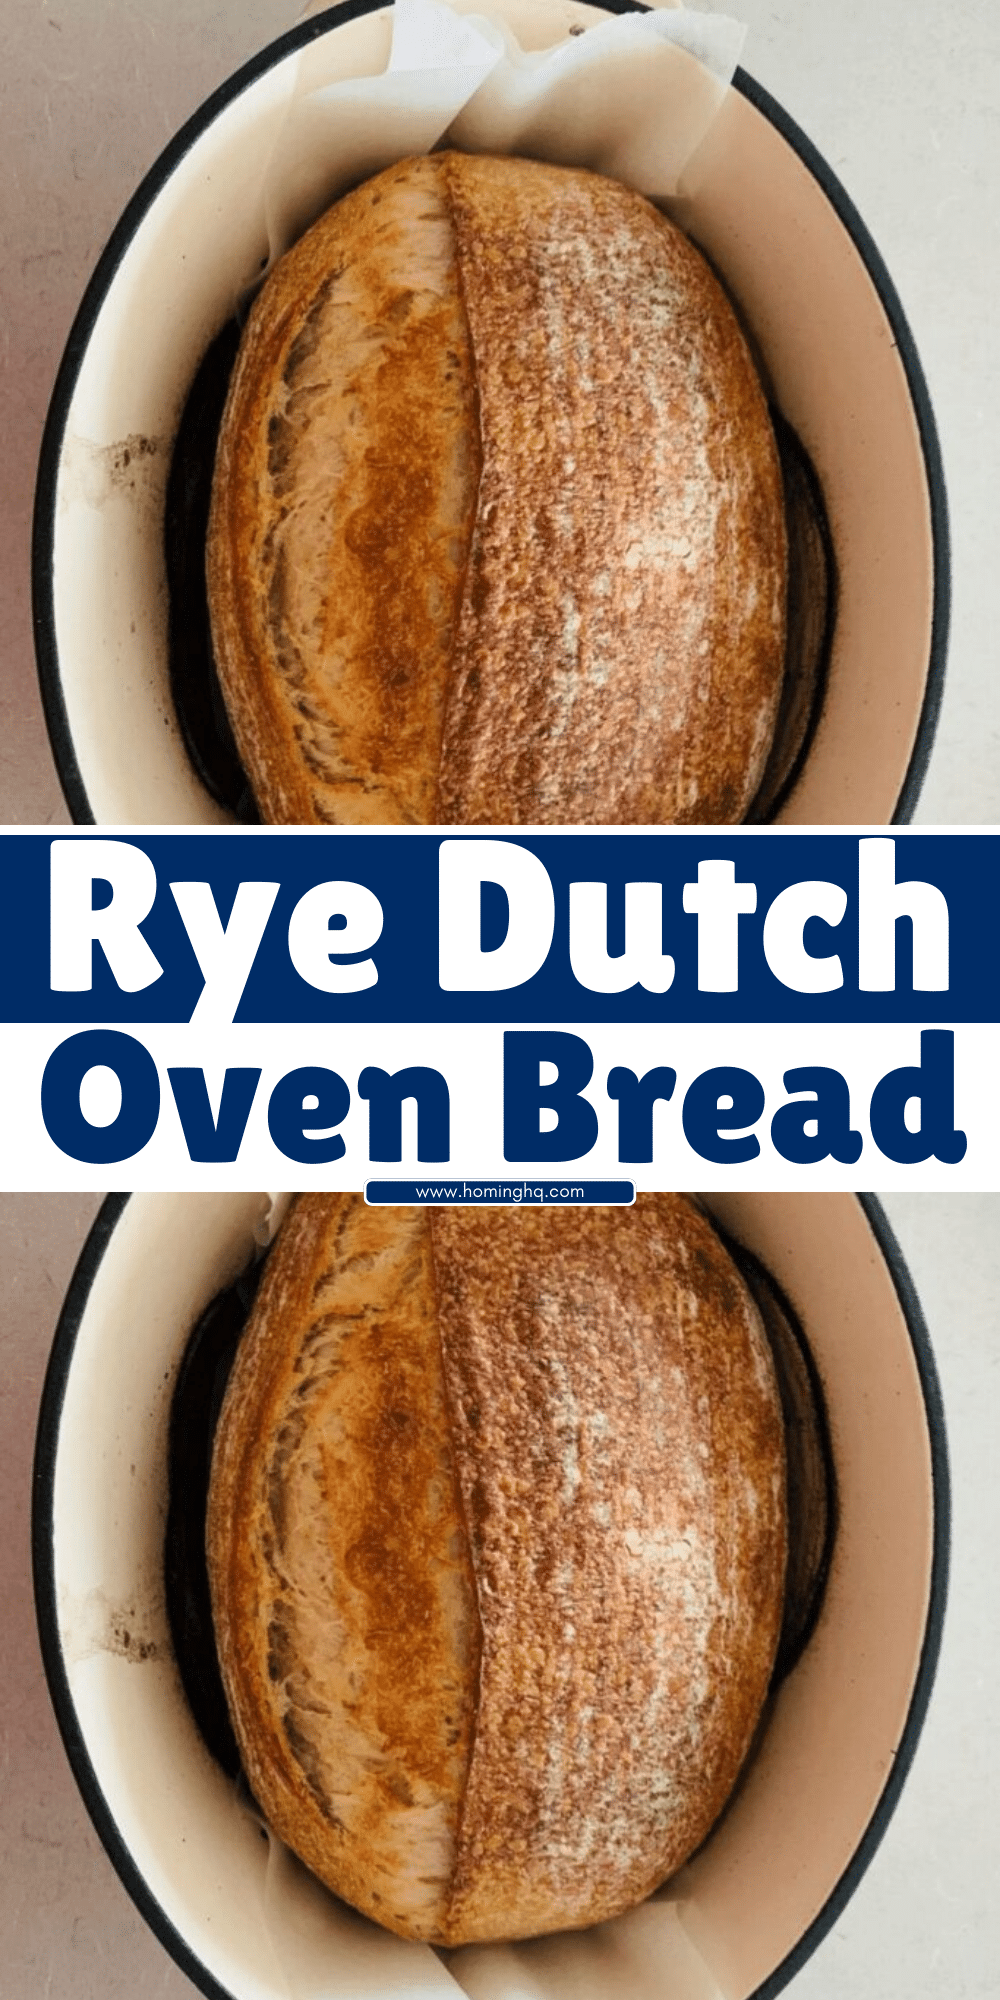
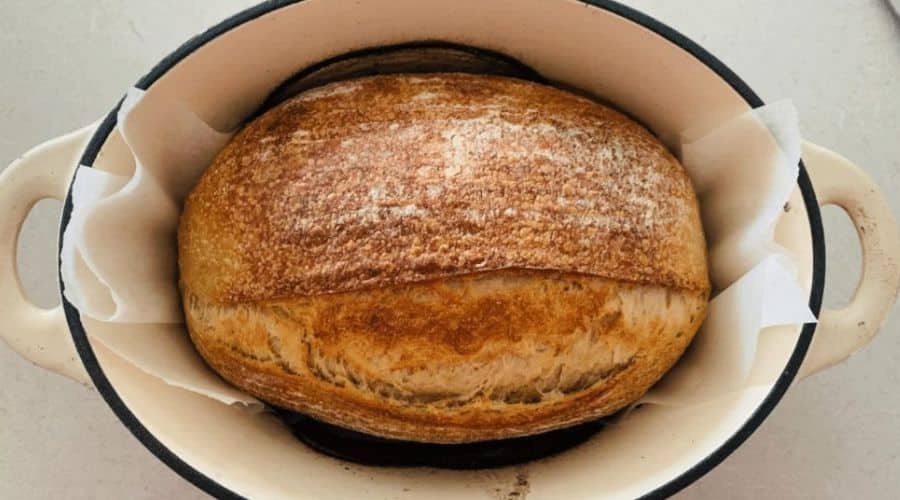
Baking it in a Dutch oven takes the process to the next level, ensuring a crisp, golden crust while locking in moisture for a perfect loaf.
Whether you’re a seasoned baker or just starting, this recipe will help you make a rustic, delicious rye bread with minimal fuss.

What is Rye Bread?
Rye bread is made using rye flour, which comes from the rye grain. Unlike wheat, rye has a stronger, slightly sour flavor and a denser texture.
Rye bread typically has a darker color and a richer taste due to the presence of rye flour and sometimes even a sourdough starter.
Depending on the recipe, rye bread can be soft or crusty, light or dense.
It’s commonly found in European cuisines, particularly in Scandinavian, Eastern European, and German traditions.
Why Bake Rye Bread in a Dutch Oven?
Baking rye bread in a Dutch oven is one of the best ways to achieve a beautifully crusty loaf with a tender interior.
The enclosed, heavy lid traps steam during baking, creating the ideal environment for the bread to rise and develop a perfect golden-brown crust.
The heat retention properties of the Dutch oven ensure even cooking, so the bread bakes uniformly without drying out. Using a Dutch oven also mimics the traditional brick oven effect, which is why many artisan bakers swear by it for making rustic, flavorful loaves.
Ingredients for Rye Dutch Oven Bread
To make your own rye bread in a Dutch oven, you’ll need a few key ingredients that come together to create the perfect balance of flavor and texture.
- Rye Flour: This is the main ingredient and will give the bread its characteristic flavor and density. You can use a combination of rye flour and bread flour for a lighter loaf or stick with 100% rye for a denser, more traditional loaf.
- Bread Flour: Typically, adding bread flour to rye flour helps balance the texture, giving it a better structure while still keeping the rich rye flavor intact.
- Water: Hydration is key for the bread’s texture. Lukewarm water helps activate the yeast and create a smooth dough.
- Yeast: You’ll need active dry or instant yeast to help the dough rise and give the bread its airy texture.
- Salt: Essential for flavor, salt enhances the natural flavors in the bread and controls the fermentation process.
- Caraway Seeds (optional): These are a common addition in rye bread, adding a unique, slightly tangy flavor that complements the earthy rye taste.
Tools Needed for Rye Dutch Oven Bread
Before you dive into making your rye bread, it’s helpful to have the right tools on hand. These tools will make the process smoother and ensure that your loaf turns out perfect.
- Dutch Oven: The star of the show. Choose a heavy-duty, lidded Dutch oven to trap steam and promote even baking. It helps create the ideal environment for the bread to develop that golden crust.
- Mixing Bowl: A large bowl for combining your ingredients and allowing the dough to rise. Choose a bowl that’s spacious enough to accommodate the dough as it expands.
- Dough Scraper: Useful for handling sticky dough and scraping the bowl clean without mess.
- Measuring Cups and Spoons: Accurate measurements are crucial for baking. Be sure to measure your flour, water, and other ingredients carefully.
- Kitchen Towel or Plastic Wrap: These are needed to cover the dough while it rises, keeping it warm and preventing it from drying out.
- Parchment Paper: Placing the dough on parchment paper before transferring it into the Dutch oven helps it lift easily and prevents sticking.
- Sharp Knife or Razor Blade (optional): If you want to make decorative slashes on the bread, a sharp knife or a baker’s razor blade (lame) is ideal for scoring the dough just before baking.
Step-by-Step Instructions for Making Rye Dutch Oven Bread

Making rye bread in a Dutch oven is simpler than you might think. Follow these steps to bake a rustic, flavorful loaf from scratch.
1. Prepare the Dough
Start by combining your dry ingredients. In a large mixing bowl, whisk together the rye flour, bread flour (if using), and salt. If you’re adding caraway seeds for extra flavor, mix them in as well.
Next, in a separate bowl, dissolve the yeast in lukewarm water (around 100°F or 37°C). Stir to combine and let it sit for a few minutes until it becomes frothy.
Once the yeast mixture is ready, pour it into the dry ingredients and stir until a sticky dough forms. You can use a dough scraper or your hands to work the dough, but don’t worry if it feels a little wet—rye dough tends to be stickier than wheat dough.
2. Knead the Dough
Turn the dough out onto a floured surface.
Knead it gently for about 5-7 minutes. Rye dough doesn’t need as much kneading as wheat bread dough, but it should come together in a cohesive ball.
Add small amounts of flour if it’s too sticky, but don’t overdo it; you want the dough to remain slightly tacky.
3. Let the Dough Rise
Once kneaded, place the dough in a clean bowl and cover it with a kitchen towel or plastic wrap.
Let it rise in a warm place for about 1 to 1.5 hours, or until it has doubled in size.
4. Shape the Dough
After the dough has risen, gently punch it down to release the air.
Transfer it to a floured surface and shape it into a round or oval loaf, depending on the shape you prefer.
Place the shaped dough onto a piece of parchment paper.
5. Preheat the Dutch Oven
While the dough is resting, place your Dutch oven with the lid on into your oven and preheat it to 450°F (230°C).
The Dutch oven needs to be hot to create the steamy environment necessary for a crisp crust.
6. Transfer the Dough to the Dutch Oven
Once the oven has preheated, carefully remove the hot Dutch oven from the oven. Using the edges of the parchment paper, lift the dough and place it into the Dutch oven. If desired, use a sharp knife or razor blade to score the top of the dough with a few shallow cuts to help it expand during baking.
7. Bake the Bread
Cover the Dutch oven with its lid and place it back in the oven. Bake the bread for 25 minutes, then remove the lid and bake for an additional 15-20 minutes until the crust is deep golden-brown and the loaf sounds hollow when tapped on the bottom.
8. Cool and Serve
Once the bread is done, carefully remove it from the Dutch oven and transfer it to a wire rack to cool.
Allow the bread to cool for at least 30 minutes before slicing to allow the crumb to set.
Tips for Perfect Rye Dutch Oven Bread
Baking rye bread in a Dutch oven can yield delicious results, but a few tips can help you achieve even better outcomes:
- Use a mix of rye and bread flour: While 100% rye flour makes a denser bread, combining rye with bread flour creates a lighter texture and better structure. Experiment with the ratio based on your preference.
- Don’t overwork the dough: Rye flour doesn’t have the same gluten structure as wheat flour, so it doesn’t need to be kneaded as much. Overworking the dough can lead to a dense loaf, so keep the kneading light and brief.
- Control hydration: Rye flour absorbs water differently than wheat flour, so adjust the water quantity as needed. If the dough feels too dry, add small amounts of water until it feels slightly sticky. If it’s too wet, dust in a little more rye flour.
- Let the dough rise properly: Patience is key! Allow your dough to rise fully. If the dough hasn’t doubled in size, it won’t bake properly, and the texture might be off. Let it rest in a warm spot for optimal fermentation.
- Preheat your Dutch oven: A hot Dutch oven is essential for creating a perfect crust. Preheating ensures that the bread rises properly in the steamy environment and develops a crisp, golden crust.
Conclusion
Baking rye bread in a Dutch oven is a satisfying experience that yields a rustic, flavorful loaf with a perfect crust.
With its rich, earthy flavor and chewy texture, homemade rye bread will elevate any meal, whether it’s served alongside soups, stews, or just enjoyed with a spread of butter.
By following the right steps and tips, you’ll be able to bake a delicious loaf that rivals any bakery.
Frequently Asked Questions
1. Can I use 100% rye flour for this recipe?
Yes, you can use 100% rye flour, but keep in mind that the loaf will be denser and have a more compact crumb.
If you prefer a lighter texture, consider mixing rye flour with bread flour.
2. How do I store rye bread?
To store your rye bread, let it cool completely before wrapping it in a clean kitchen towel or plastic wrap. It will keep well for up to 3 days at room temperature, or you can freeze it for up to 3 months.
3. What can I use instead of caraway seeds?
If you’re not a fan of caraway seeds, you can omit them or substitute with other spices like fennel seeds, cumin, or even a touch of dried rosemary for a different flavor profile.
4. My bread didn’t rise much—what went wrong?
If your bread didn’t rise properly, it could be due to the yeast being old or the dough not being in a warm enough place to ferment.
Ensure your yeast is fresh and let the dough rise in a warm, draft-free area.
5. Can I make rye bread without a Dutch oven?
Yes, you can bake rye bread without a Dutch oven.
A baking stone or sheet with a bowl of water placed in the oven can help create steam, which helps form the crust.
However, a Dutch oven will provide the best results for a crispy, evenly baked loaf.

Rye Dutch Oven Bread
Equipment
- Dutch Oven: 1 (4–6 qt, lidded)
- Mixing Bowl: 1 (large, for dough mixing)
- Measuring Cups & Spoons: 1 set
- Dough Scraper: 1 (optional)
- Kitchen Towel or Plastic Wrap: 1
- Parchment Paper: 1 sheet (for transferring dough)
- Sharp Knife or Razor Blade (optional): 1 (for scoring)
Ingredients
- 1 ½ cups 190g Bread Flour
- 1 ½ cups 190g Rye Flour
- 1 ½ tsp Salt
- 1 ¼ tsp Active Dry Yeast
- 1 ½ cups 355ml Warm Water (about 100°F or 37°C)
- 1 tbsp Caraway Seeds optional
Instructions
Prepare the Dough
- In a large mixing bowl, combine the bread flour, rye flour, salt, and optional caraway seeds. In a separate bowl, dissolve the yeast in warm water and allow it to sit for a few minutes until frothy. Add the yeast mixture to the dry ingredients and stir until the dough forms.
Knead the Dough
- Turn the dough out onto a floured surface. Gently knead for 5–7 minutes until the dough comes together. It should remain slightly sticky but cohesive.
Let the Dough Rise
- Place the dough in a clean, lightly greased bowl and cover it with a kitchen towel or plastic wrap. Let it rise in a warm, draft-free place for 1 to 1.5 hours, or until it has doubled in size.
Shape the Dough
- Punch the dough down to release air bubbles. Turn it out onto a floured surface and shape it into a round or oval loaf. Place the shaped dough onto a sheet of parchment paper.
Preheat the Dutch Oven
- Place your Dutch oven, with its lid on, into the oven and preheat to 450°F (230°C). The Dutch oven should be hot when the dough goes in.
Transfer the Dough
- Once the oven is preheated, carefully remove the Dutch oven. Lift the dough using the parchment paper and place it into the hot Dutch oven. Optional: score the top of the dough with a sharp knife for decorative slashes.
Bake the Bread
- Cover the Dutch oven and bake for 25 minutes. After 25 minutes, remove the lid and continue baking for an additional 15–20 minutes, until the bread is golden-brown and sounds hollow when tapped on the bottom.
- Cool and Serve
- Once baked, remove the bread from the Dutch oven and let it cool on a wire rack for at least 30 minutes before slicing. Enjoy!
Notes
- Flour Ratio: You can adjust the ratio of bread flour to rye flour based on your desired bread texture. A higher rye percentage will result in a denser loaf.
- Yeast Activation: If you’re using instant yeast, you can skip the activation step and mix it directly with the dry ingredients.
- Storage: Rye bread can be stored at room temperature for 2–3 days in a sealed bag or wrapped in a towel. It can also be frozen for longer storage.
- No Dutch Oven?: If you don’t have a Dutch oven, you can bake the bread on a baking sheet, though the crust may not be as crispy. Try placing a pan of water in the oven to create steam for better crust development.


