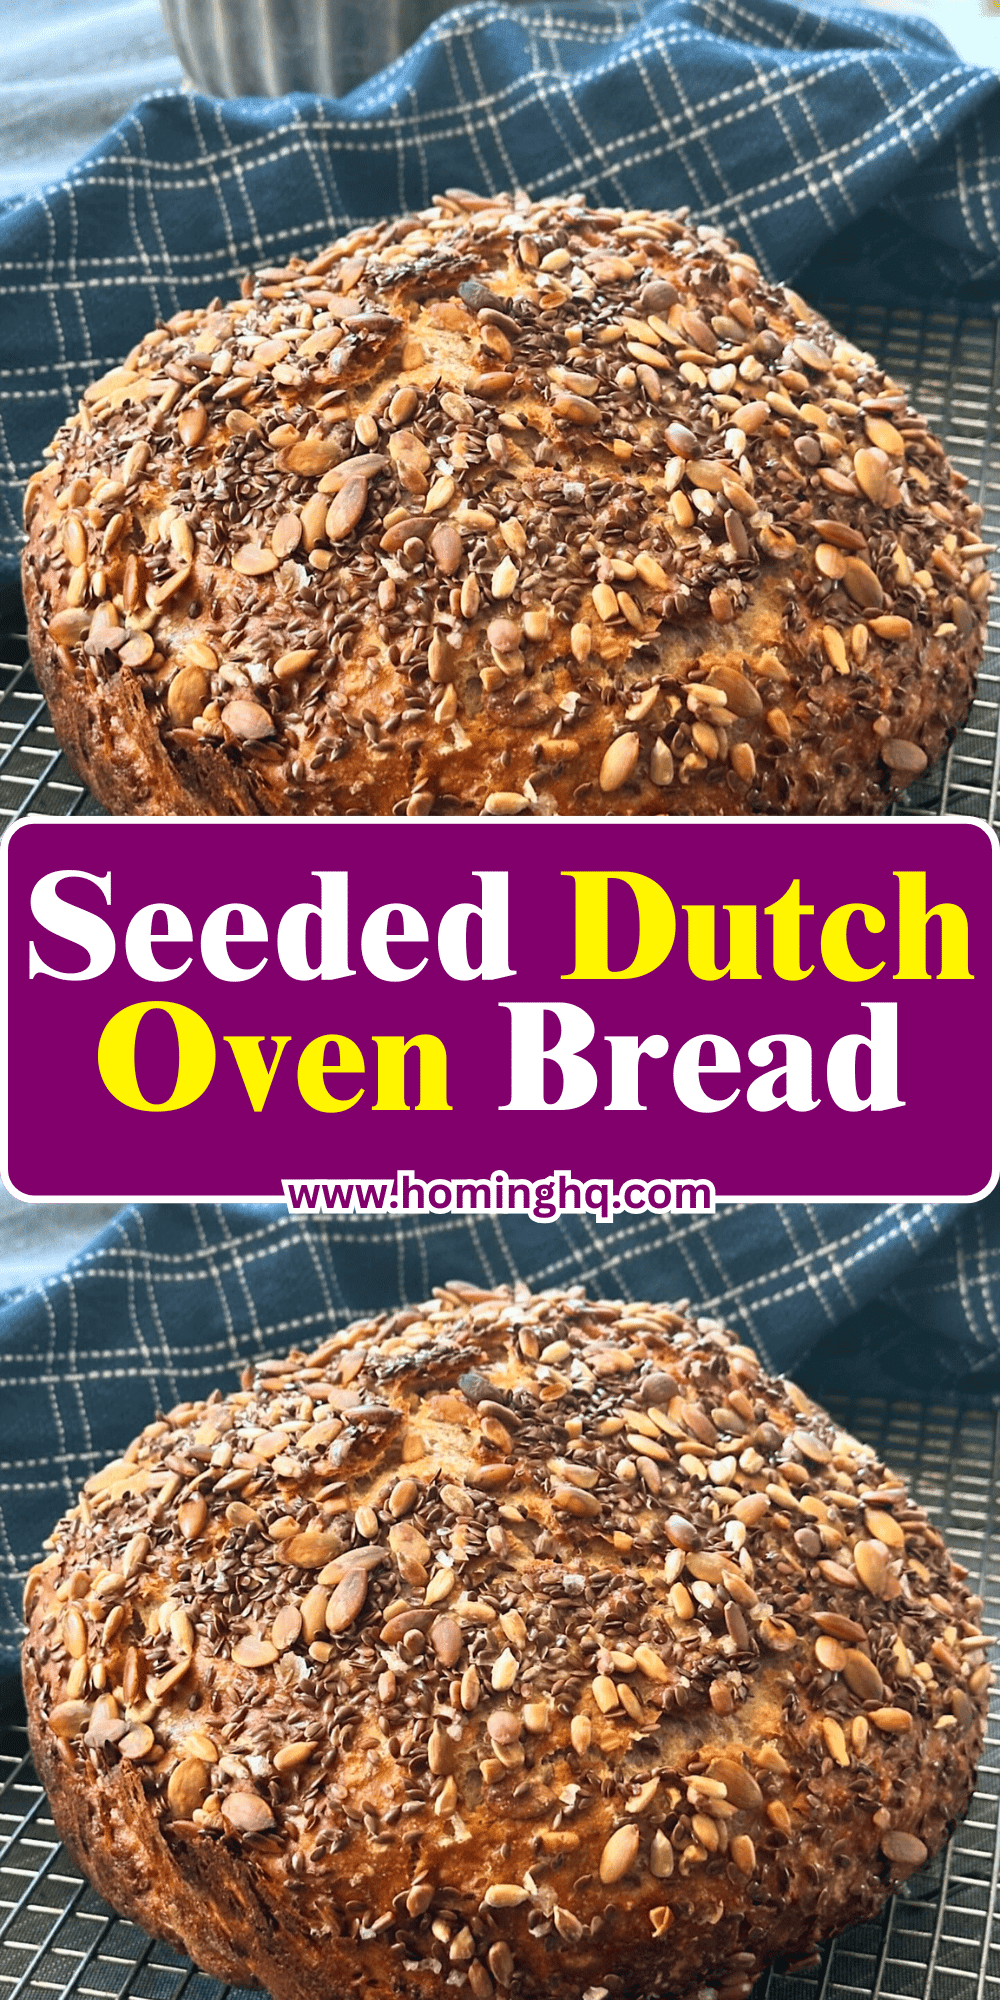
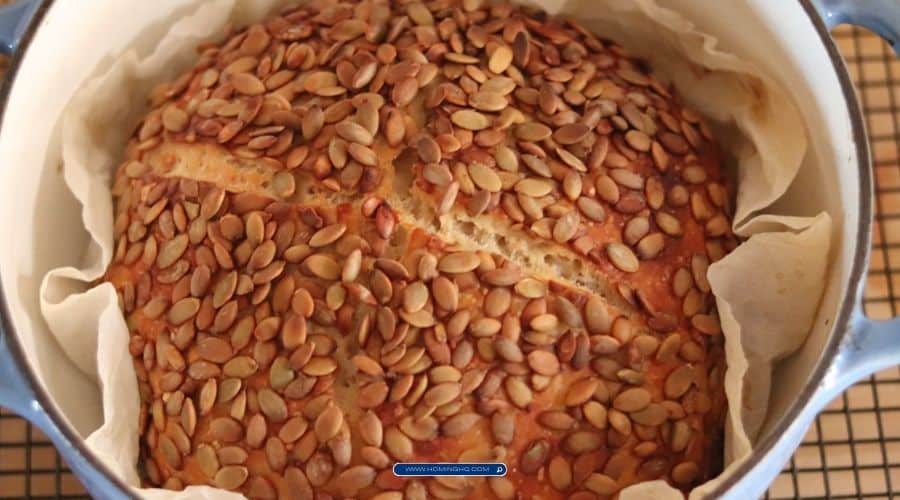
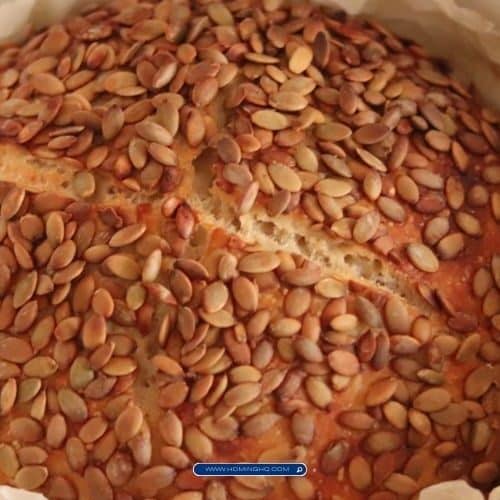
Seeded Dutch Oven Bread is a rustic, flavorful loaf that combines the simplicity of homemade bread with the deliciously nutty crunch of various seeds.
This hearty bread is baked in a Dutch oven, which ensures a crisp, golden crust and a soft, airy interior. Whether you’re a novice baker or a seasoned pro, this recipe is straightforward and rewarding.
The seeds add texture and flavor, while the slow rise and baking process result in a wonderfully satisfying loaf.

Why You Should Make Seeded Dutch Oven Bread
There are many reasons to fall in love with Seeded Dutch Oven Bread. Firstly, it is incredibly easy to prepare with just a few simple ingredients and minimal hands-on time.
The Dutch oven helps create a perfect baking environment, trapping heat and moisture to develop a beautifully crispy crust, which is often difficult to achieve with traditional oven methods.
Additionally, the variety of seeds, such as sunflower, flax, and sesame, brings layers of flavor and crunch to the bread.
These seeds also contribute important nutritional benefits, including healthy fats, fiber, and protein. Finally, the slow fermentation process builds flavor and texture, making each slice a real treat.
Key Ingredients for Seeded Dutch Oven Bread
For this recipe, you’ll need a few pantry staples and a variety of seeds. Here’s what you’ll need:
- Flour: A combination of bread flour and whole wheat flour gives the bread structure and flavor.
- Water: To hydrate the dough and activate the yeast.
- Yeast: Active dry yeast helps the dough rise and develop a light, airy texture.
- Salt: Enhances the flavor of the bread.
- Seeds: A mix of your favorite seeds such as sunflower seeds, sesame seeds, flax seeds, and pumpkin seeds adds texture and taste.
Equipment You’ll Need
To make Seeded Dutch Oven Bread, the right equipment will make the process smoother and more enjoyable. Here’s what you’ll need:
- Dutch Oven: A heavy pot with a lid, ideally around 4-6 quarts, is essential for achieving that signature crust.
- Mixing Bowls: For combining the ingredients.
- Wooden Spoon or Dough Hook: For mixing the dough.
- Parchment Paper: Helps transfer the dough to the Dutch oven without sticking.
- Kitchen Scale (Optional): For precise measurements, especially if you prefer to weigh your ingredients.
Step-by-Step Instructions

Follow these simple steps to create your delicious Seeded Dutch Oven Bread:
1. Prepare the Dough
Start by combining the flour, yeast, and salt in a large mixing bowl. Add the water gradually, mixing with a wooden spoon or your hands until the dough starts to come together. It should be slightly sticky but not too wet. If needed, add a little more flour, but be careful not to overdo it.
2. Knead the Dough
Transfer the dough to a clean surface and knead for about 8-10 minutes. Work in the seeds during the last couple of minutes of kneading, ensuring they are evenly distributed throughout the dough. The dough should be smooth, elastic, and slightly tacky to the touch.
3. First Rise
Place the dough in a lightly oiled bowl, cover with a damp cloth, and allow it to rise in a warm, draft-free area for about 1-2 hours or until doubled in size.
4. Shape the Dough
Once the dough has risen, gently punch it down to release any air bubbles. Turn it out onto a floured surface and shape it into a round loaf. Be gentle to preserve the dough’s airy texture.
5. Second Rise
Place the shaped dough onto a piece of parchment paper, then cover it loosely with a cloth or plastic wrap. Allow it to rise for another 30 minutes to 1 hour. During this time, preheat your oven to 450°F (230°C).
6. Bake the Bread
Carefully place the dough with the parchment paper into your preheated Dutch oven. Cover with the lid and bake for 30 minutes. After 30 minutes, remove the lid and continue baking for an additional 15-20 minutes, or until the bread is golden brown and sounds hollow when tapped on the bottom.
7. Cool the Bread
Once the bread is fully baked, remove it from the Dutch oven and transfer it to a wire rack to cool completely before slicing.
Tips for Perfect Seeded Dutch Oven Bread
To ensure your Seeded Dutch Oven Bread turns out perfectly every time, here are some helpful tips:
Use Fresh Yeast
Make sure your yeast is fresh and active. If you’re unsure, perform a “proofing” test by dissolving the yeast in warm water with a pinch of sugar. If it bubbles and froths within 5-10 minutes, it’s good to go.
Don’t Overwork the Dough
When kneading the dough, avoid overworking it. A gentle hand ensures the dough remains airy and light. Overkneading can lead to dense bread.
Let It Rise Properly
The rise times are crucial for flavor and texture. Be patient and allow the dough to rise fully, as this step develops the bread’s structure and flavor. If your kitchen is cold, you can let the dough rise in a slightly warmed oven or near a heat source.
Use Parchment Paper for Easy Handling
Transferring the dough into the Dutch oven can be tricky, especially when it’s risen. Using parchment paper makes this process smoother and helps keep the dough intact.
Check the Internal Temperature
If you’re unsure if the bread is done, use a kitchen thermometer. The internal temperature of the bread should be around 200°F (93°C) when fully baked.
Store Properly
Once cooled, store your Seeded Dutch Oven Bread in a paper bag or wrapped in a clean kitchen towel. Avoid plastic bags, as they can make the crust soggy.
Storing Your Seeded Dutch Oven Bread
To maintain the freshness of your Seeded Dutch Oven Bread and preserve its wonderful texture, follow these storage tips:
- Room Temperature: Store your bread in a paper bag, linen cloth, or a bread box at room temperature for up to 3 days. This helps keep the crust crisp while allowing the bread to breathe.
- Freezing: If you want to extend the life of your bread, slice it and freeze individual portions. Wrap the slices tightly in plastic wrap or foil and place them in a freezer-safe bag. When you’re ready to enjoy, toast or thaw at room temperature.
- Avoid Plastic Bags: While it might seem convenient, storing bread in plastic can trap moisture and make the crust soft. For the best texture, always opt for a more breathable material like paper or cloth.
Frequently Asked Questions
Here are some answers to common questions about making Seeded Dutch Oven Bread:
1. Can I use a different type of flour?
Yes! While the recipe calls for bread flour, you can substitute it with all-purpose flour. Whole wheat flour can also be used for a heartier flavor. Just keep in mind that different flours may affect the texture and rise slightly.
2. What kind of seeds should I use?
Feel free to experiment with different seeds based on your preferences. Sunflower seeds, sesame seeds, flaxseeds, and pumpkin seeds are all great options. You can even add herbs or dried spices for extra flavor.
3. Can I make this bread without a Dutch oven?
Yes, you can bake the bread on a baking sheet if you don’t have a Dutch oven. To mimic the steam environment of a Dutch oven, place a shallow pan of water in the oven while baking to create moisture and help the crust develop.
4. How do I know when the bread is fully baked?
A simple way to check is by tapping the bottom of the loaf. If it sounds hollow, it’s done. Alternatively, you can check the internal temperature with a kitchen thermometer. It should read around 200°F (93°C).
5. Can I make the dough ahead of time?
Yes, you can prepare the dough ahead of time and refrigerate it for up to 24 hours. This cold fermentation process can enhance the flavor and texture of the bread. Be sure to let the dough come to room temperature before shaping and baking.
Final Thoughts
Seeded Dutch Oven Bread is a truly rewarding recipe that produces a flavorful, rustic loaf with a crunchy crust and soft interior.
With a variety of seeds incorporated, you’ll enjoy both the taste and texture in every bite.
The simplicity of the recipe, combined with the techniques of slow rising and Dutch oven baking, ensures a homemade bread experience that is both accessible and incredibly satisfying.
Whether you’re a beginner baker or an experienced one, this bread is perfect for any occasion. From sandwiches to side dishes, it’s a versatile loaf that complements a wide range of meals.
So, grab your ingredients and equipment, and enjoy the process of making this delicious, artisanal bread in the comfort of your own kitchen!

Seeded Dutch Oven Bread
Equipment
- Dutch oven: 4-6 quart, with lid
- Mixing bowl: Large enough to hold the dough
- Wooden spoon or dough hook: For mixing the dough
- Kitchen scale (optional): For precise ingredient measurement
- Parchment paper: For easy handling and transfer
- Wire rack: For cooling the bread after baking
Ingredients
- 500 g 4 cups Bread flour
- 100 g ¾ cup Whole wheat flour
- 1 ½ tsp Salt
- 2 tsp Active dry yeast
- 375 ml 1 ½ cups Warm water
- 50 g ⅓ cup Mixed seeds (such as sunflower, flax, sesame, or pumpkin)
Instructions
Prepare the Dough
- In a large mixing bowl, combine the bread flour, whole wheat flour, salt, and active dry yeast. Slowly add warm water while stirring with a wooden spoon or your hands until the dough begins to come together. The dough should be slightly sticky, not too wet.
Knead the Dough
- Turn the dough out onto a clean, floured surface and knead for about 8-10 minutes, adding the seeds during the last 2 minutes of kneading. The dough should become smooth and elastic.
First Rise
- Place the dough in a lightly oiled bowl, cover with a damp cloth, and let it rise in a warm spot for 1-2 hours or until it has doubled in size.
Shape the Dough
- After the dough has risen, punch it down gently to release any air bubbles. Turn it out onto a floured surface and shape it into a round loaf.
Second Rise
- Place the shaped dough onto a piece of parchment paper. Cover with a cloth and allow it to rise for 30 minutes to 1 hour.
Preheat the Oven
- While the dough rises, preheat your oven to 450°F (230°C). Place your Dutch oven (with the lid on) inside the oven while preheating.
Bake the Bread
- Once the dough has risen and the oven is hot, carefully place the dough with the parchment paper into the preheated Dutch oven. Cover with the lid and bake for 30 minutes. After 30 minutes, remove the lid and bake for an additional 15-20 minutes, or until the bread is golden brown and sounds hollow when tapped on the bottom.
Cool
- Once the bread is fully baked, remove it from the Dutch oven and transfer it to a wire rack. Let it cool completely before slicing.
Notes
Recipe Notes
- Storage: Store the bread at room temperature in a paper bag or cloth for up to 3 days. For longer storage, slice and freeze individual portions.
- Seed Variations: Feel free to mix and match your favorite seeds. Add chia, poppy, or hemp seeds for extra flavor and texture.
- Cold Fermentation: For enhanced flavor, you can refrigerate the dough after the first rise for up to 24 hours. Bring the dough to room temperature before shaping and baking.

