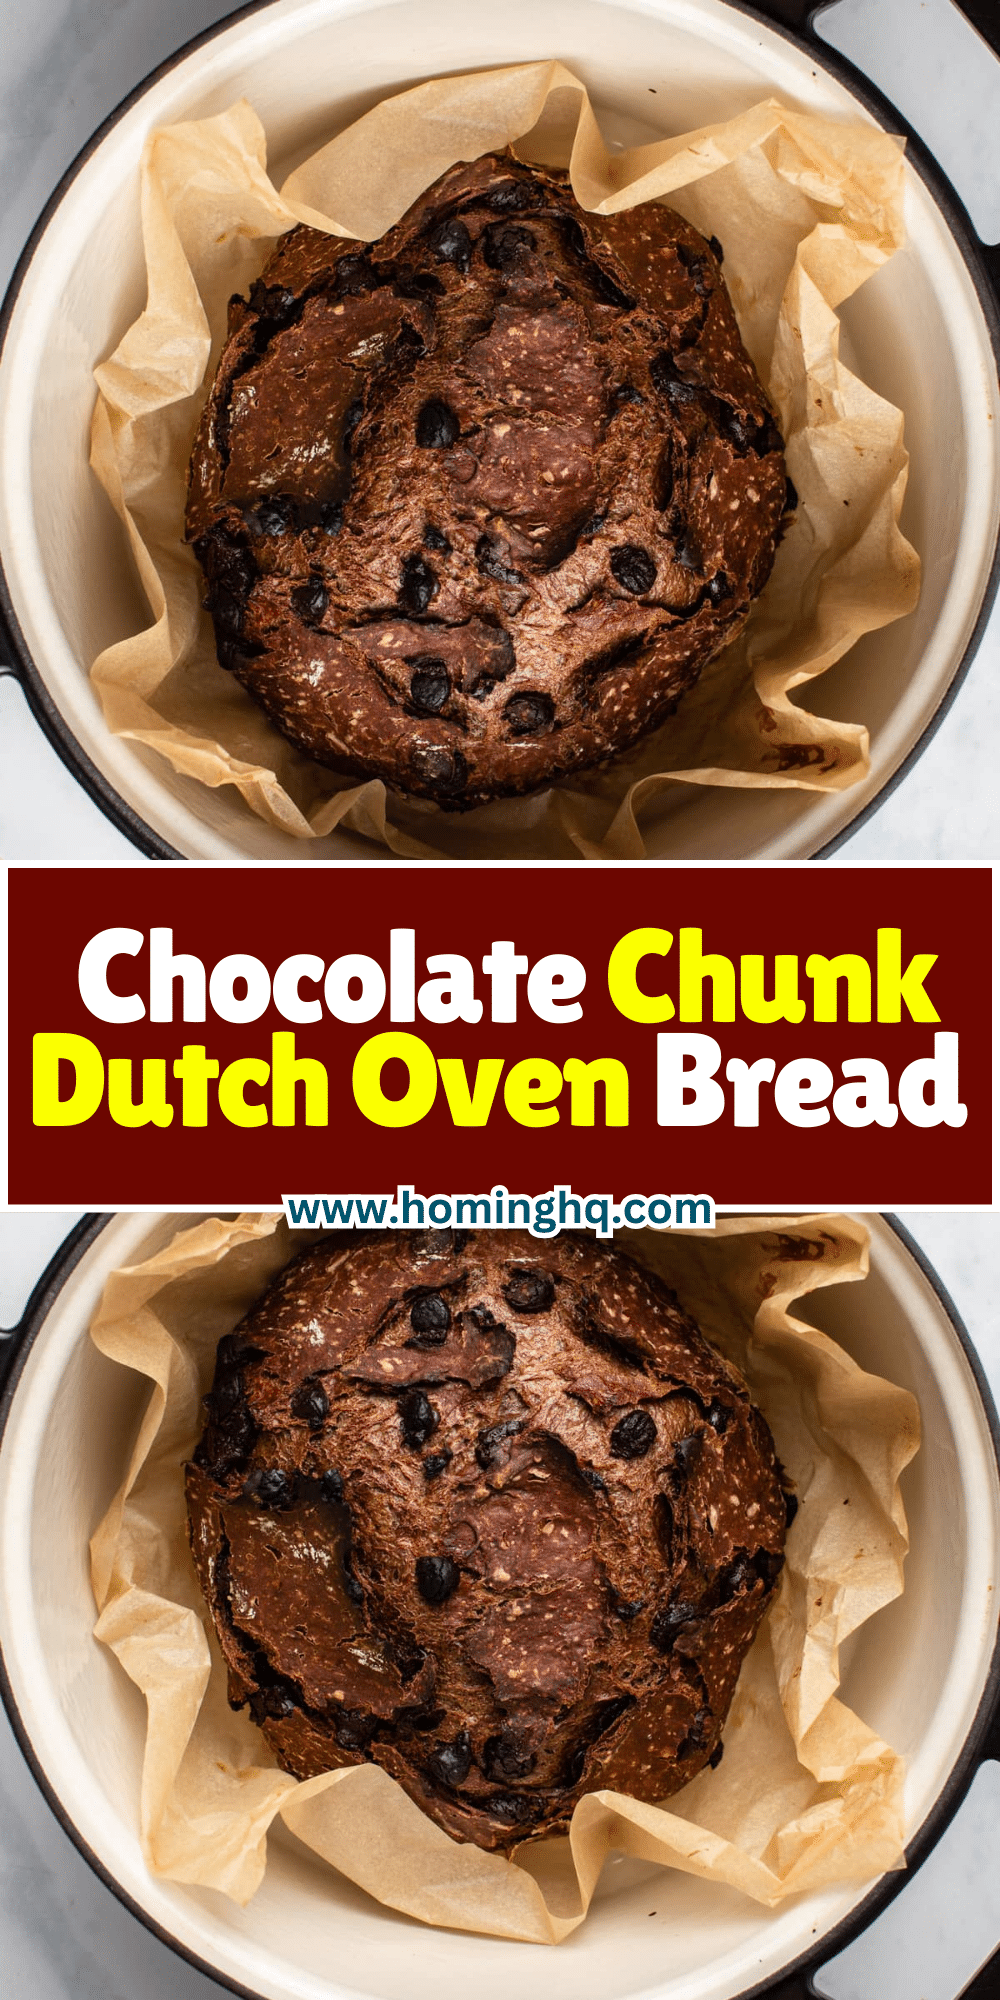
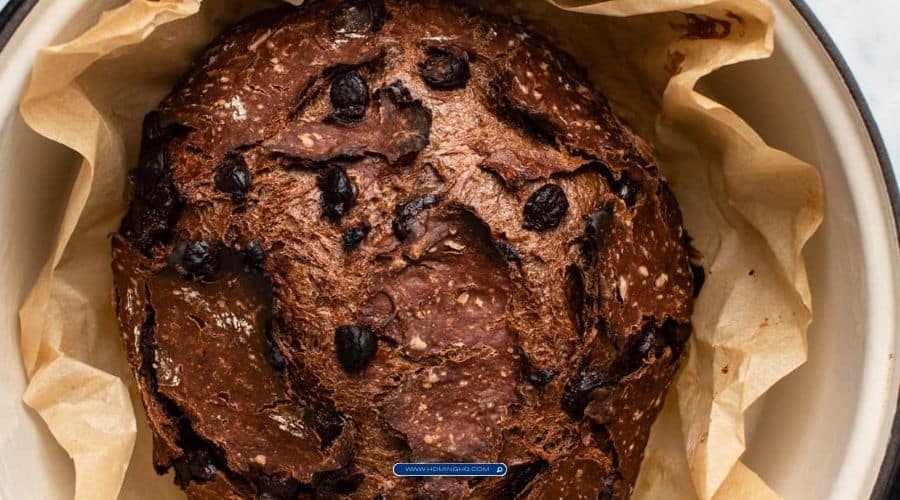
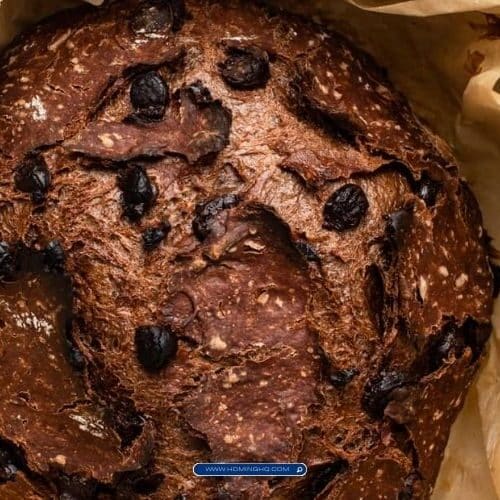
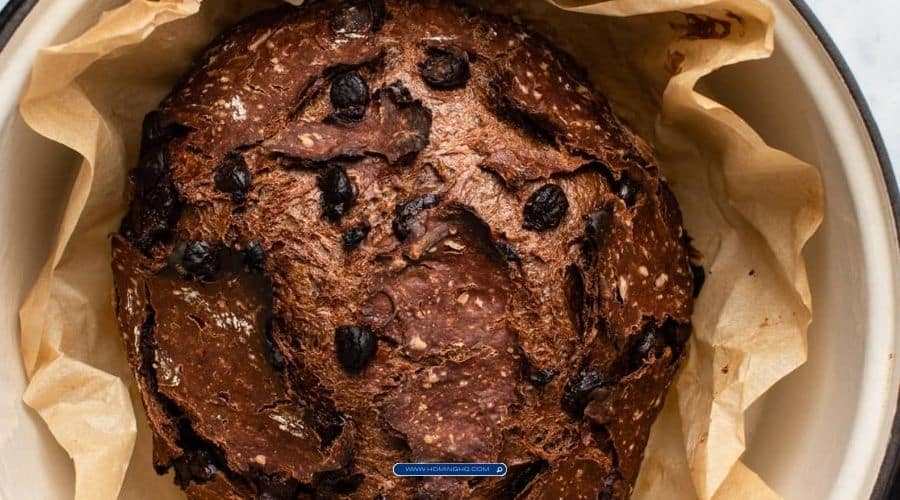
Chocolate Chunk Dutch Oven Bread is a true crowd-pleaser, combining the warm, comforting allure of freshly baked bread with the irresistible sweetness of gooey chocolate chunks.
Whether you’re baking it for a cozy weekend breakfast, a special gathering, or just as a sweet treat to enjoy at home, this bread delivers in both flavor and texture.
The magic of this recipe lies in its simplicity—just a few staple ingredients and the unique method of baking in a Dutch oven, which results in a perfect loaf every time.
Dutch oven bread refers to bread that’s baked in a heavy, cast-iron pot, typically with a lid.
The enclosed cooking environment creates steam, which helps the dough rise while maintaining moisture, ensuring a crispy, golden crust and soft, airy interior.
This bread is easy to make and requires minimal hands-on time, making it perfect for both novice bakers and experienced ones looking for an uncomplicated, yet impressive bread recipe.

Ingredients for Chocolate Chunk Dutch Oven Bread
To create a rich, delicious loaf of Chocolate Chunk Dutch Oven Bread, you will need a few basic pantry staples, along with some delicious chocolate chunks to elevate the flavor.
Essential Ingredients
- Bread Flour (3 ½ cups) – Bread flour has a higher protein content than all-purpose flour, which helps the dough develop the proper structure and texture for a chewy, airy bread.
- Instant Yeast (1 ½ teaspoons) – Instant yeast doesn’t need to be activated with warm water, making it an easy option for no-fuss baking.
- Salt (1 ½ teaspoons) – A crucial ingredient to enhance the flavor of the bread and balance the sweetness of the chocolate.
- Water (1 ½ cups) – Lukewarm water helps activate the yeast and form a dough that is not too sticky.
- Sugar (1 tablespoon) – A little sugar helps activate the yeast and contributes to the bread’s flavor.
- Chocolate Chunks (1 ½ cups) – Rich, high-quality chocolate chunks or chips, which will melt slightly while baking, creating pockets of gooey chocolate throughout the bread.
Optional Ingredients
- Cinnamon (½ teaspoon) – If you want to add a bit of warmth and spice to the bread, a small amount of cinnamon works wonderfully.
- Nuts (½ cup) – Chopped walnuts or pecans can add a delightful crunch and flavor to the bread if you prefer a more textured loaf.
Step-by-Step Instructions

Step 1: Activate the Yeast
Begin by activating the yeast to ensure your dough rises properly. In a small bowl, combine the lukewarm water and sugar. Sprinkle the yeast over the top and stir gently to dissolve. Let the mixture sit for about 5 minutes. You should start seeing bubbles form and the mixture will become frothy. This means the yeast is active and ready to go. If it doesn’t bubble or froth, the yeast may be old or expired, and you’ll need to try with fresh yeast.
Step 2: Mix the Dough
In a large mixing bowl, combine the bread flour and salt. Once the yeast mixture is ready, pour it into the flour mixture. Stir with a wooden spoon or your hands until the dough comes together in a shaggy mass. Don’t worry if it looks a little rough at this stage—this is normal for Dutch oven bread. If the dough feels too sticky, you can add a small bit of flour, but be careful not to overdo it.
Step 3: Add Chocolate Chunks
Once the dough has come together, gently fold in the chocolate chunks. Make sure they are evenly distributed throughout the dough, but try not to overwork the dough so it remains light and airy. The chocolate should be scattered throughout the dough, creating pockets of sweetness in every bite.
Step 4: Let the Dough Rise
Cover the bowl with a clean kitchen towel or plastic wrap and place it in a warm, draft-free area to rise. Let the dough rise for about 2 hours, or until it has doubled in size. This is where the yeast works its magic, creating the airy texture of the bread. If you have the time, you can even let the dough rise in the refrigerator overnight for a slower, more developed flavor.
Step 5: Preheat the Dutch Oven
While the dough is rising, place your Dutch oven with the lid on in the oven and preheat to 450°F (230°C). Preheating the Dutch oven ensures that when the dough is placed inside, the heat will immediately create a crispy crust. Be sure to allow the Dutch oven to heat up for at least 30 minutes.
Step 6: Shape the Dough
Once the dough has risen, turn it out onto a lightly floured surface. Gently shape the dough into a round ball, being careful not to deflate it too much. This shaping step is important to ensure the dough maintains its airy structure. Once shaped, let it rest for about 10 minutes while the Dutch oven continues to preheat.
Step 7: Bake the Bread
Carefully remove the hot Dutch oven from the oven (using oven mitts!) and place a piece of parchment paper in the bottom of the pot. Gently transfer the shaped dough onto the parchment paper. Cover with the lid and place the Dutch oven back into the oven. Bake for 30 minutes covered, then remove the lid and bake for an additional 15–20 minutes, or until the crust is golden and crisp. You can check for doneness by tapping the bottom of the loaf; it should sound hollow.
Step 8: Cool the Bread
Once baked, remove the bread from the Dutch oven and place it on a wire rack to cool. Allow the bread to cool for at least 30 minutes before slicing, as the cooling process helps the bread set its texture. Cutting into the bread too soon could cause it to be too soft and messy.
Tips for Perfect Chocolate Chunk Dutch Oven Bread
Achieving the Best Crust
The key to a crunchy, golden-brown crust lies in the steam created within the Dutch oven during baking. Ensure the oven is fully preheated, and don’t skip the step of covering the bread with the lid during the first half of baking. This traps moisture and creates steam, which gives the bread its signature crisp exterior. When you uncover the Dutch oven for the final 15–20 minutes of baking, the heat will allow the crust to develop a beautiful, crunchy texture.
Avoid Overmixing the Dough
One of the most important tips when making any kind of bread is to avoid overmixing. The more you handle the dough, the denser it becomes. For a light, airy loaf, mix the ingredients until just combined. Don’t worry if the dough looks a bit shaggy or rough—this is totally normal for Dutch oven bread. The gentle folding of the chocolate chunks is all you need to avoid overworking the dough.
Choosing the Right Chocolate
The type of chocolate you use can really make a difference in the flavor of your bread. Opt for high-quality chocolate chunks or bars that you can chop into large pieces. Dark chocolate works wonderfully for a more intense, slightly bitter flavor that contrasts beautifully with the bread’s sweetness. If you prefer something sweeter, milk chocolate will provide a more indulgent, dessert-like experience. You can even mix both dark and milk chocolate for a balanced flavor profile.
Let the Dough Rise Properly
The rise is crucial for a light, airy loaf. If the dough hasn’t fully doubled in size during the first rise, the bread might turn out denser than expected. Make sure to let the dough rest in a warm, draft-free environment until it’s fully risen, which can take up to 2 hours depending on the temperature of your kitchen. You can also let it rise in the refrigerator overnight for a slower fermentation, which adds more flavor complexity.
Use Parchment Paper for Easy Transfer
When transferring the dough into the preheated Dutch oven, parchment paper can be a lifesaver. It helps you easily lift and place the dough into the pot without it deflating. It also ensures the bread doesn’t stick to the bottom of the Dutch oven, making cleanup a breeze.
How to Serve and Enjoy Chocolate Chunk Dutch Oven Bread
Serving Suggestions
Chocolate Chunk Dutch Oven Bread is wonderfully versatile and can be enjoyed in many ways. For a simple and comforting breakfast, slice it and enjoy it plain, or with a light spread of butter. The rich chocolate chunks make it indulgent enough to enjoy on its own, but if you’re in the mood for a little extra decadence, consider pairing it with a drizzle of honey, a dollop of whipped cream, or a scoop of vanilla ice cream. It also pairs beautifully with a cup of hot coffee, tea, or even a cold glass of milk.
If you’re serving this bread at a brunch or holiday gathering, consider slicing it into thicker pieces for a more substantial serving. It can also make an excellent base for a French toast recipe if you want to transform leftovers into something even more indulgent.
Storing Leftovers
If you have any leftovers (though it’s hard to imagine!), store them in an airtight container or wrap the loaf tightly in plastic wrap to maintain its freshness. The bread will stay good for up to 3 days at room temperature. If you live in a particularly warm climate, it’s a good idea to store the bread in the fridge to prevent it from becoming too soft. To revive it after a couple of days, you can lightly toast the slices to bring back some of that crispy texture.
Reheating Tips
To reheat the bread, simply slice it and warm it in a toaster, or wrap the whole loaf in foil and place it in the oven at 350°F (175°C) for 10–15 minutes. This will restore the soft interior and crunchy exterior, making it taste just as good as the day it was baked.
Turning Leftovers Into French Toast
If you find yourself with extra slices of Chocolate Chunk Dutch Oven Bread, transform them into a delicious French toast breakfast. Dip the slices into an egg mixture with cinnamon and vanilla, then fry them in a skillet until golden brown. Top with syrup, whipped cream, or fresh fruit for a decadent morning treat.
Frequently Asked Questions
1. Why Do I Need a Dutch Oven to Bake This Bread?
A Dutch oven is essential for creating the ideal baking environment for this bread. The heavy, lidded pot traps moisture during baking, creating steam, which helps the dough rise and develop a beautiful crust. The lid ensures the bread bakes evenly, preventing it from drying out, while the cast iron evenly distributes heat, ensuring a consistent bake from top to bottom.
2. Can I Use Different Types of Chocolate?
Absolutely! You can customize this bread with any type of chocolate you prefer. Dark chocolate will offer a rich, slightly bitter contrast to the sweet dough, while milk chocolate will create a sweeter, more dessert-like loaf. If you’re feeling adventurous, you could even combine the two or use white chocolate for a creamy, indulgent touch. Just be sure to use high-quality chocolate for the best flavor.
3. How Can I Tell When My Bread Is Done?
You can tell when your bread is done by tapping the bottom of the loaf—it should sound hollow. Additionally, if you have a kitchen thermometer, the internal temperature should reach about 200°F (93°C) when the bread is fully cooked. The crust should be golden and crisp, and the bread should not feel overly soft when gently pressed.
4. Can I Make This Bread Ahead of Time?
Yes! You can make the dough ahead of time and allow it to rise slowly in the refrigerator overnight. This longer rise helps develop deeper flavors in the bread. When you’re ready to bake, simply remove the dough from the fridge, shape it, and proceed with the recipe as usual. Alternatively, you can freeze the baked bread for later enjoyment. Just wrap it tightly and store in the freezer, then thaw at room temperature before serving.
5. Can I Use All-Purpose Flour Instead of Bread Flour?
While bread flour is preferred for its higher protein content, which contributes to a chewy and airy texture, you can use all-purpose flour in a pinch. The texture may be slightly softer and less chewy, but the bread will still turn out delicious. Just be sure to keep an eye on the dough’s consistency and adjust the water slightly if needed.
Conclusion
Chocolate Chunk Dutch Oven Bread is an easy, yet impressive recipe that combines the warmth of homemade bread with the indulgence of chocolate. Whether you’re a novice baker or a seasoned pro, this bread is a satisfying project that rewards you with a mouthwatering loaf that’s perfect for any occasion. From the crispy, golden crust to the soft, chocolate-filled interior, this bread offers the perfect balance of flavors and textures. With just a few simple ingredients and some patience, you’ll be enjoying a freshly baked loaf of this irresistible bread in no time. So gather your ingredients, fire up your Dutch oven, and treat yourself to a deliciously comforting homemade loaf!

Chocolate Chunk Dutch Oven Bread
Equipment
- 1 Dutch oven (6-8 quarts recommended)
- 1 Wooden spoon or dough hook for mixing
- 1 large mixing bowl
- 1 Small bowl (for proofing yeast)
- 1 Parchment paper (optional)
- 1 Kitchen towel or plastic wrap (for covering dough)
Ingredients
- 3 ½ cups Bread flour
- 1 ½ teaspoons Instant yeast
- 1 ½ teaspoons Salt
- 1 ½ cups Water lukewarm
- 1 tablespoon Sugar
- 1 ½ cups Chocolate chunks dark or milk chocolate
- Optional: ½ teaspoon Ground cinnamon for added flavor
- Optional: ½ cup Chopped nuts like walnuts or pecans
Instructions
- Activate the Yeast: In a small bowl, combine 1 ½ cups lukewarm water and 1 tablespoon sugar. Sprinkle the yeast on top and stir gently. Let it sit for 5 minutes until frothy and bubbly.
- Mix the Dough: In a large mixing bowl, combine 3 ½ cups bread flour and 1 ½ teaspoons salt. Add the activated yeast mixture and stir until a shaggy dough forms.
- Fold in Chocolate Chunks: Gently fold 1 ½ cups chocolate chunks into the dough, being careful not to overmix.
- Let the Dough Rise: Cover the bowl with a kitchen towel or plastic wrap. Let the dough rise in a warm, draft-free place for about 2 hours or until doubled in size.
- Preheat the Dutch Oven: Preheat your oven to 450°F (230°C). Place your Dutch oven with the lid on into the oven to heat for 30 minutes.
- Shape the Dough: Once the dough has risen, gently turn it out onto a lightly floured surface. Shape it into a round loaf and let it rest for 10 minutes.
- Transfer to Dutch Oven: Carefully remove the preheated Dutch oven from the oven and line the bottom with parchment paper. Gently transfer the dough into the pot.
- Bake the Bread: Cover the Dutch oven with the lid and bake for 30 minutes. Afterward, remove the lid and bake for an additional 15–20 minutes, or until the crust is golden and sounds hollow when tapped.
- Cool and Serve: Remove the bread from the Dutch oven and place it on a wire rack to cool for at least 30 minutes before slicing.
Notes
Recipe Notes
- Yeast Activation: Make sure the water is lukewarm (about 100°F/38°C) to properly activate the yeast. If the water is too hot, it may kill the yeast.
- Chocolate Variations: Feel free to experiment with different types of chocolate—dark, milk, or even white chocolate—for varying levels of sweetness and richness.
- Flavor Boosts: Adding a touch of ground cinnamon or a handful of nuts can elevate the flavor of the bread even further.
- Overnight Rise: For a more complex flavor, you can refrigerate the dough overnight for a slow rise. Allow the dough to rest at room temperature for about 30 minutes before shaping and baking.
- Storage: Store leftovers in an airtight container at room temperature for up to 3 days. Reheat slices in the oven or toaster for the best texture.


