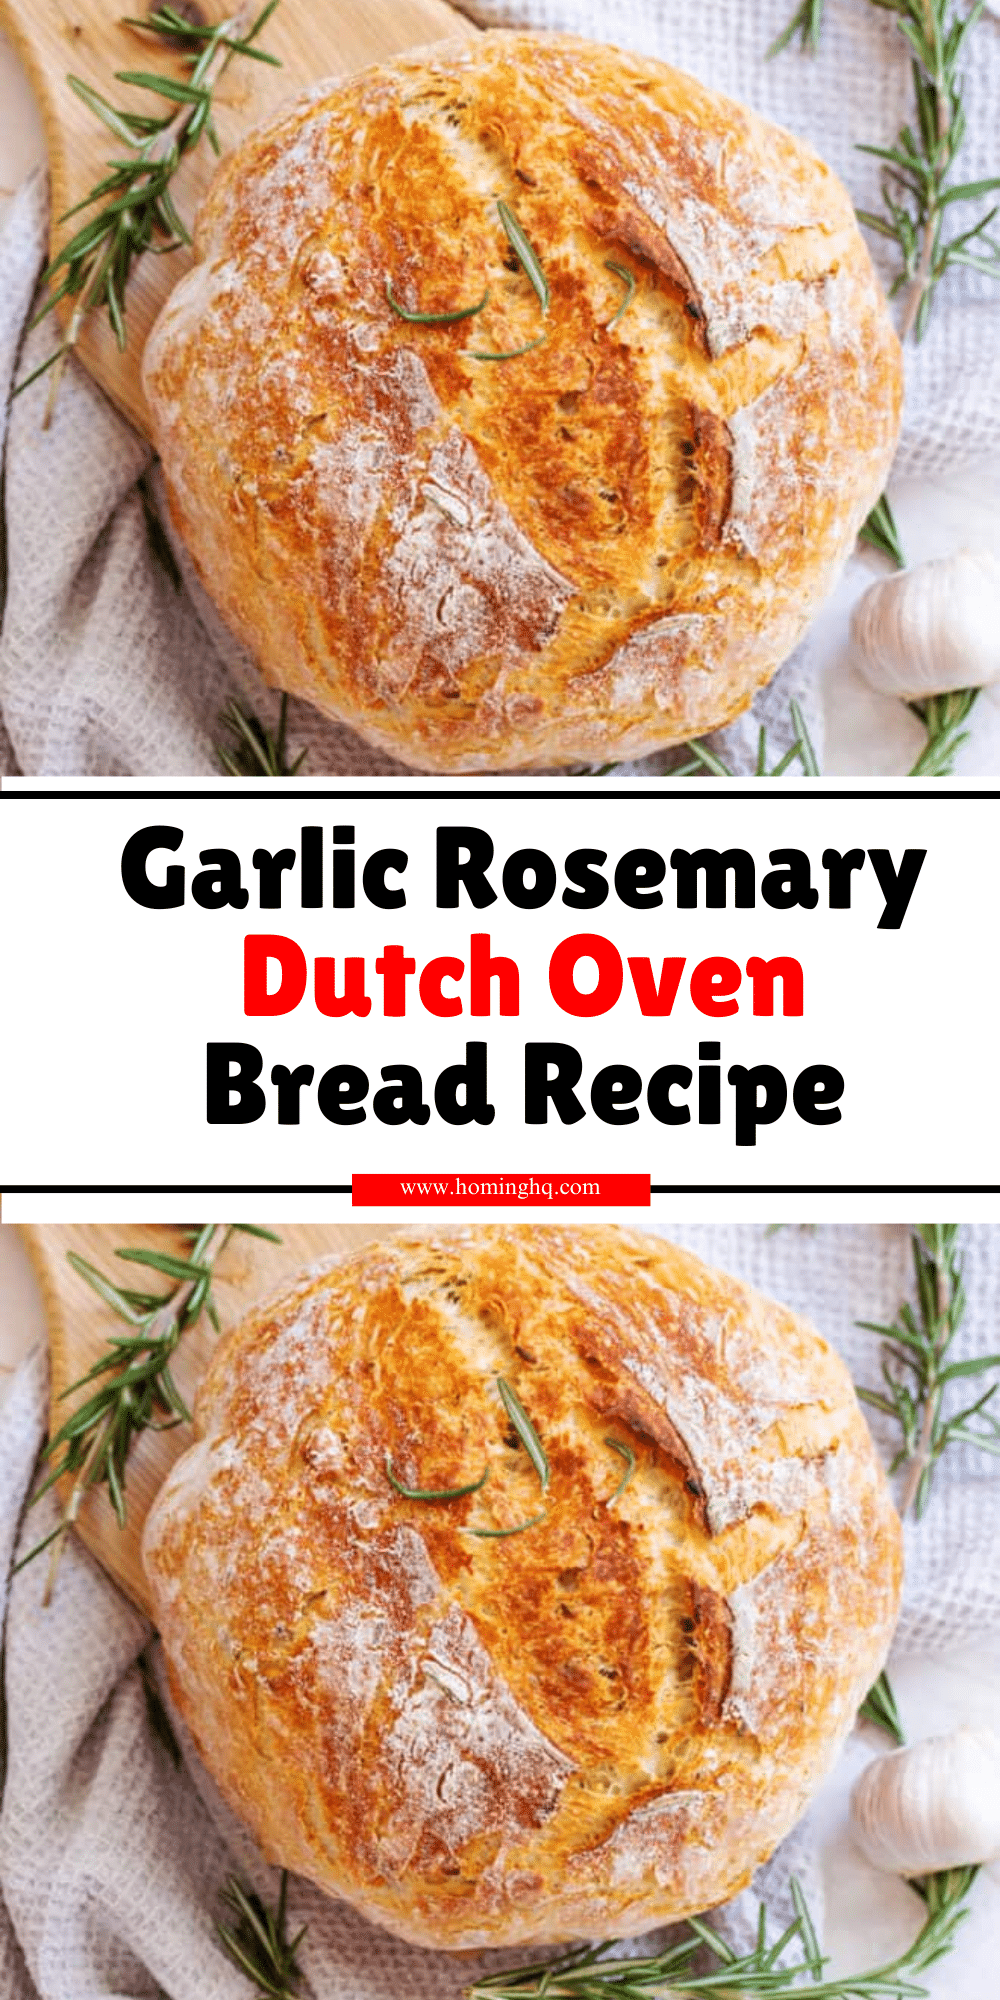
There’s something magical about baking fresh bread at home.
The smell of warm dough filling the kitchen, the anticipation as you wait for that golden loaf to emerge from the oven—it’s an experience that connects you to centuries of baking tradition.
When you add the fragrant combination of garlic and rosemary to the mix, you’re not just making bread, you’re creating an aromatic masterpiece that will elevate any meal.
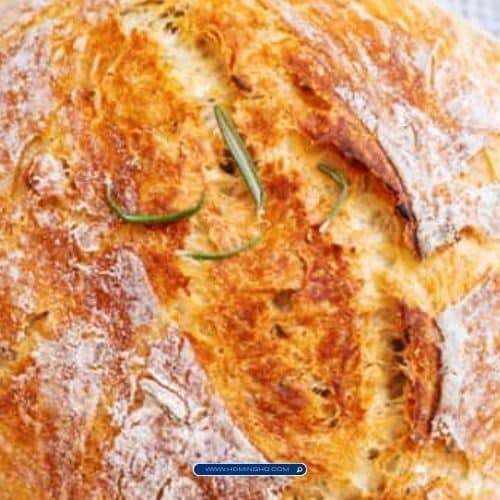
Garlic Rosemary Dutch Oven Bread offers a crispy, golden crust on the outside and a soft, fluffy interior on the inside. The infusion of garlic and rosemary makes each bite a flavorful journey that pairs beautifully with everything from soups to salads, or even enjoyed on its own with a generous smear of butter.
This recipe is designed for home bakers who want the delicious results of artisan bread, without the need for fancy equipment or complicated techniques. Using a Dutch oven to bake the bread creates a perfectly crisp crust while keeping the inside soft and airy.
If you’re looking to impress your family, friends, or just yourself with a beautiful homemade loaf, this Garlic Rosemary Dutch Oven Bread is a must-try.

Why Choose Garlic Rosemary Dutch Oven Bread?
The Magic of Baking in a Dutch Oven
Why use a Dutch oven for bread? The beauty of this cooking vessel lies in its ability to trap steam during baking.
As the dough bakes, the steam helps create a crispy, crackly crust, while retaining moisture inside the loaf, resulting in a soft, airy interior. The even heat distribution from the thick cast-iron walls of the Dutch oven also ensures that the bread bakes evenly throughout, giving you a beautifully uniform loaf every time.
If you’ve ever tried to bake bread in a regular pan or on a baking sheet, you’ll understand just how special the Dutch oven method is.
Garlic and Rosemary: A Flavor Explosion
What makes this bread truly irresistible, though, is the flavor combination. Fresh garlic brings a savory richness, while rosemary adds a fragrant herbal note that complements the bread’s simplicity. These two ingredients work together in perfect harmony, creating a flavor profile that’s not too overpowering but still full of character. Whether you’re enjoying a slice with a bowl of soup or pairing it with a salad, the garlic and rosemary infuse each bite, making it so much more than just a side of bread. It’s a flavor-packed experience that brings a little extra joy to your table.
Key Ingredients for Garlic Rosemary Dutch Oven Bread
Basic Ingredients for the Dough
Before diving into the flavors, let’s start with the foundation of this bread: the basic ingredients. You don’t need anything fancy, just the essentials that come together to form a delicious loaf.
- Flour – All-purpose flour works perfectly for this recipe, giving the bread a soft texture with a bit of chew.
- Yeast – Active dry yeast is ideal for this bread, helping it rise beautifully to form the airy interior.
- Salt – A necessary ingredient to bring balance to the flavors and enhance the overall taste.
- Water – Lukewarm water is used to activate the yeast, ensuring it works efficiently to make the dough rise.
These ingredients form the basic structure of the dough, but it’s the addition of garlic and rosemary that take this bread to the next level.
Flavor Additions: Garlic and Rosemary
- Fresh Garlic – Garlic is the heart of this bread’s savory flavor. By using fresh garlic, you’ll infuse the dough with its robust, earthy taste. Roasting or sautéing the garlic before adding it to the dough helps mellow its sharpness, creating a subtle yet distinct flavor that runs throughout the bread.
- Fresh Rosemary – The earthy, pine-like aroma of rosemary adds a delightful fragrance that blends perfectly with the garlic. It’s best to use fresh rosemary, finely chopped, as dried rosemary can sometimes be too potent. The fresh sprigs of rosemary also give the bread a visually appealing speckled look.
Optional Ingredients for Extra Flavor
While the core ingredients are simple, you can always add a bit of extra flavor to personalize the bread. Consider drizzling some olive oil into the dough for added richness, or even adding a spoonful of honey for a subtle sweetness that contrasts beautifully with the garlic and rosemary. Some people also like to finish the bread with a dusting of sea salt before baking to enhance the crust’s flavor.
Each ingredient in this recipe has a purpose, contributing to the texture, flavor, and overall experience of this Garlic Rosemary Dutch Oven Bread. With these simple ingredients, you can create a loaf that’s as delicious as it is impressive.
You have not enough Humanizer words left. Upgrade your Surfer plan.
Equipment You’ll Need
Baking this Garlic Rosemary Dutch Oven Bread doesn’t require a lot of fancy tools, but there are a few key pieces of equipment that will make the process smoother and ensure great results. Here’s a breakdown of the essentials:
1. Dutch Oven
A sturdy Dutch oven is the star of this recipe. The heavy lid traps steam, which helps create the signature crispy crust, while the even heat distribution from the cast iron ensures a perfectly baked loaf. For this recipe, a 4 to 6-quart Dutch oven works best, as it gives the bread enough room to rise and expand while still maintaining that perfect crust. If you don’t own a Dutch oven, a heavy, oven-safe pot with a lid will also work, but cast iron is preferred for its heat retention.
2. Mixing Bowl
You’ll need a large mixing bowl to combine your dough ingredients. This is where the magic happens, so it’s important to choose a bowl that’s large enough for the dough to expand during the first rise. A glass or stainless-steel bowl is ideal as it provides ample space for the dough to grow without sticking to the sides.
3. Spatula or Wooden Spoon
To stir the dough ingredients together before kneading, a spatula or a wooden spoon is essential. This will help mix the flour, yeast, garlic, rosemary, and water without making too much of a mess. Afterward, you’ll use your hands for kneading, but these tools are helpful for getting the dough started.
4. Kitchen Thermometer
A kitchen thermometer can be a game-changer when baking bread. It’s helpful for checking the water temperature when activating the yeast (should be lukewarm, about 110°F), and it can also be used to check the internal temperature of the bread once it’s done baking. Bread is fully cooked when it reaches an internal temperature of 190-200°F.
5. Parchment Paper (Optional)
While not strictly necessary, parchment paper is incredibly useful when transferring the dough into the hot Dutch oven. It helps prevent sticking, makes for an easier clean-up, and ensures your bread slides out of the pot with ease once it’s done baking. Simply place the dough onto a piece of parchment paper and use the paper to lift it into the Dutch oven.
6. Bench Scraper (Optional)
A bench scraper is a handy tool for shaping and working with dough. It’s especially useful for portioning dough, scraping up any flour remnants from your work surface, and helping you shape the loaf without too much mess.
Having the right tools will make your baking experience more efficient and enjoyable, leading to a loaf of Garlic Rosemary Dutch Oven Bread that’s sure to impress.
Common Mistakes to Avoid
While this recipe is straightforward, there are a few common pitfalls that can lead to less-than-perfect bread. Here’s how to avoid them:
1. Over-proofing the Dough
One of the most common mistakes in bread baking is over-proofing the dough. During the first rise, you want the dough to double in size, but leaving it to rise too long can cause the dough to become overly airy, making it difficult to hold its shape. If the dough over-proofs, it may collapse or become too dense during baking. Keep an eye on the dough, and aim for about 1 to 2 hours for the first rise, depending on the temperature of your kitchen.
2. Under-proofing the Dough
On the flip side, under-proofing can lead to dense, heavy bread. If the dough hasn’t had enough time to rise properly, it won’t have the airy texture we’re looking for. Be sure to let it rise for the recommended time, and perform the “poke test” to check for readiness: lightly press a finger into the dough—if it springs back slowly, it’s ready for the next step.
3. Not Preheating the Dutch Oven
One of the keys to getting that beautifully crispy crust is preheating the Dutch oven. Failing to preheat it properly can result in a loaf that doesn’t develop that signature crunch. Preheating the Dutch oven at 450°F for at least 30 minutes before adding the dough ensures the pot is hot enough to create steam, which is vital for getting the perfect crust.
4. Using the Wrong Flour
For the best texture and structure, it’s crucial to use the right type of flour. While some people experiment with whole wheat or other flours, all-purpose flour is ideal for this Garlic Rosemary Dutch Oven Bread. It provides the perfect balance of softness and chew. Using bread flour, while not a mistake per se, will yield a slightly denser loaf, but will still work fine.
5. Not Checking the Internal Temperature
Baking times can vary depending on your oven, so it’s important not to rely solely on time to determine whether your bread is done. Instead, check the internal temperature using a kitchen thermometer. Bread is perfectly baked when it reaches an internal temperature of around 190-200°F. If you take it out too early, the inside may be undercooked and doughy.
6. Slicing the Bread Too Soon
It’s tempting to slice into your freshly baked loaf as soon as it comes out of the oven, but cutting the bread while it’s still hot can result in a gummy interior. Allow the bread to cool on a wire rack for at least 30 minutes before slicing. This helps the crumb set and makes for a better texture when you cut into it.
By avoiding these common mistakes, you’ll be on your way to baking a stunning loaf of Garlic Rosemary Dutch Oven Bread that will impress anyone who’s lucky enough to try it. Happy baking!
Frequently Asked Questions
1. Can I use dried rosemary instead of fresh?
While fresh rosemary is ideal for its vibrant flavor and aromatic oils, you can use dried rosemary if that’s all you have on hand. Just be sure to use about half the amount since dried rosemary tends to be more potent. If using dried garlic (like garlic powder), reduce it to about 1 teaspoon to maintain balance.
2. Can I make this bread without a Dutch oven?
Yes, you can! If you don’t have a Dutch oven, you can bake the bread on a baking sheet, though you may not get the same crisp, artisanal crust. To replicate the steam effect, place a shallow pan of water in the oven while it preheats and bake the bread on a parchment-lined baking sheet. Covering the dough with aluminum foil for the first part of baking can help trap some steam.
3. How can I store leftover Garlic Rosemary Dutch Oven Bread?
To store your leftover bread, wrap it in a clean kitchen towel and place it in a paper bag for optimal freshness. Keep it at room temperature for up to 3 days. If you need to store it for longer, slice the bread and freeze it in an airtight bag. You can toast frozen slices for a quick, tasty treat.
4. Can I add other herbs or flavors to this bread?
Absolutely! Garlic and rosemary are a fantastic combination, but feel free to get creative. You can try adding thyme, oregano, or even sage for a different flavor profile. Some people also like adding shredded cheese or roasted garlic for extra richness. Experiment with your favorite flavors to make it your own.
5. Why is my bread dense or heavy?
A dense or heavy loaf can result from under-proofing the dough (not allowing it to rise long enough), using too much flour, or not kneading the dough properly. Make sure to follow the rise times and the proper measurements for your flour. Also, ensure your yeast is active and fresh, as expired yeast won’t help the bread rise effectively.
Conclusion
Baking homemade bread may seem intimidating at first, but with the right ingredients, tools, and techniques, it’s a rewarding and enjoyable process. Garlic Rosemary Dutch Oven Bread is a wonderful introduction to artisan-style bread-making, offering an incredible flavor that comes from simple, wholesome ingredients. By using a Dutch oven, you can achieve that coveted crispy crust and soft, airy interior with ease.
The addition of garlic and rosemary elevates this bread, making it a perfect companion to nearly any meal or a delicious standalone treat. Whether you’re a seasoned baker or a first-timer, this recipe will not disappoint.
We hope this recipe inspires you to try your hand at bread-making and share the joy of fresh, homemade garlic rosemary bread with your friends and family. Don’t forget to let us know how your bread turned out or if you have any tips or variations of your own. Happy baking, and enjoy the incredible aroma of freshly baked bread wafting through your kitchen!

Garlic Rosemary Dutch Oven Bread
Equipment
- Dutch Oven (4 to 6-quart) – 1
- Mixing Bowl – 1
- Spatula or Wooden Spoon – 1
- Kitchen Thermometer – 1 (optional)
- Parchment Paper – 1 sheet (optional)
- Bench Scraper – 1 (optional)
Ingredients
- 3 cups 360g All-Purpose Flour
- 1 tablespoon 9g Active Dry Yeast
- 1 ½ teaspoons 8g Salt
- 1 tablespoon 15g Fresh Garlic, minced
- 1 tablespoon 6g Fresh Rosemary, finely chopped
- 1 ½ cups 355ml Warm Water (about 110°F / 43°C)
- 1 tablespoon 15ml Olive Oil (optional, for extra flavor)
- 1 teaspoon 5g Sugar (optional, to help activate yeast)
Instructions
- Activate the Yeast: In a small bowl, combine the warm water, sugar (optional), and yeast. Stir to dissolve. Let sit for 5-10 minutes until the mixture becomes frothy, indicating the yeast is activated.Mix the Dry Ingredients: In a large mixing bowl, whisk together the flour, salt, garlic, and rosemary.Combine Wet and Dry Ingredients: Once the yeast mixture is ready, pour it into the dry ingredients. Stir with a spatula or wooden spoon until a sticky dough forms.Knead the Dough (Optional): While this is a no-knead recipe, you can knead the dough for 3-4 minutes on a floured surface if you prefer. Alternatively, you can skip this step and proceed to the next.First Rise: Cover the bowl with a clean kitchen towel or plastic wrap. Let the dough rise in a warm spot for 1 to 2 hours, or until it has doubled in size.Shape the Dough: After the dough has risen, gently punch it down to release the air. Shape it into a round or oval loaf by folding the edges into the center.Preheat the Dutch Oven: Place a Dutch oven with its lid into the oven and preheat to 450°F (230°C) for 30 minutes.Second Rise: While the Dutch oven preheats, allow the shaped dough to rise on a sheet of parchment paper for about 30 minutes.Bake the Bread: Carefully remove the preheated Dutch oven from the oven. Transfer the dough (with parchment paper, if using) into the hot pot. Cover with the lid and bake for 30 minutes.Finish Baking: After 30 minutes, remove the lid and bake the bread for an additional 15-20 minutes, or until the crust is golden brown and the bread sounds hollow when tapped on the bottom.Cool and Serve: Let the bread cool on a wire rack for at least 30 minutes before slicing.
Notes
Recipe Notes
- Use Fresh Ingredients: For the best flavor, use fresh garlic and rosemary. The flavor of fresh herbs is significantly more vibrant than dried herbs.
- Adjust the Yeast: If you prefer a longer, slower rise (for enhanced flavor), you can reduce the yeast amount to 1 teaspoon and let the dough rise in the fridge overnight. Bring it to room temperature before baking.
- Avoid Overproofing: Be cautious not to let the dough rise too long, as it can become overly airy and collapse in the oven.
- Baking Variations: If you don’t have a Dutch oven, you can bake this bread on a baking sheet and place a shallow pan of water in the oven to mimic the steam effect.


